RV Sewer Hose Storage
Our 2017 Lexor TS was originally equipped with a rather short RV sewer hose storage tube that would allow us to carry a five foot hose at best. The tube also had a small diameter that limited our choice of aftermarket connectors.
I replaced the tube with an adjustable length storage tube that would allow us to adjust the length from 43″ to 80″. The extra length proved to be helpful for both storage and locating suitable mounting points.

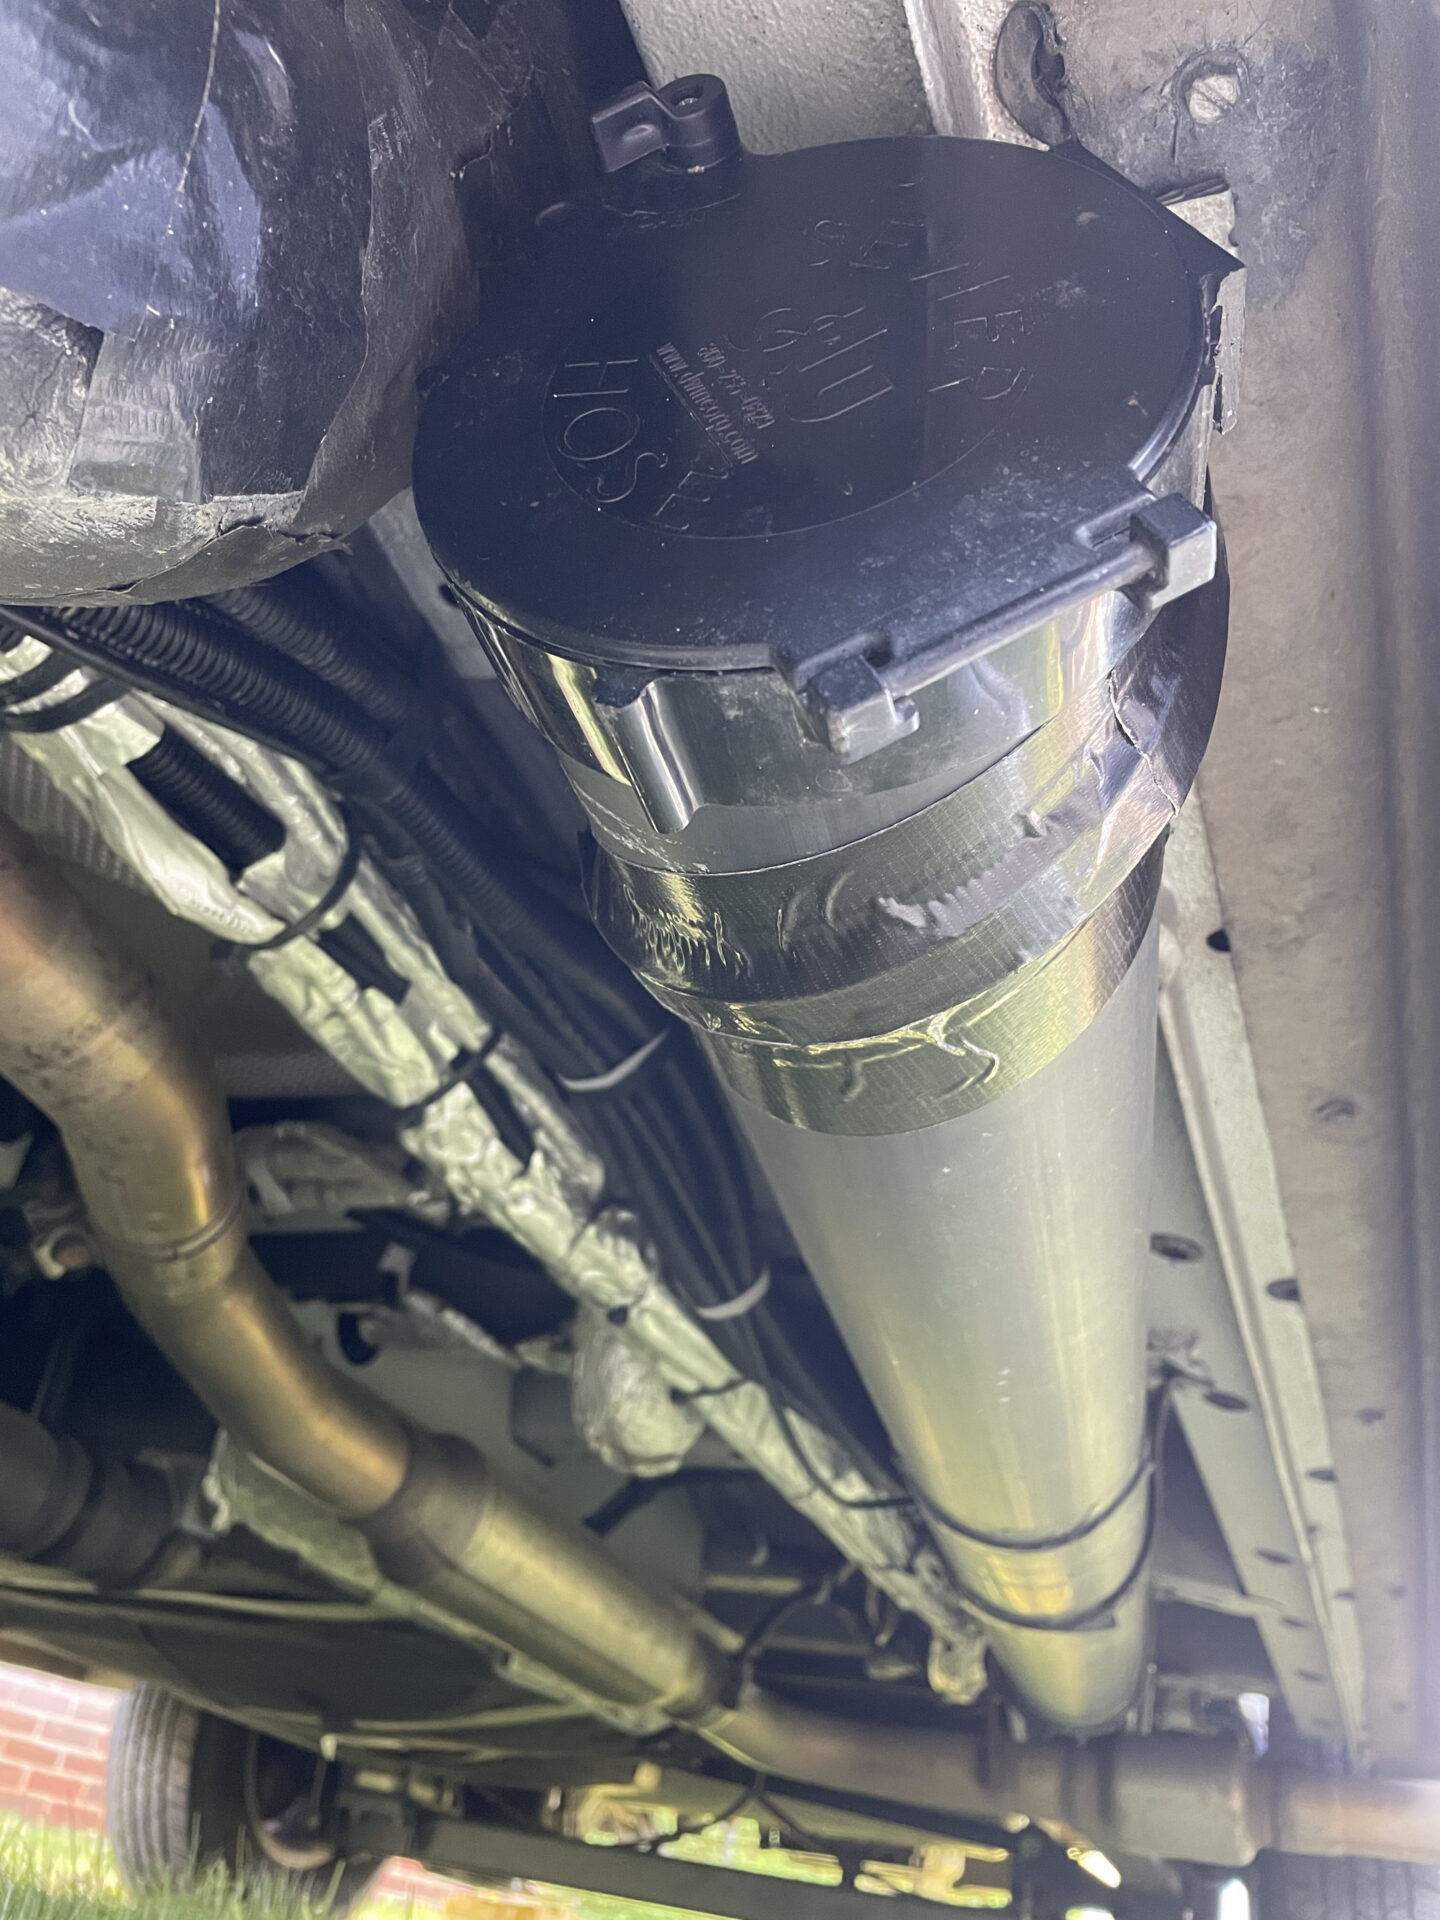
Full Length Image of RV Sewer Hose Storage Tube
The mounting tabs on the new tube were unusable and in the way so I trimmed them off with a handy folding jab saw (with the metal blade installed) that I keep in my onboard kit.
To mount the new tube I created some mounting straps. I determined the length of each strap by wrapping a single piece of strapping around the tube and lining its ends up with the intended mounting points. Once that was done I made the final mounting strap by bending the strapping back on itself. I found that three layers was just right to create the proper combination of rigidity and flexibility. The cutter included on the set of lineman pliers that I carry in my onboard kit was perfect for cutting the strapping. The pliers were also useful to flatten the strap at each end where it had been folded over. I then wrapped black Gorilla tape around the straps to hold them together. I used stainless steel strapping but the galvanized type readily found at the hardware store would probably be fine. I would recommend treating the cut ends of galvanized strap with Por15.
The existing holes that had held the OEM tube were reused for the first two mounting straps. Two additional holes were required for the last support. I applied Por15 to the existing and new holes with a small tipped artist brush and used stainless self tapping screws at each point to prevent corrosion. When using Por15 I highly recommend wearing gloves. If any gets on your hands you’ll have a dickens of a time getting it off. Also it’s a good idea to store any unused Por15 in a small airtight plastic container. If you put the lid back on the can you may never get the lid off again and will have to punch through the lid to reach the contents.
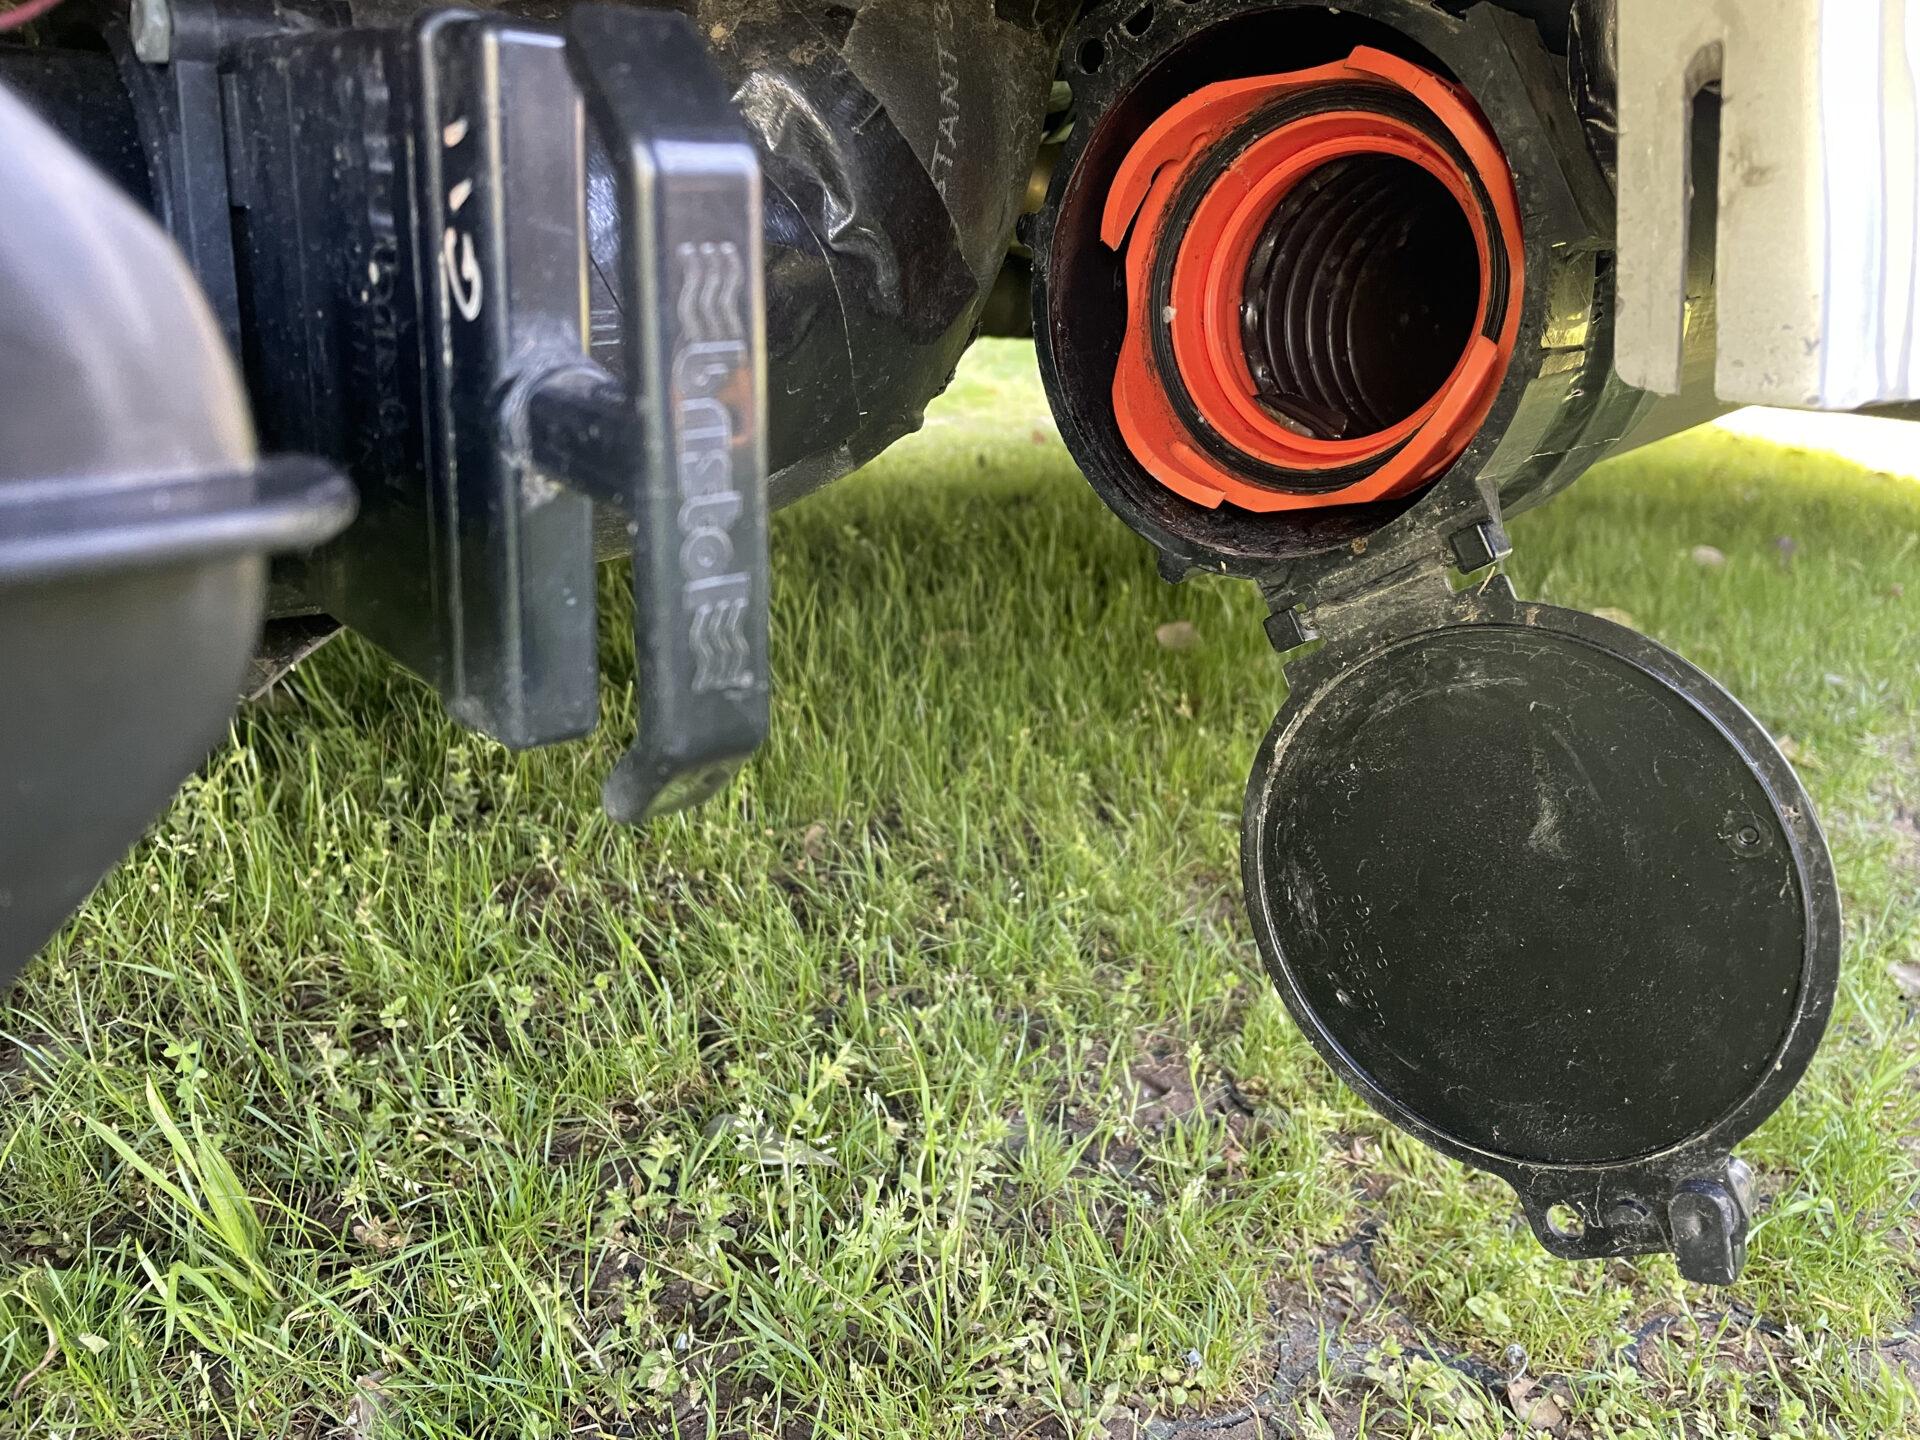
When mounting you’ll want to position the tube so that it slopes toward the opening to allow drainage and to keep the hose at that end of the tube for easy access. Also remember to make sure that it’s easy to open the tube door. I found that allowing it to swing down towards the ground was the best option.

Front of RV Sewer Hose Storage Tube with Door Open
Once the tube was in the correct position I used a piece of Gorilla tape placed across each mounting strap to hold the tube in place.
The new RV sewer hose storage tube will hold a 15ft hose but I find that a 10ft hose is adequate and leaves some extra room to store other adapters if needed. The longer hose is helpful for reaching drains that are further away and for allowing the tanks to be emptied when the destination drain is higher than the empty point on the van. The extra length allows you to use the “slinky’ method to move the waste along. It takes some patience but the job will eventually get done!
Here’s what I used on the project…..
RecPro RV Extendable Waste Hose Carrier
Stainless Steel 3/4″ x 10′ Long Perforated Plumbers Pipe Hanger Strap 24 Gauge
CRAFTSMAN Linesman Pliers, 8-Inch
POR-15 45408 Rust Preventive Coating Semi-Gloss Black
Stainless #10 X 3/4″ Tek Screw
Thank you for this info. We completed the installation of one under our 2018 Lexor this morning.
Please note that the link to the Super-Slider now goes to an inactive page, but we did find one on Amazon under the RecPro name that appears to be identical.
Hope we get a chance to meet one of these days.
Thank you for the heads up Mark! The RecPro tube that you found on Amazon is indeed the same item. I’ve updated the link. We’ll have to make that meeting happen. We’re not that far away from one another.