Roof and Awning Mount Repair
I recently noticed a small amount of water inside the overhead cabinet next to our sliding door.
The source of the leak was not easy to find. The cabinets hid the area from view on the interior and one of the mounts for the Carefree awning was covering it on the exterior.
I decided to remove the awning to get a better look. I created a hoist to lift the awning by throwing a rope over a tree limb and got to work.
The source of the leak was readily apparent with the awning out of the way. I found a small crack in the seam caulk behind the sliding door and the interior edge of the bracket had gouged the caulking out of another seam. I found similar damage under each bracket. The brackets had each been installed without proper interior edge padding. The exterior edge pad was fine and was still in good shape. I’ve attached a PDF of the bracket installation instructions for the BS0014 bracket set that’s installed on my vehicle. The instructions show no padding on the interior edge. I also found set of instructions for a newer BS0023 version of the bracket that did show a pad. Those instructions are also attached. It left me wondering if the lack of a pad in the earlier version kit was an oversight. A pad was in fact installed on the interior edge of my brackets so it looks like Pleasure-Way realized that allowing the bracket to make direct contact with the roof was not a great idea. The pad that was used on my installation just wasn’t stout enough to prevent contact.
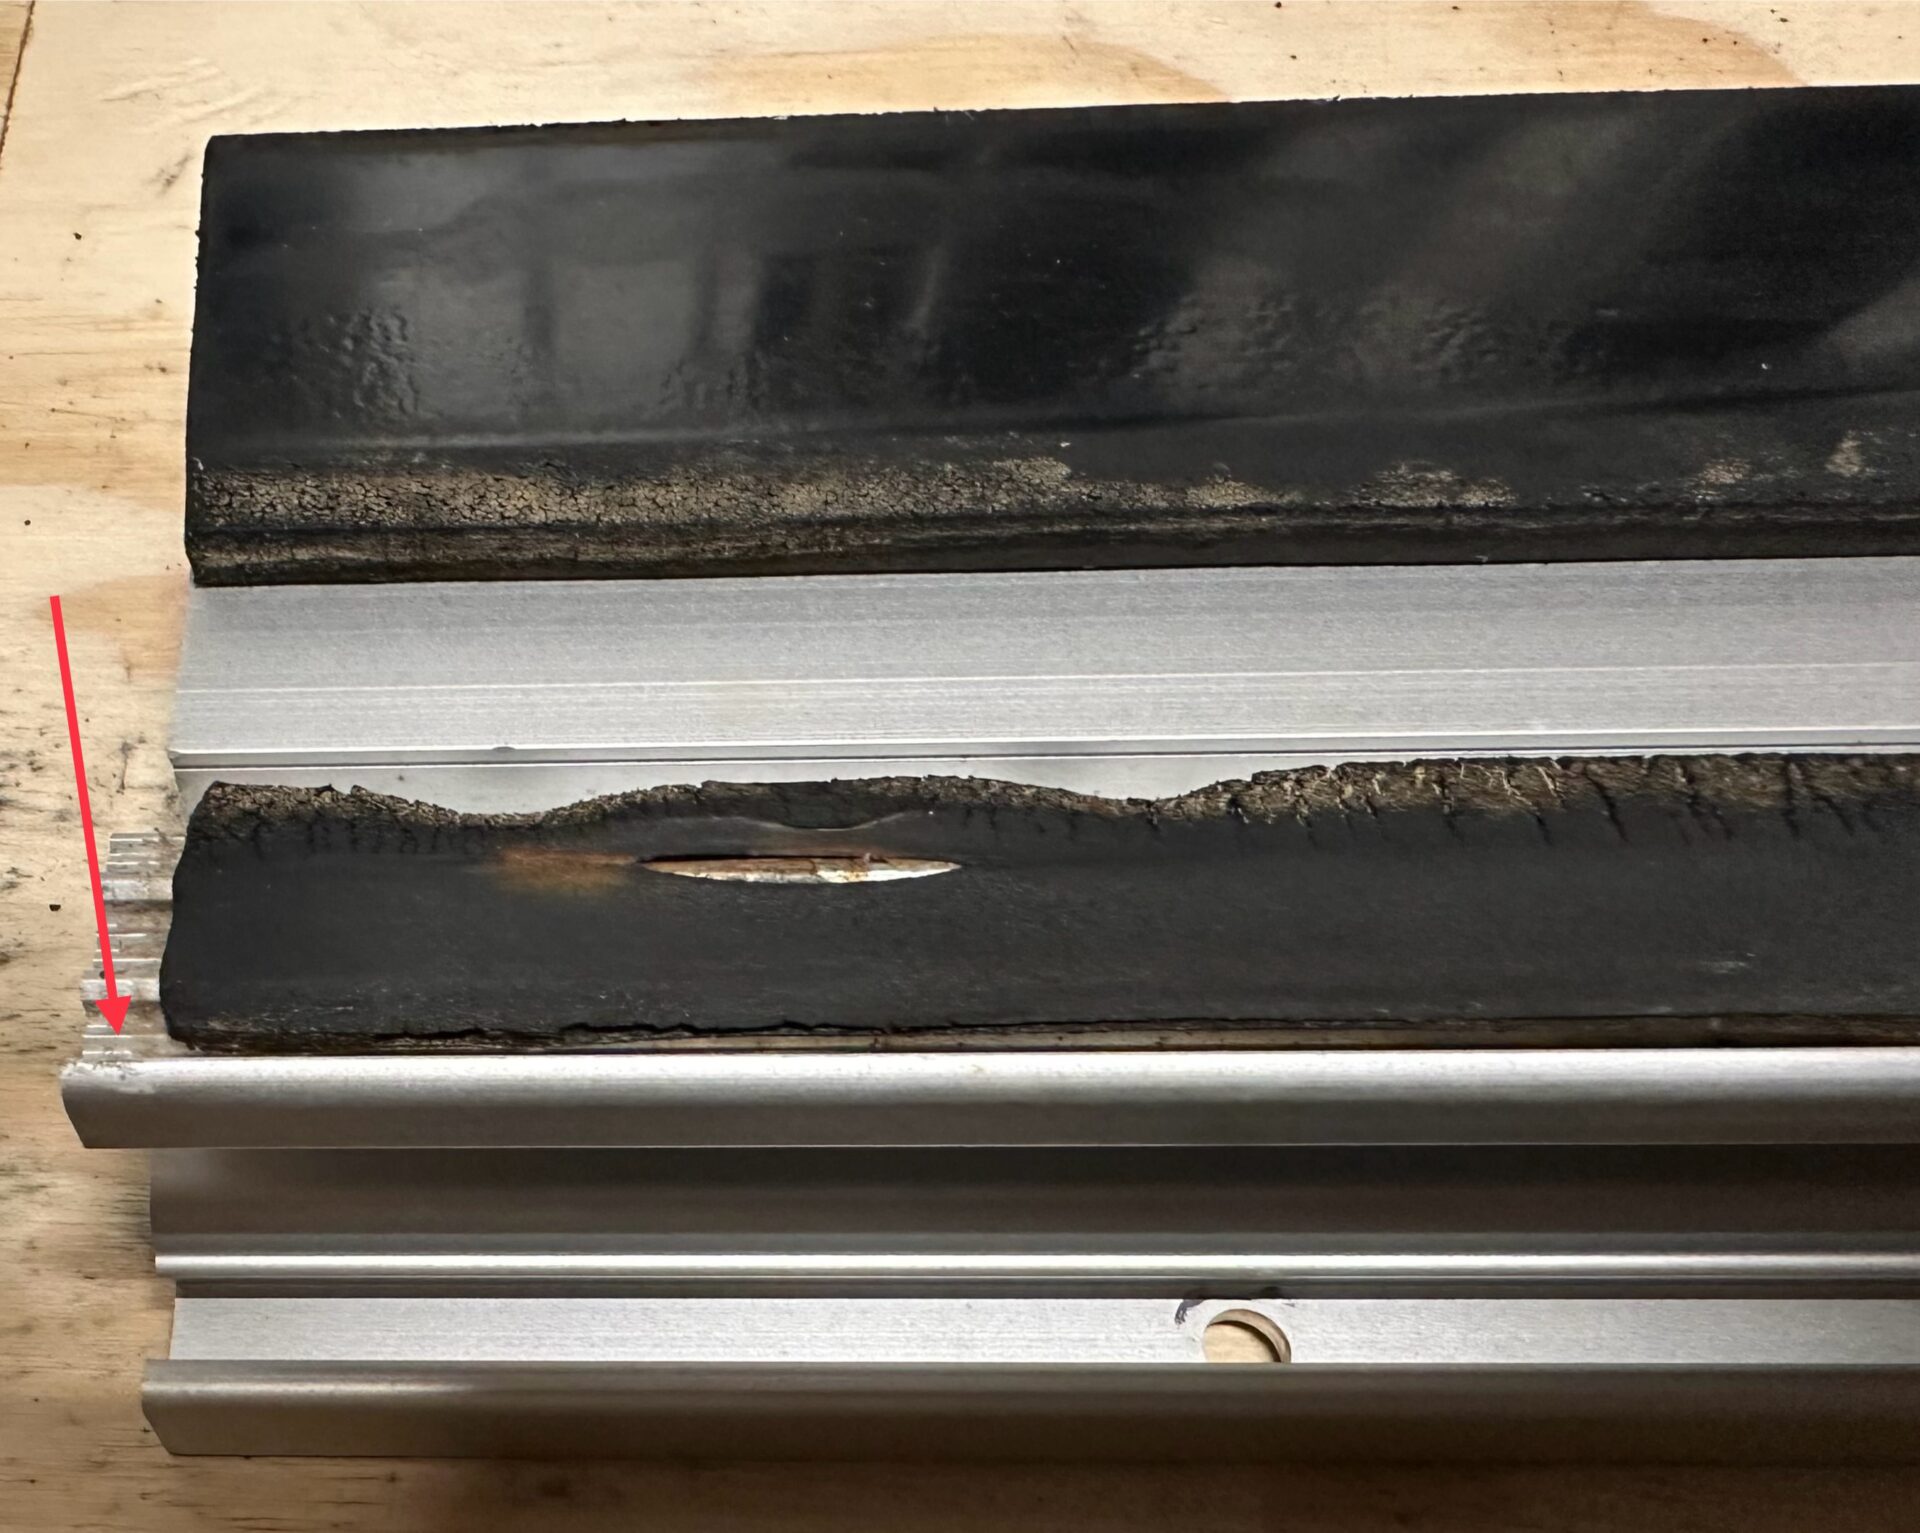
The deficient padding on the inside edge of the mounting bracket.
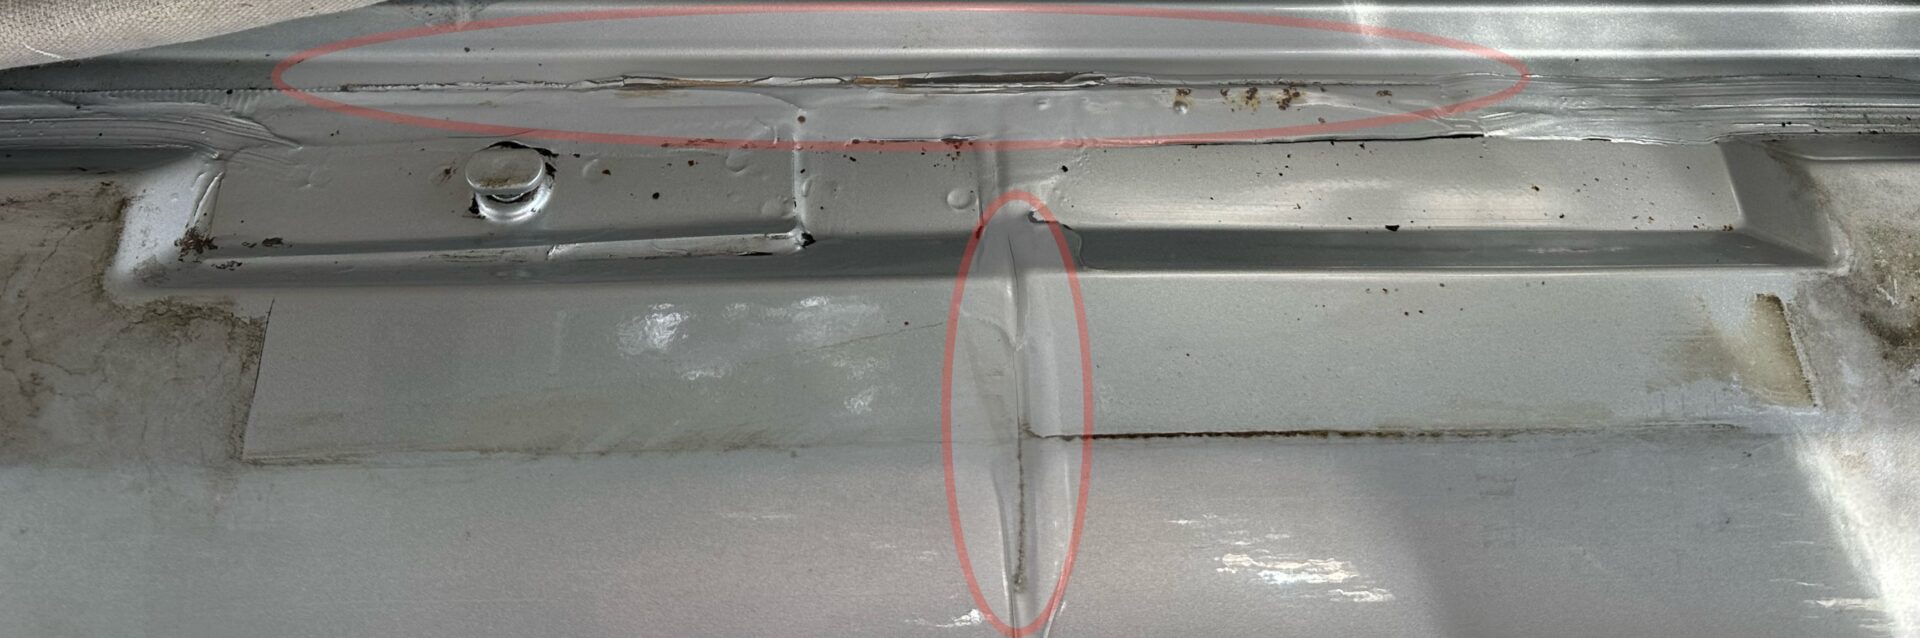
This image shows the areas with the damaged caulking. The rust spots that you may see are topical and are from the non-stainless mounting hardware that had begun to corrode. The spots wiped right off.
I removed the damaged caulk and any rust that had started to form. I then thoroughly cleaned the areas with a detergent followed by isopropyl alcohol. I painted each exposed area with Por 15 and then applied grey Sikaflex 221 sealant.
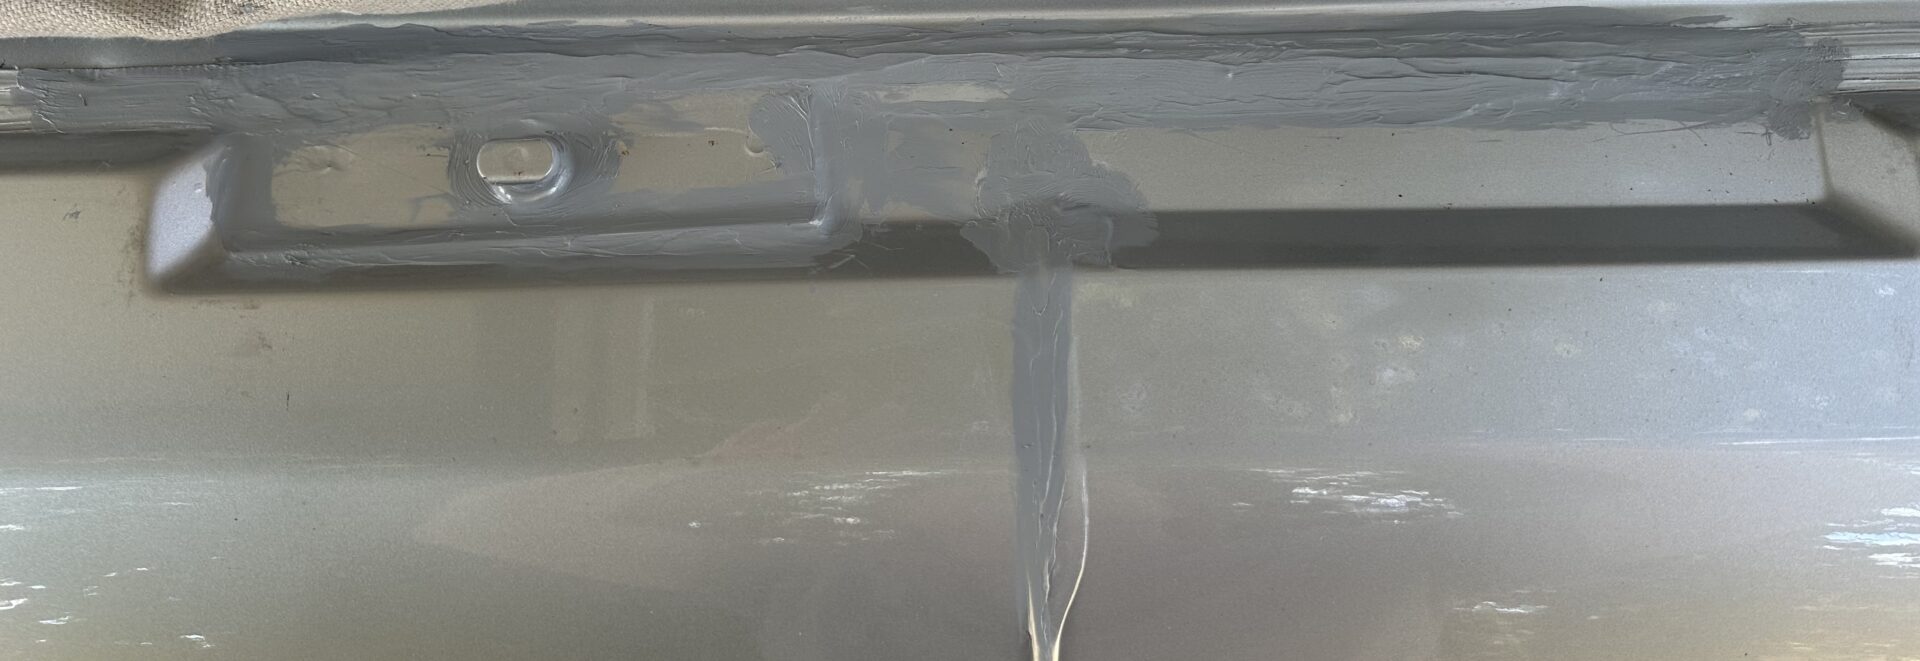
The repaired mounting point behind the sliding door.
The repaired mounting point above the windshield.
While the brackets were removed I gave each of them a thorough cleaning. I removed the original foam pad from the interior edge and cleaned the area with detergent and isopropyl alcohol. I then installed a high density rubber molding and high density rubber padding to isolate the interior edge of the mount from the roof.
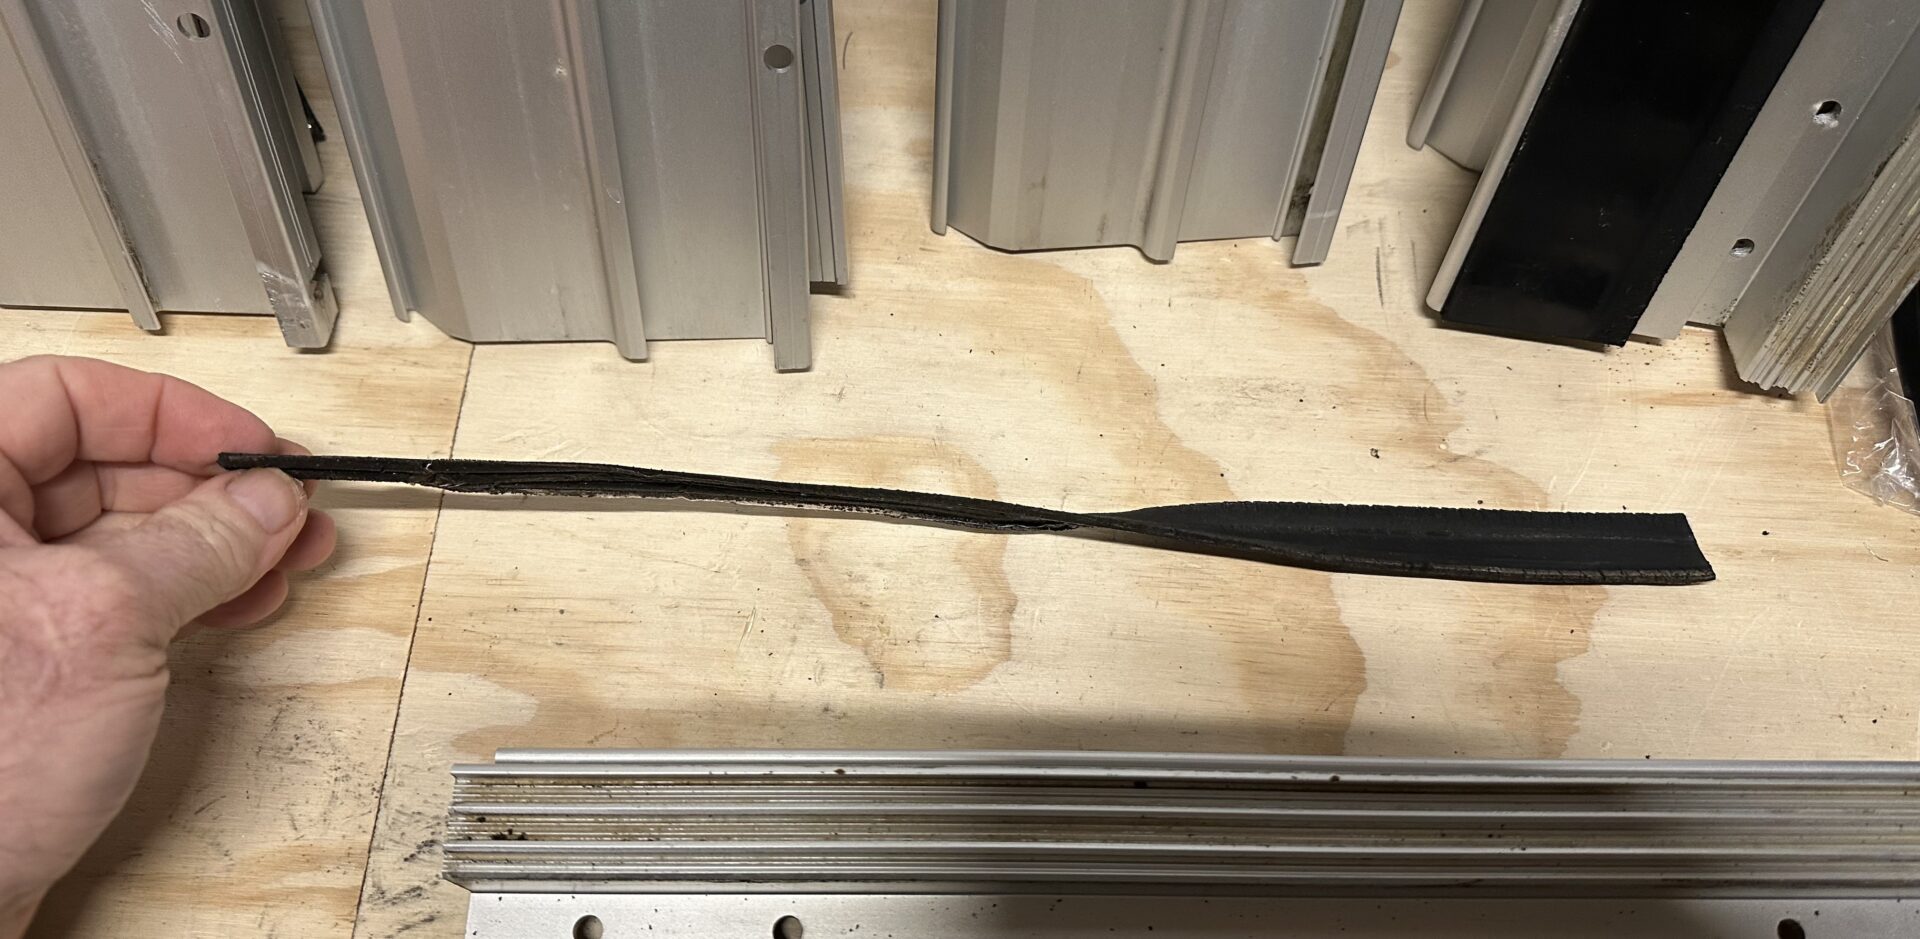
The original foam padding.
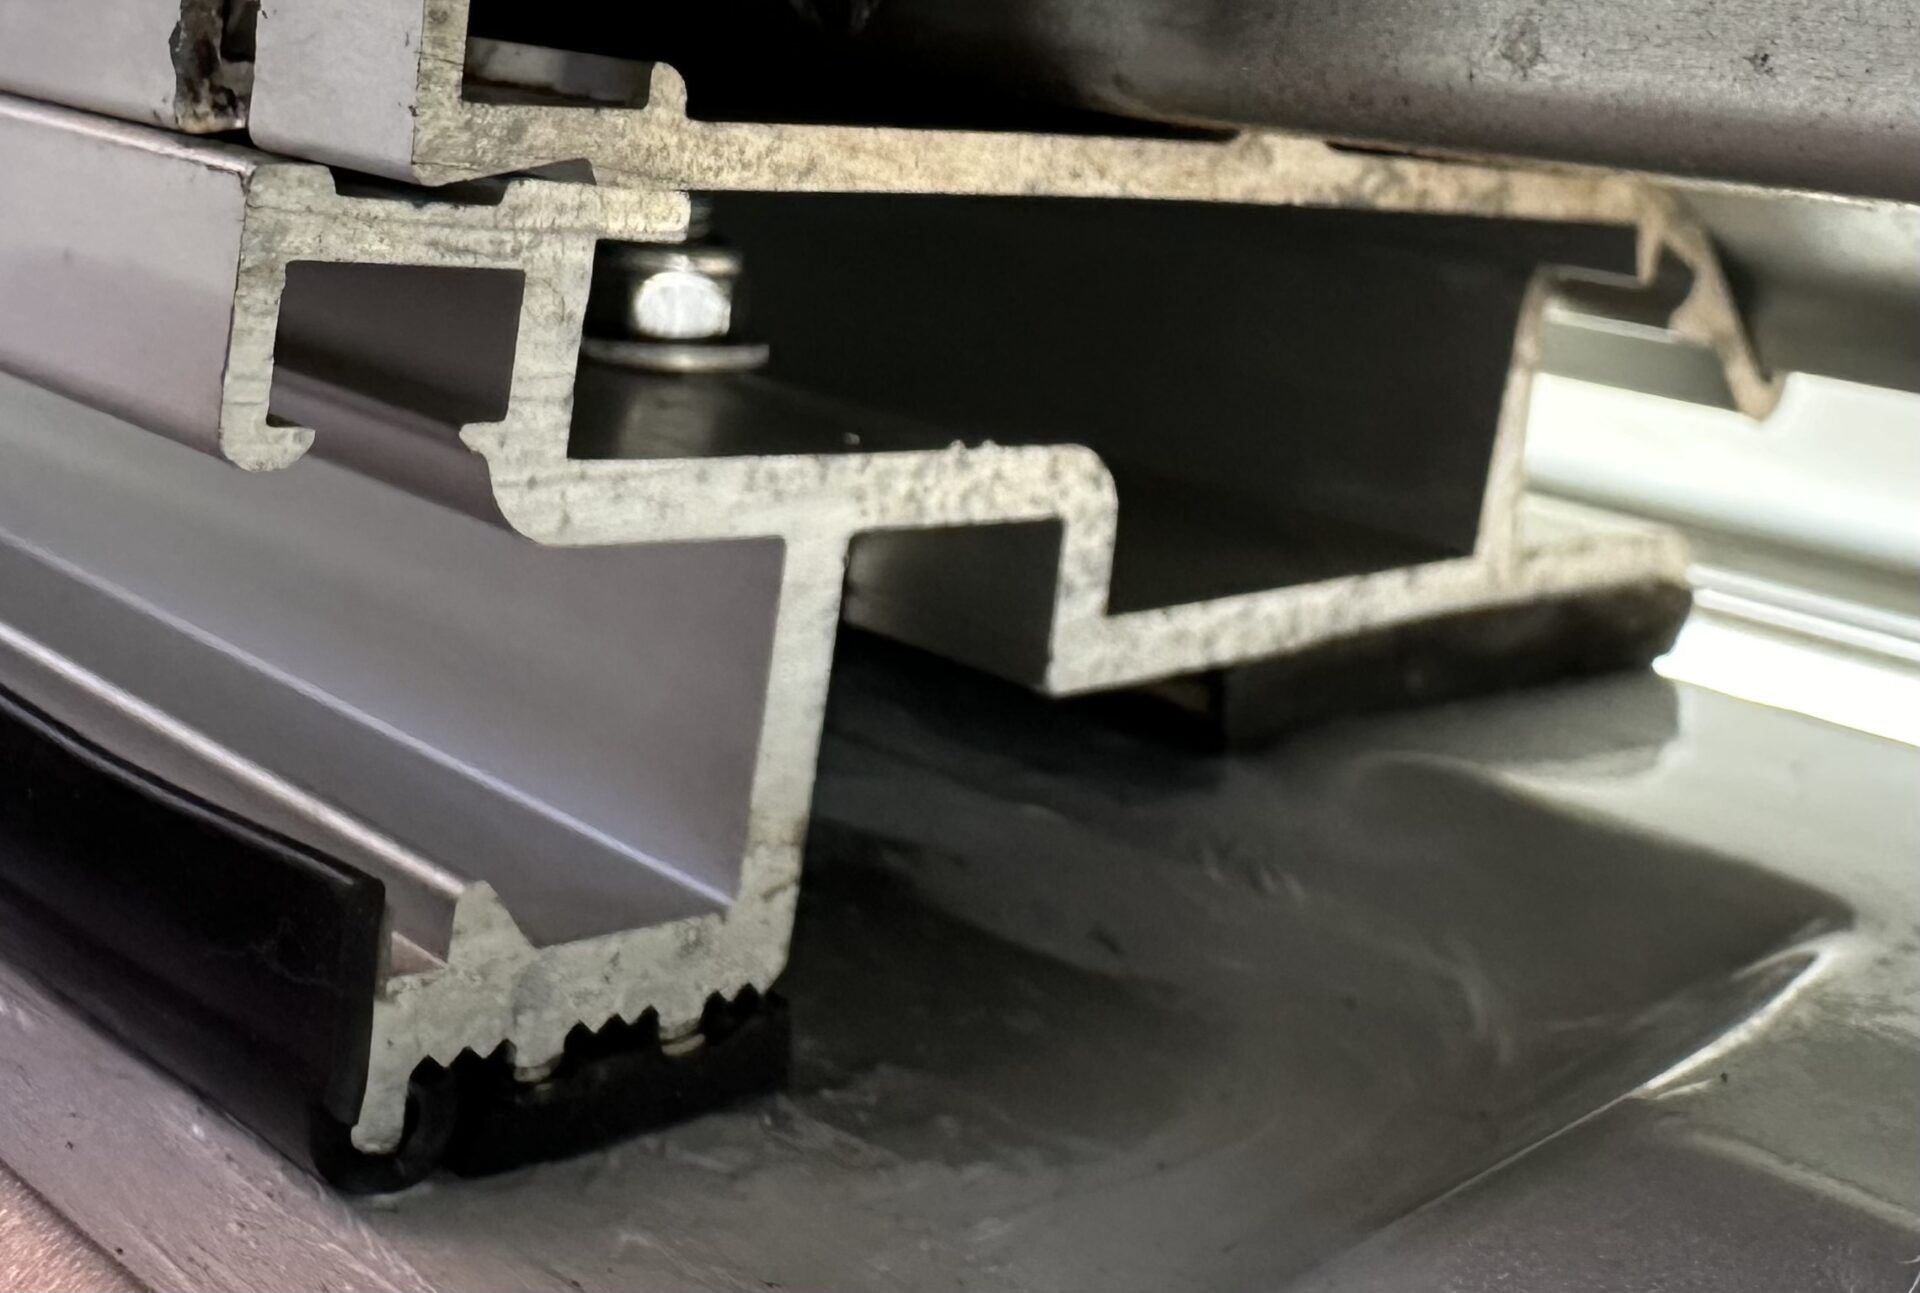
A mount with the new interior edge padding in place.
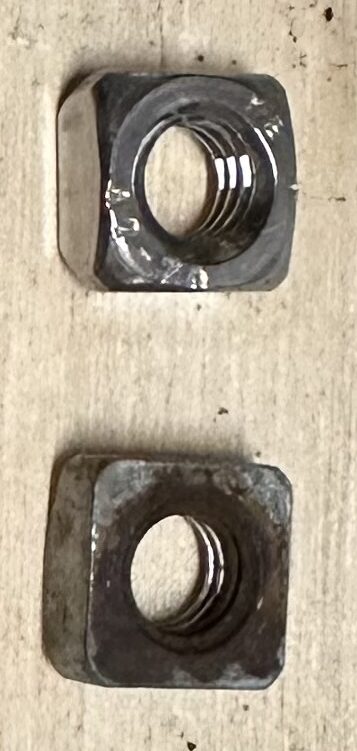
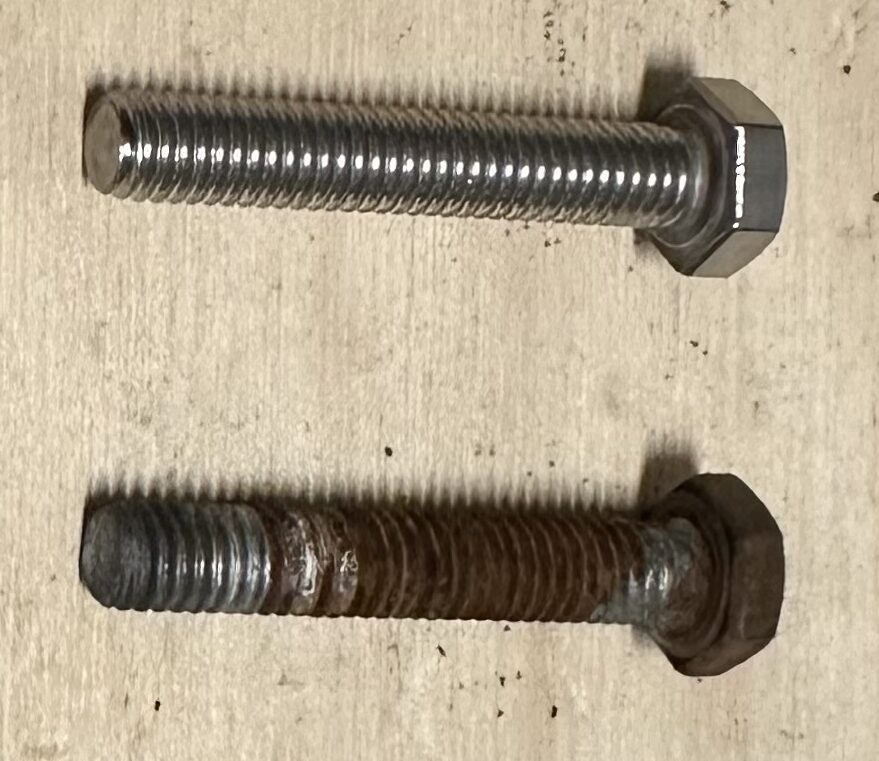
Some of the mounting hardware was stainless. A few items were not and had started to corrode. I replaced those parts with stainless before remounting the awning. The parts that had to be replaced were 10 M6-1.0 x 35mm bolts, 10 M6-1.0 x 40mm bolts, 10 M6-10 square nuts, 10 M6-1.0 lock nuts and 10 M6 washers.
When remounting the awning I applied stainless anti-seize to each bolt and I applied dielectric high temperature marine grease to each roof stud to provide some protection from the metal to metal contact with the bracket mount.
I feel fortunate that I noticed the problem before it became a more significant issue. The leak is gone and I feel much better about that hidden area of the roof.
Thanks, I will keep an eye on ours.
Glad to help. I hope it’s not an issue for you.
Interested in removing the onan gen. set
at one point I thought it was on your “ to do list”
Hi Blaine,
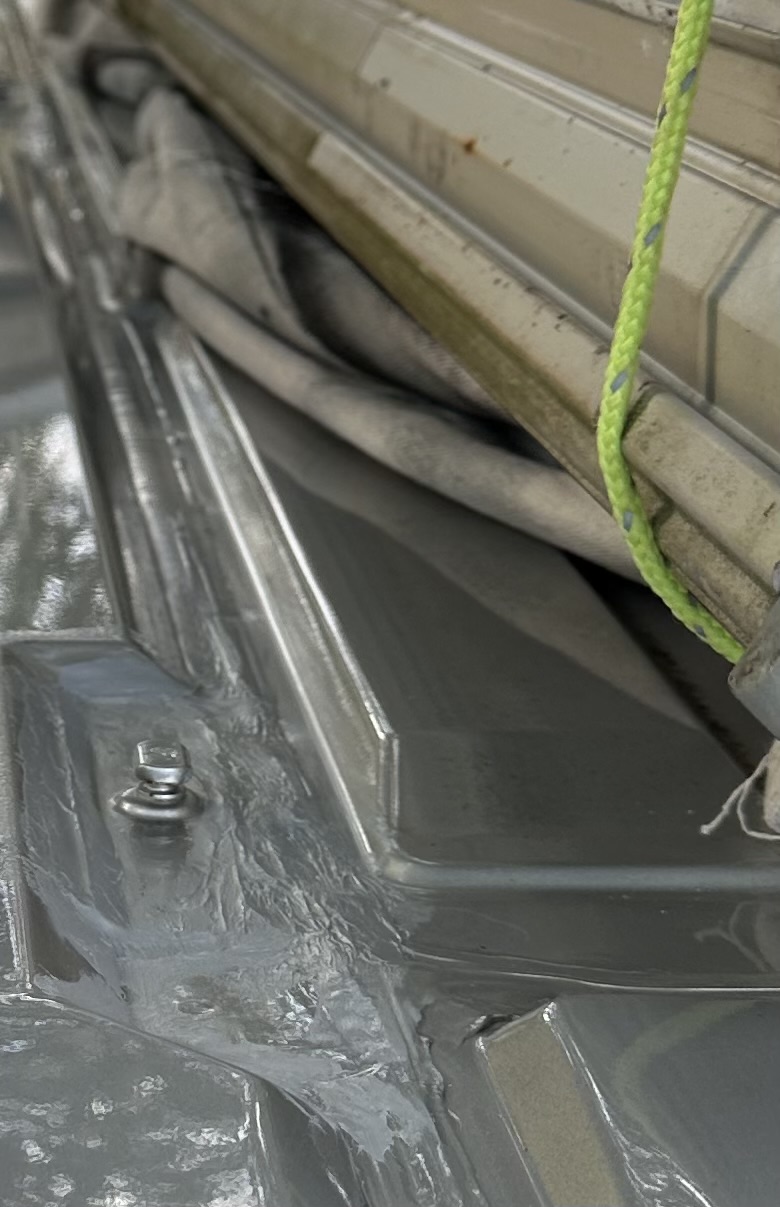
I removed our generator back in 2019 after the 48V system had proven itself for a few months. I replaced it with a tray that holds a portable waste tank to give us a little more flexibility when a dump site is not available.
Our Class B Waste Tote Storage Tray
Bob