Rear Corner Panels

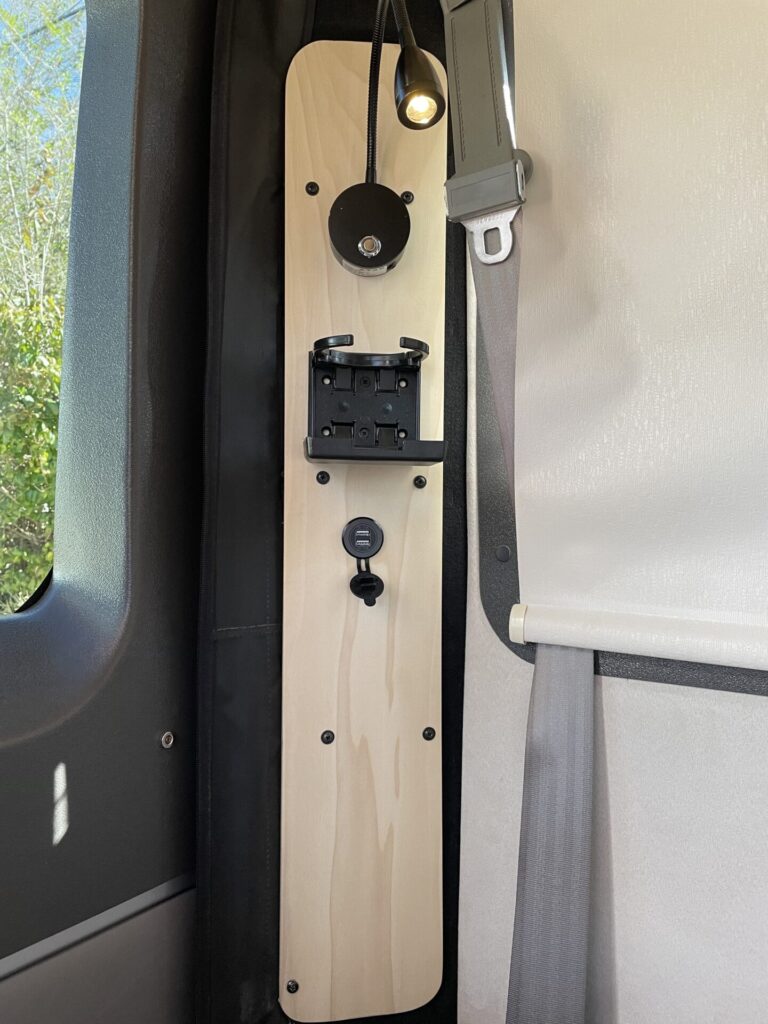
New Poplar Panels Installed
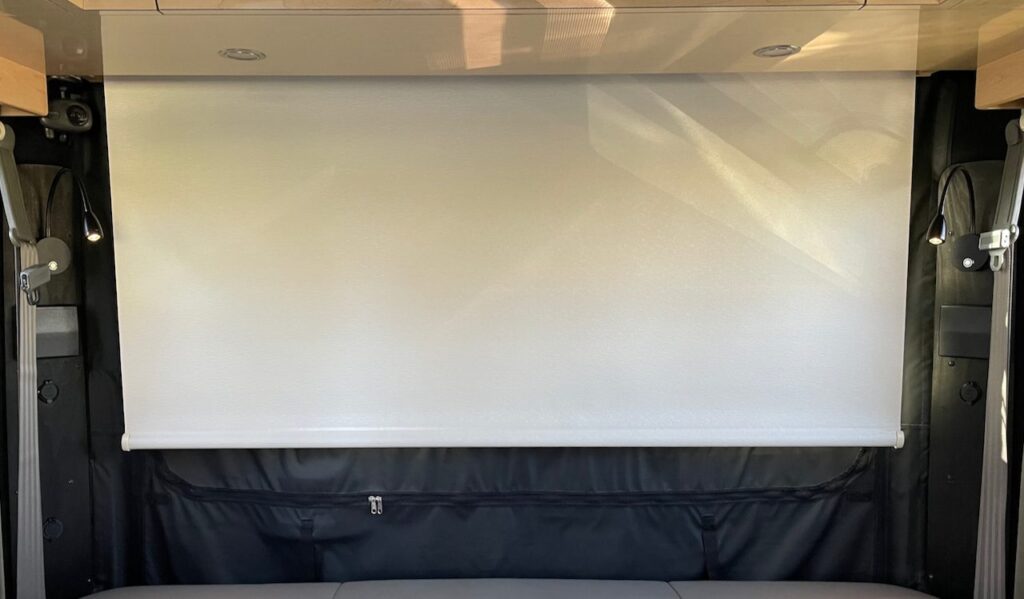
The rear corners on our 2017 Lexor TS were covered with some plastic panels that provided access to the back of the taillight assemblies. I thought the area could be put to better use so I designed some custom rear corner panels to fit the space. They have added some nice functionality where none existed before.
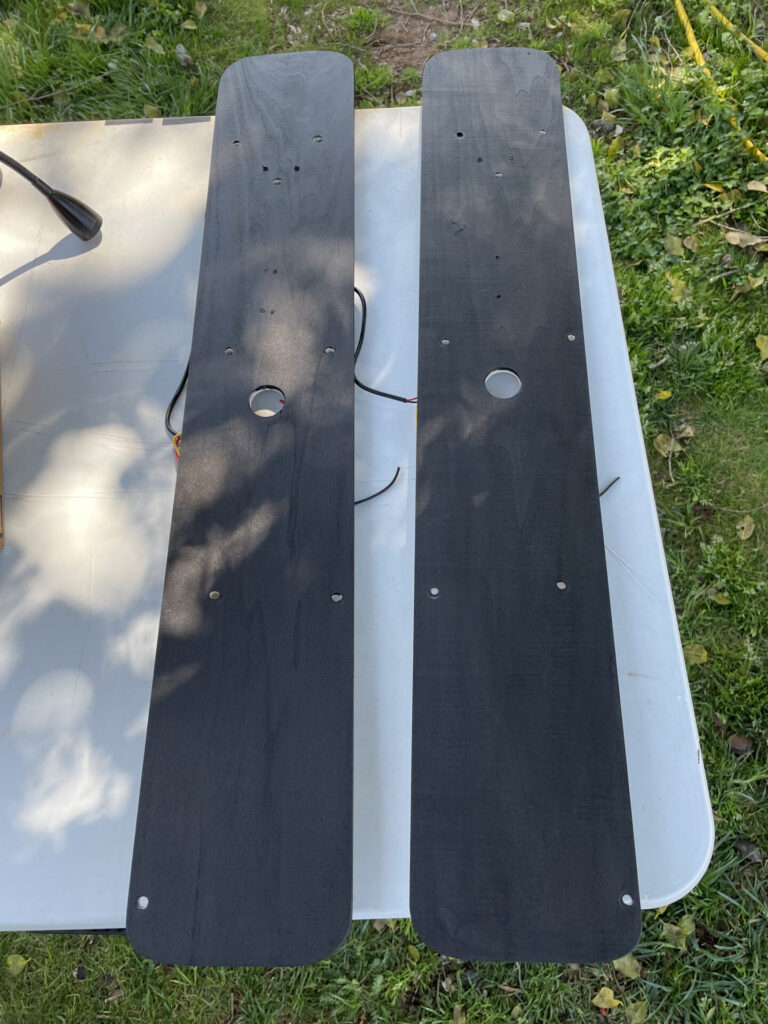
The panels are made out of 1/4 inch thick poplar and are finished them with some black stain to make them blend in to the corners.
Both panels include a dimmable 2700K reading light, a folding drink holder that serves as a small shelf and a 2-port USB charger. The passenger side panel also powers the security camera and contains a 12V “cigarette” outlet to provide power for tire pumps, fans, etc.
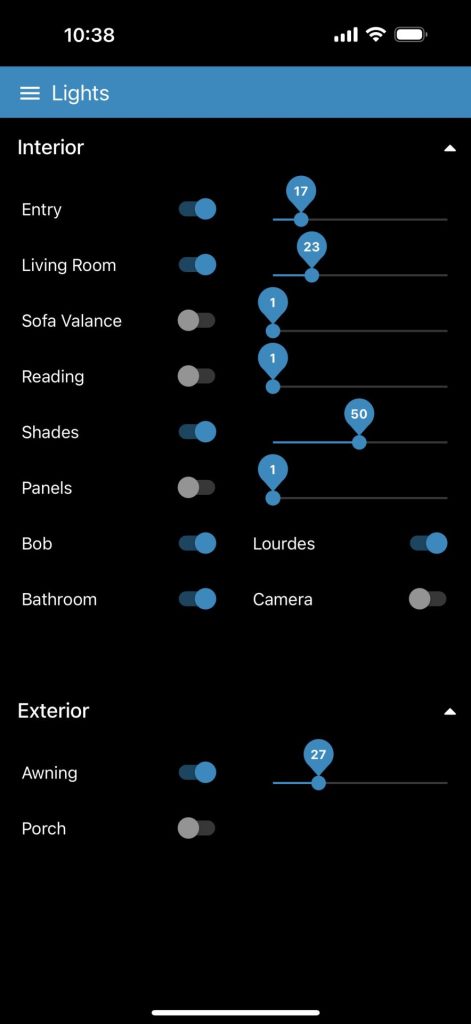
The Coachproxy automation system that I described in a previous post controls the new reading lights and our security camera.

MyErvin Lights Screen
The process that I followed is below.
- Removed the stock panels, laid them on the poplar panels, traced the outline and marked the screw holes.
- Cut out the panels with a coping saw and drilled the holes.
- Mounted the panels and decided where to mount the items that I had chosen.
- Marked off the chosen positions and assembled the board. It was important to position the items with the bed raised and lowered to support both settings.
- I chose the run some 14/3 Marine wire from the driver’s side ottoman to each panel so that I could tie the lights and camera in to the Spyder board but it would also be easy to just tie them in to the house battery. I’d recommend using something like the Blue Sea Fuse block below to protect each connection.
The photos below may help with visualizing what’s entailed in the project.

Mounted Driver’s Side Panel Before Staining

Both Panels after Staining
Here are the parts that I used.
- 2 – 1/4 x 6 x 48 Poplar Panels from Lowes.
- 2 – Bedside Reading Lights
- 1 – 2 Pack 12V to 5V 3A DC/DC Buck Converter Module
- 2 – https://www.amazon.com/gp/product/B07CJW3ZRP/
- 2 – RYDONAIR Aluminum 4.2A Dual USB Charger
- 1 – Ancor Marine Grade Duplex and Triplex Wire
- 1 – Blue Sea Systems ST Blade ATO/ATC Fuse Blocks. (5A Fuse on each circuit).
- 1 – SamaN TEW-108-12, Black, Interior Water Based Stain
Sounds interesting. But really cannot see much of what is there with the one pic. Need a closeup. Thanks!
Hi Terry,
Thank you for pointing that out. I’ve added a few more photos that may help.
Bob
I am in the process of doing this. One question is what route did you pick to take to get the wire from the panel to the ottoman
Hi Robert, I ran the wires in two 5/8” split looms along the walls in the trunk and then through the holes in the sofa bed fascia panel. Please let me know if there’s anything else I can do to help.
Bob
Thanks. That what I was thinking but was wondering if you came up with a better idea. Robert
I had already used a split loom path to route the antenna wires on the passenger side for my WiFi Ranger setup. It had worked well so I decided to continue using it for the panels. When I installed the indirect lighting in the shade covers I ran the wiring from the driver’s side ottoman > under the floor to the passenger side ottoman > under the stove drawer > up the channel behind the faucet > and then through the body channels behind the cabinets. If you want to avoid using the split loom then that path would work well too. Removing the oven and drawer and the curved corner panels in the rear cabinet will make the chore much easier.
https://bclass.org/wp-content/uploads/2023/02/IMG_3759.jpeg