Maintaining the Chassis Battery
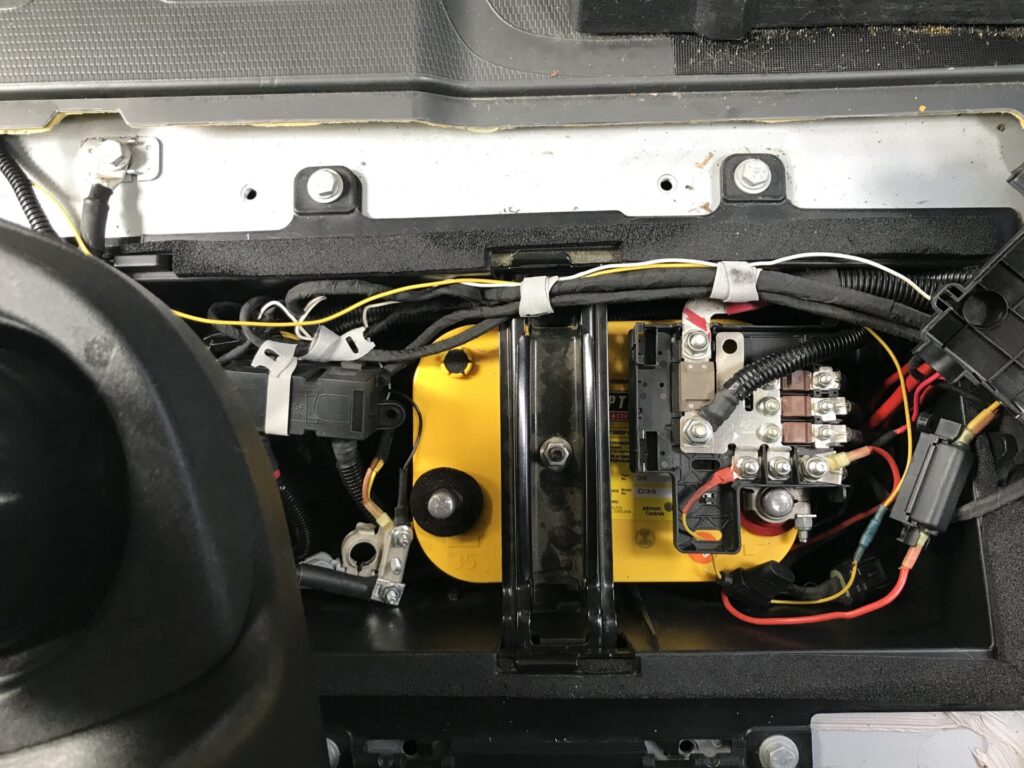
Optima Yellow Top Spiral Wound Chassis Battery.
My chassis battery was an outlier and a problem waiting to happen. I had no way to monitor it’s health, set a charging profile or charge it without the engine running.
There had to be an efficient way to tie it in to the house system so that it could simply benefit from the power already being generated and stored by the house electric system. I got to work on a solution.
The stock wiring on our 2017 Lexor TS made the task fairly simple. The isolator between the chassis and house systems was mounted in the top center of the engine bay. In a stock setup the task would have been as simple as connecting a 12VDC to 12VDC charger with the input connected to the chassis battery terminal and the output connected to the house battery terminal on the isolator. In my case it was a bit more involved as I had installed a dedicated 58V alternator and the original wiring had been modified to remove the isolator and provide a direct path to the 48V house system.
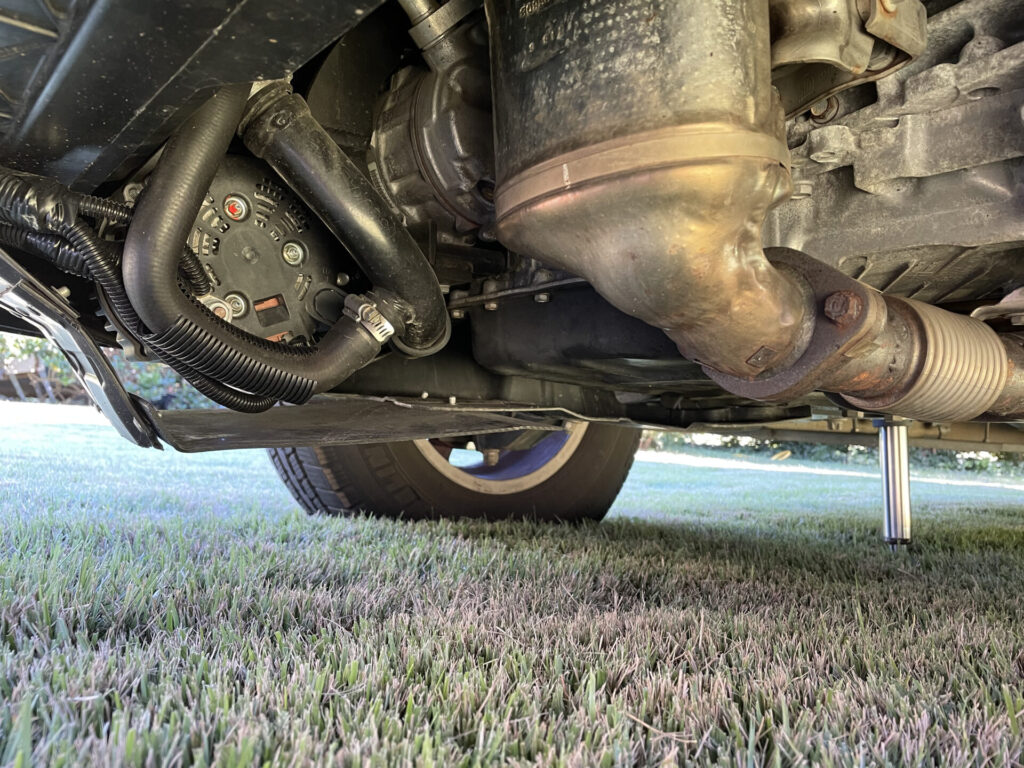
58V Alternator
In order to accomplish the task I had to step down the voltage from 48VDC to 12VDC. To do this I used a Victron MPPT solar controller. I first cut a piece of 1/4″ ABS sheet to mount the solar controller. I then connected the “solar” input to the Blue Sea battery terminal that had taken the place of the isolator and connected the “battery”output to the jump start terminal. I connected both grounds to the same spot in the engine bay.
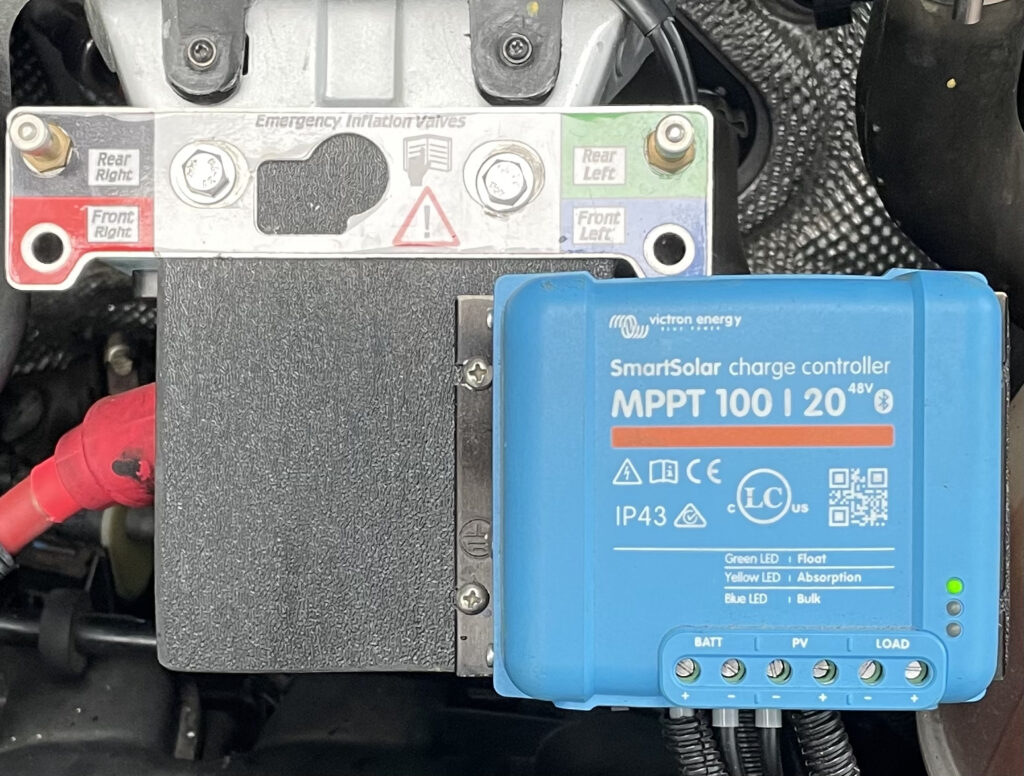
Victron Solar Controller on ABS Mount
I then logged in to the solar controller with the Victron Connect app and set the charging profile to meet the requirements of my chassis battery.

Victon Connect Application on iPhone
This setup has been keeping my chassis battery happy and healthy for over a year now. Having it in place has integrated the chassis battery in to the house system and has made life on the road a little simpler.
Here are some of the items that I used on the project. I’ve included POR 15 on the list since I found some corrosion starting on the mounting point when I removed the isolator. You may want to treat the area during the process. I also replaced the stock mounting bolts with 304 stainless steel parts from Lowes as they were also showing signs of corrosion.