12V 600Ah House System
We soon realized that our climate control options needed to be improved to ensure that our beagle Cappi could safely remain in the vehicle if we had to leave her for a few moments. It was possible to turn on the generator and run the air conditioner (A/C) but we found that its use was often undesirable or restricted.
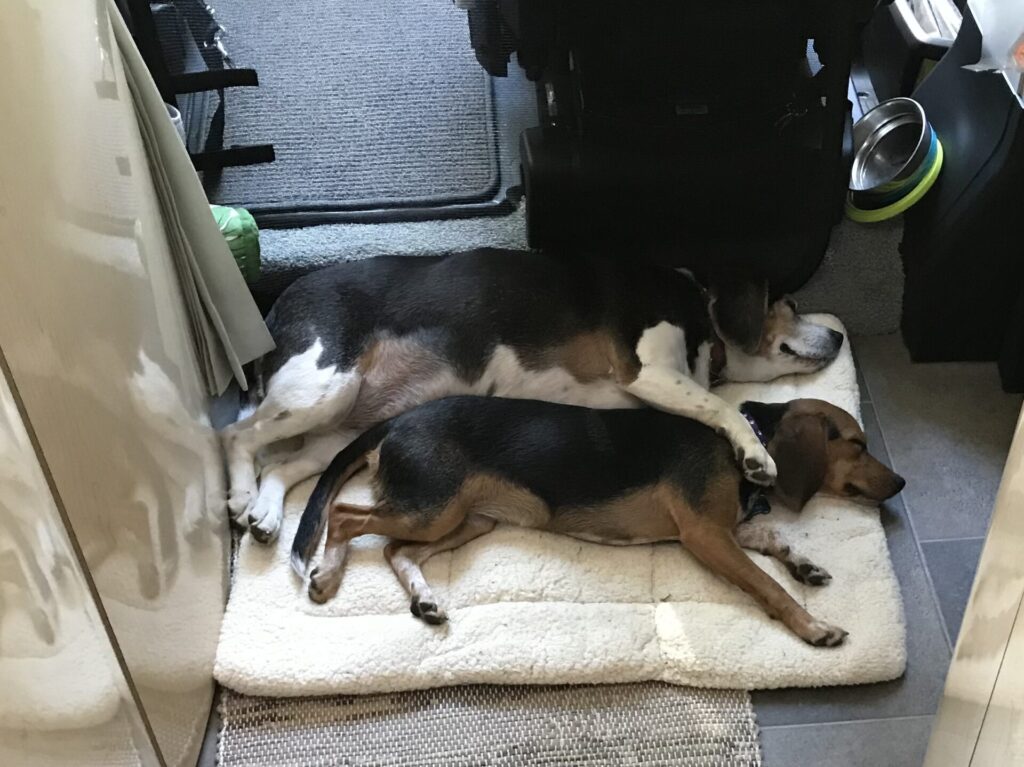
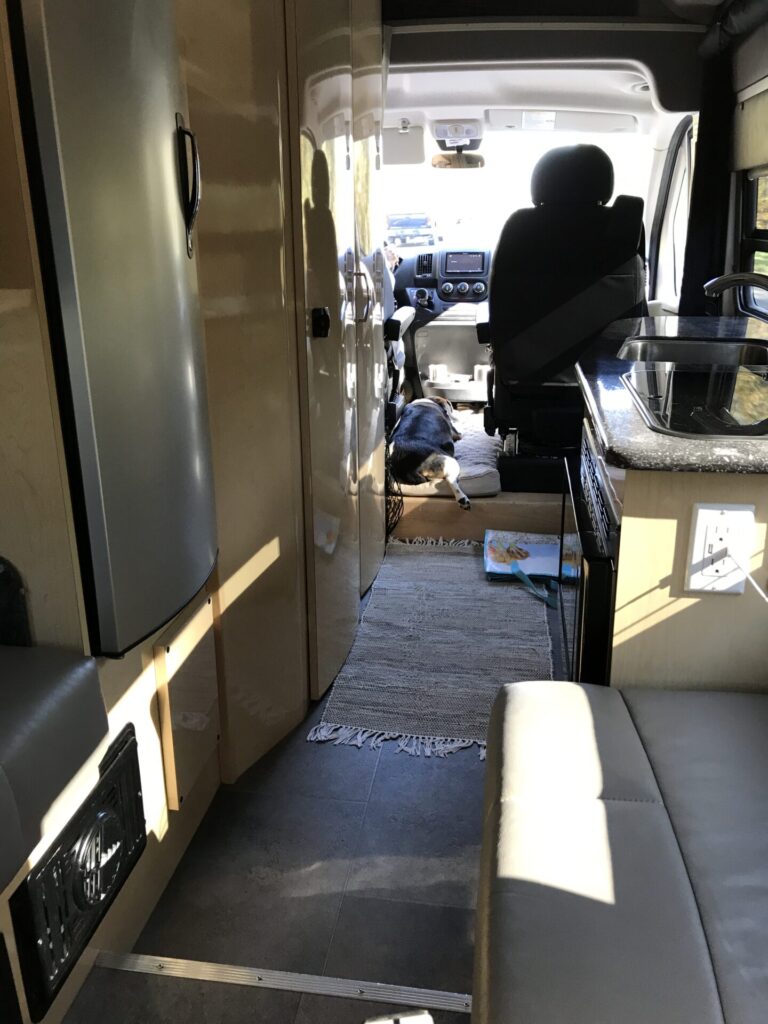
Cappi and Her Guest Citra Lounging in Lexi
In the first phase of the project I removed the Xantrex 2000W inverter and replaced it with a Xantrex 3000W inverter.
The process to accomplish this was as follows.
I disconnected the positive battery cables from the batteries in the trunk and turned off the Inverter In and Inverter Out breakers on the AC breaker panel. I then removed the existing carpet covered pieces in the passenger side ottoman and removed the original inverter.
I built a platform in the open space by screwing two 1″ x 1″ strips to the ottoman walls and then screwing a piece of 5/8″ plywood to those strips. I left space at each end of the new platform to allow easy access to the wires running below it. In the image you’ll see some bright green parachute cord. Whenever I have to “fish” a wire I always attach a piece of cord to it to make a future run a little easier.
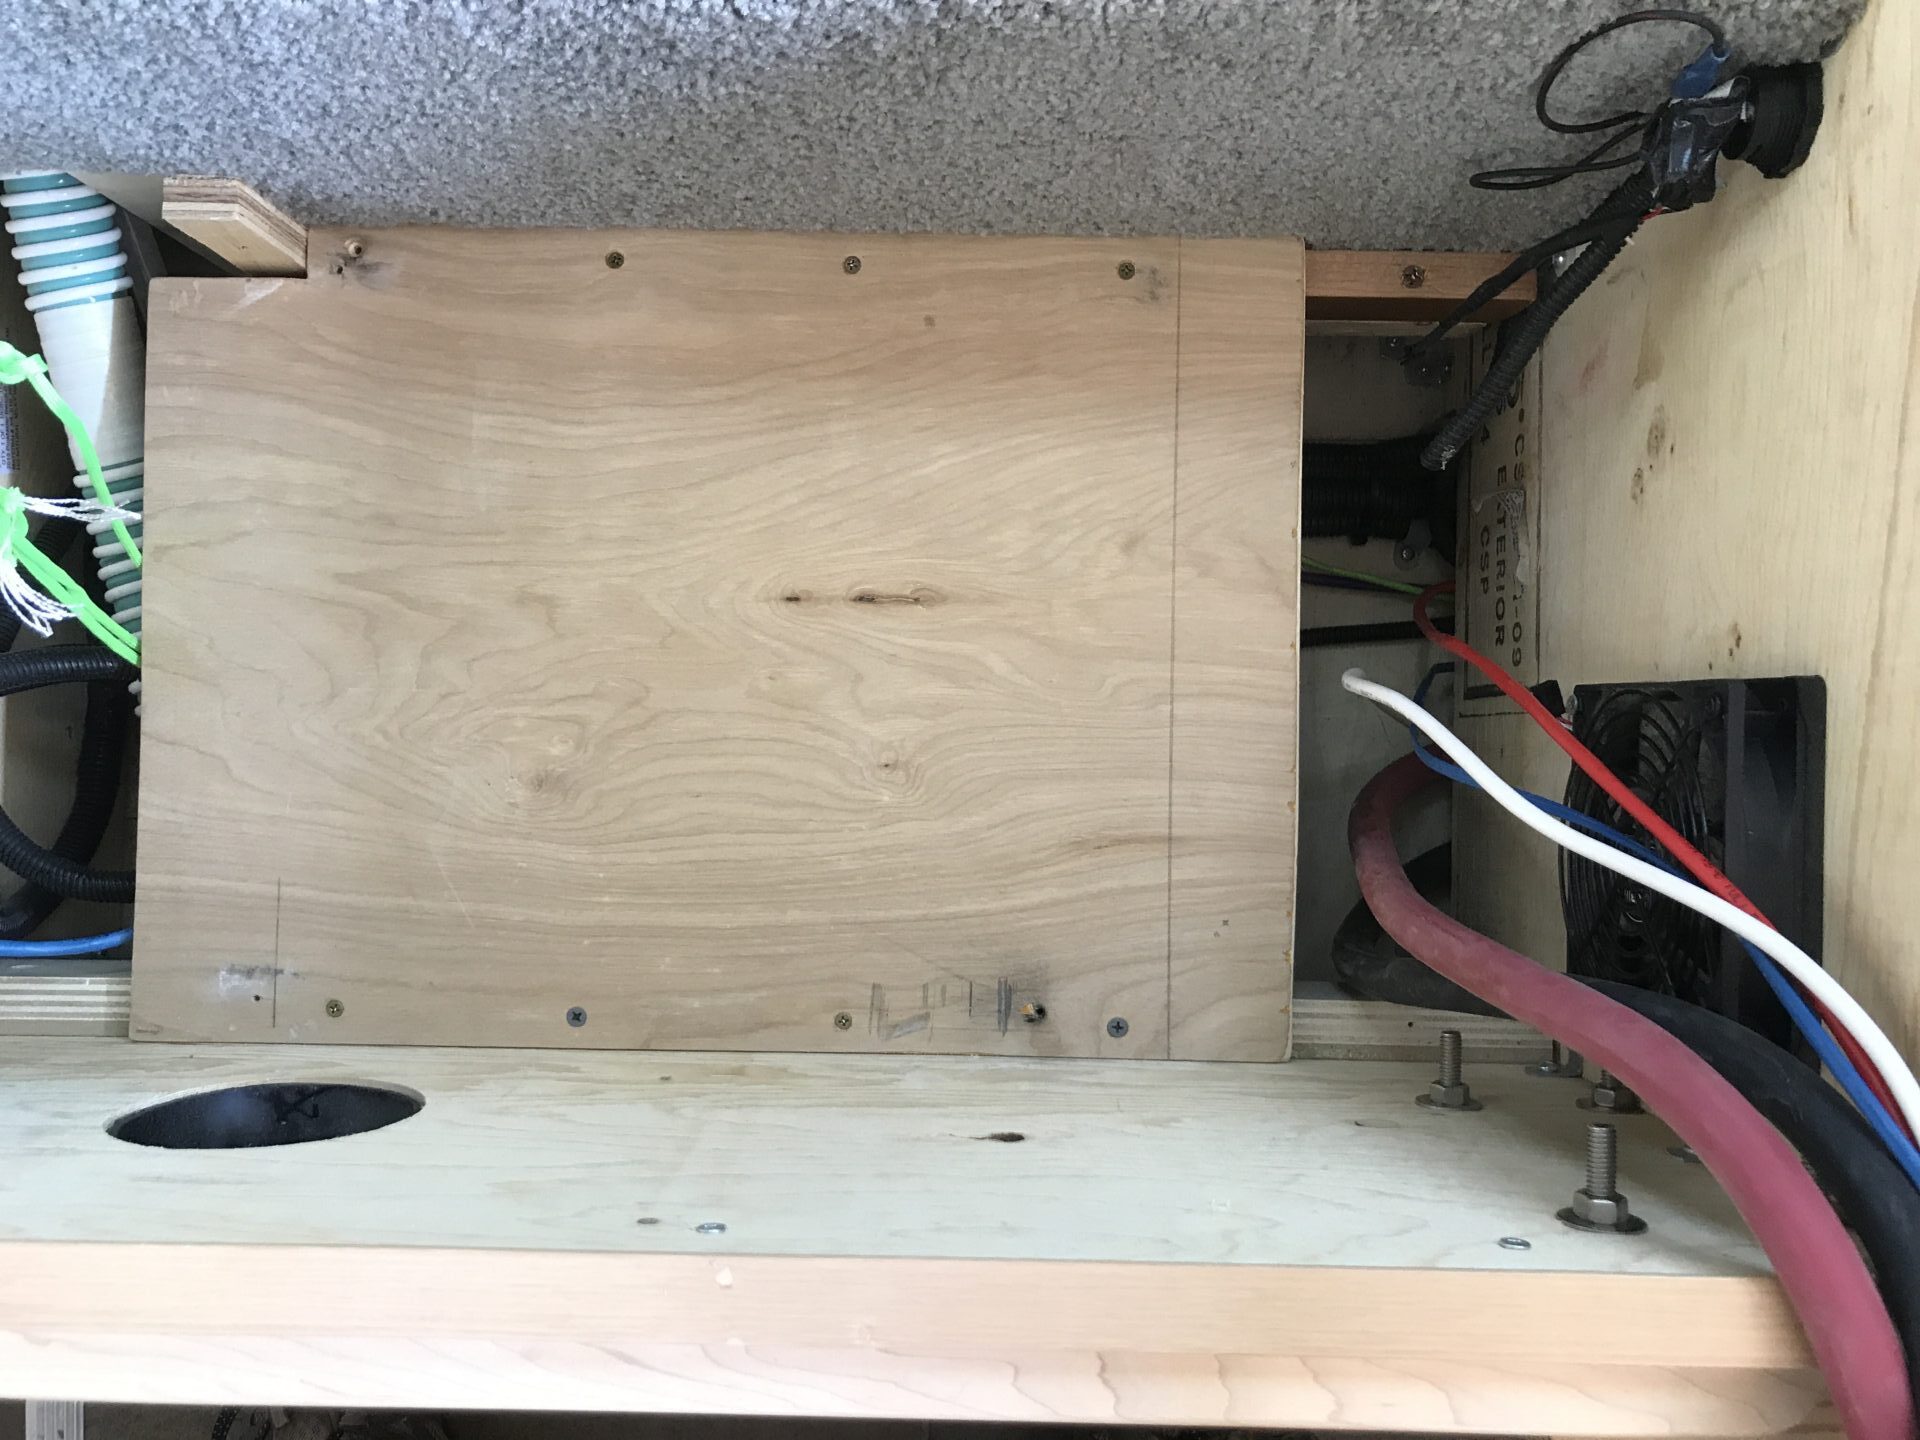
New Platform in Place.
The inverter was then mounted to the platform. The original cables to the battery and AC breaker panel were the proper gauge and had enough length. I was able to simply connect them to the new inverter. The new inverter’s cooling fans lined up nicely with the existing vent holes and I also added a 100mm 12v “quiet” computer fan to the back of the rear intake vent. I oriented it so that it would pull air in to the ottoman. The existing USB plug connection was an easy to access power source for the fan.
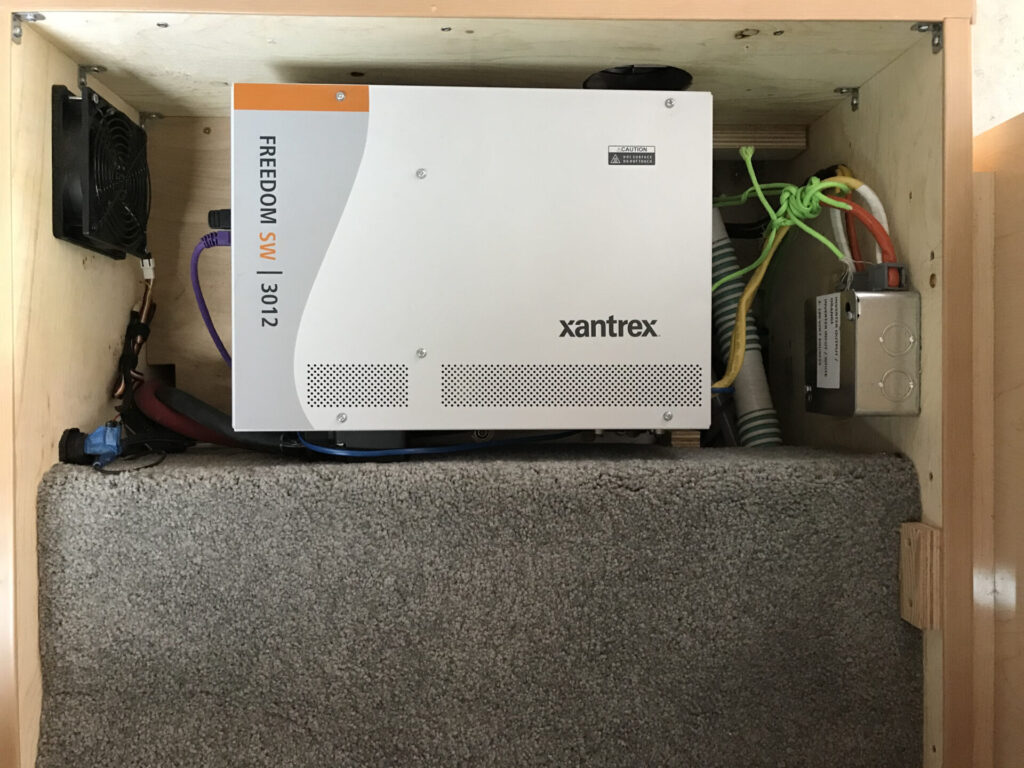
New 3000W Inverter in Passenger Side Ottoman
I also added a remote control panel for the inverter and decided to install it in the compartment at the front end of the passenger side overhead cabinets. I was able to reuse the existing wire for the old inverter’s control panel. I removed the old control panel and covered the hole with a small plaque that I purchased through Etsy.

Old Inverter Control Panel Location with New Plaque Installed.
New Battery Monitor and Inverter Control Panel in Upper Cabinet Utility Area
I then moved across the aisle and removed the front panel on the AC breaker panel. The panel was split in to two zones. The shore and generator powered devices were on the left and the inverter powered devices were on the right. I installed a new breaker for the Air Conditioner (A/C) on the right side and moved the black positive wire and white neutral wire from the old breaker to the new one. The ground was shared and could remain in place. The existing breaker could have just been moved from one side to the other but the part was readily available at Lowes so I added a new one and kept the old one in place for future use if needed.
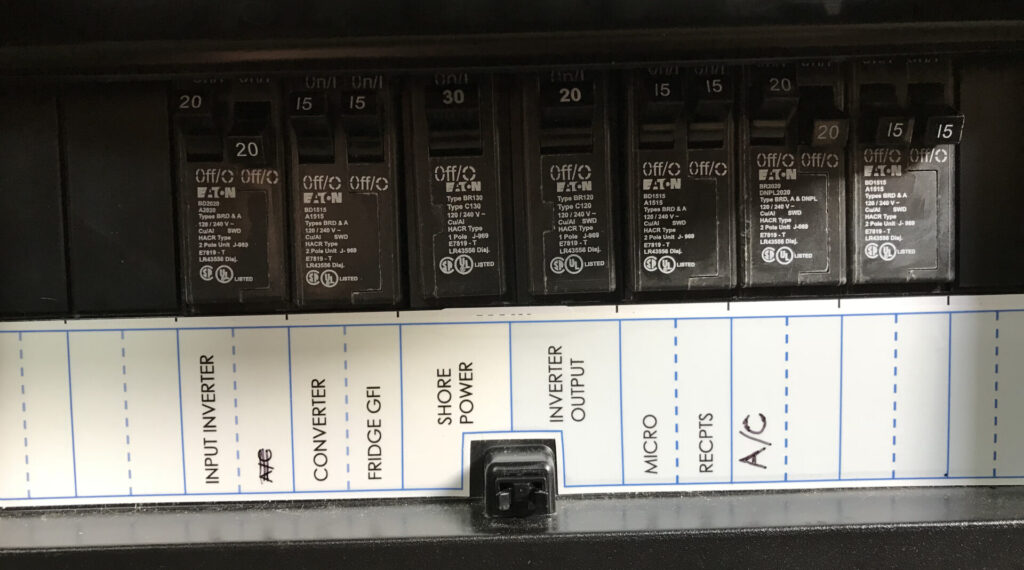
AC Breaker Panel After the Modification
On a 90 degree summer day in Virginia we found that we could run the A/C off the 200Ah battery bank for about 90 minutes. We could also now run the A/C and use the microwave or hair dryer without popping a breaker. We liked the new capabilities so much that we decided to proceed to a second phase and add more battery capacity.
After doing a fair amount of research I found the manufacturer that was providing cells to some of the popular aftermarket vendors in the US. I placed an order for 2 – 300Ah LiFeP04 batteries with an internal BMS that could support 150Ah charging and discharging rates.
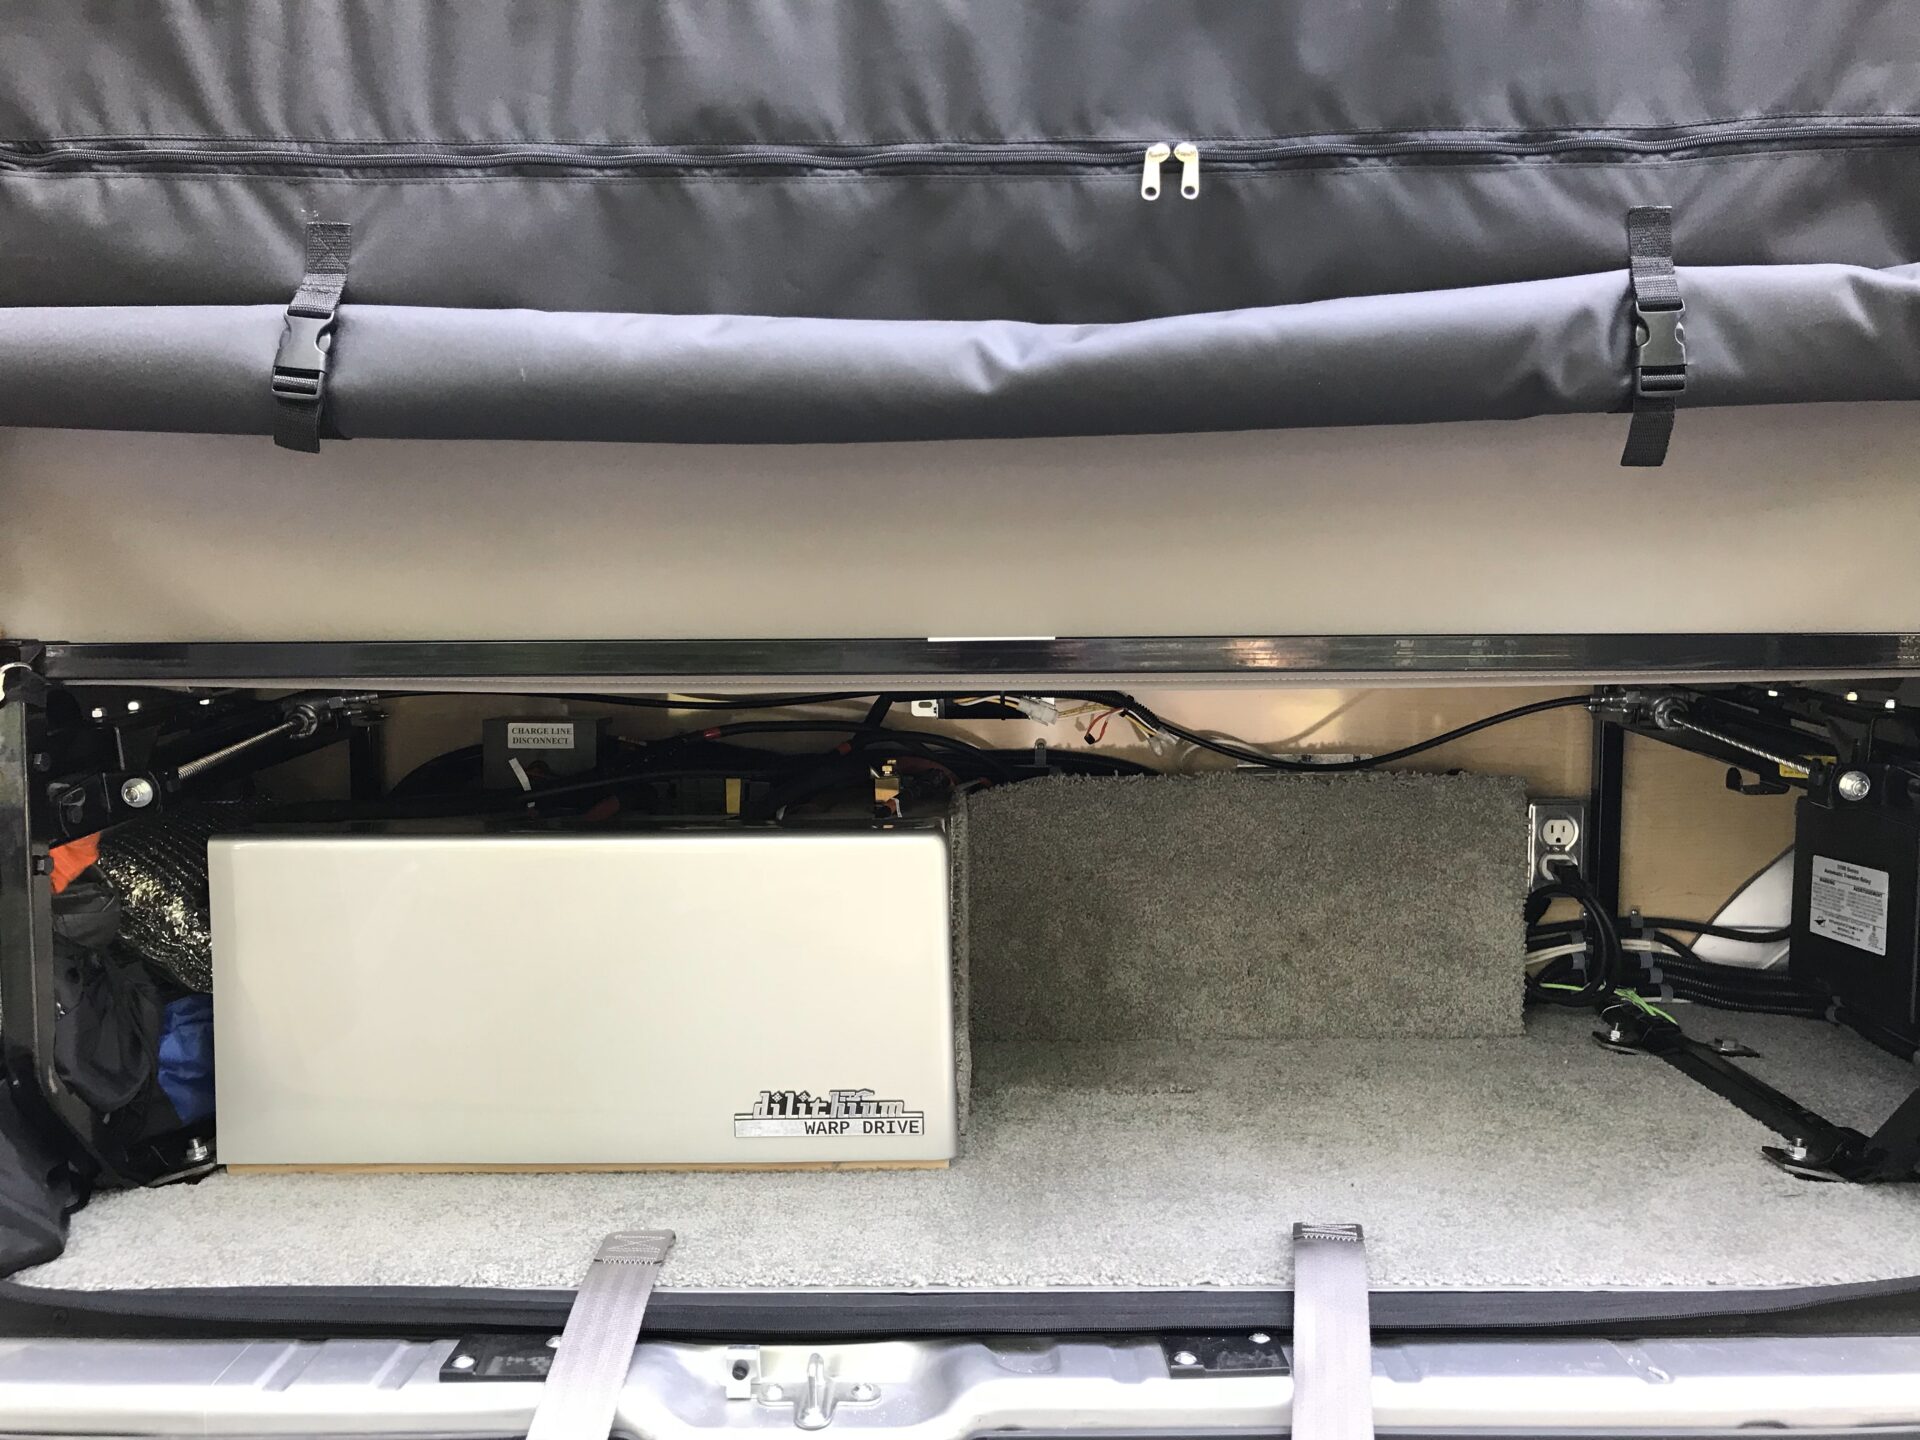
The batteries arrived in about two weeks. I built a caddy out of plywood to house them. I incorporated a slide out heated panel underneath the batteries and added it as a zone on our plumbing heating system.
The New Battery Caddy
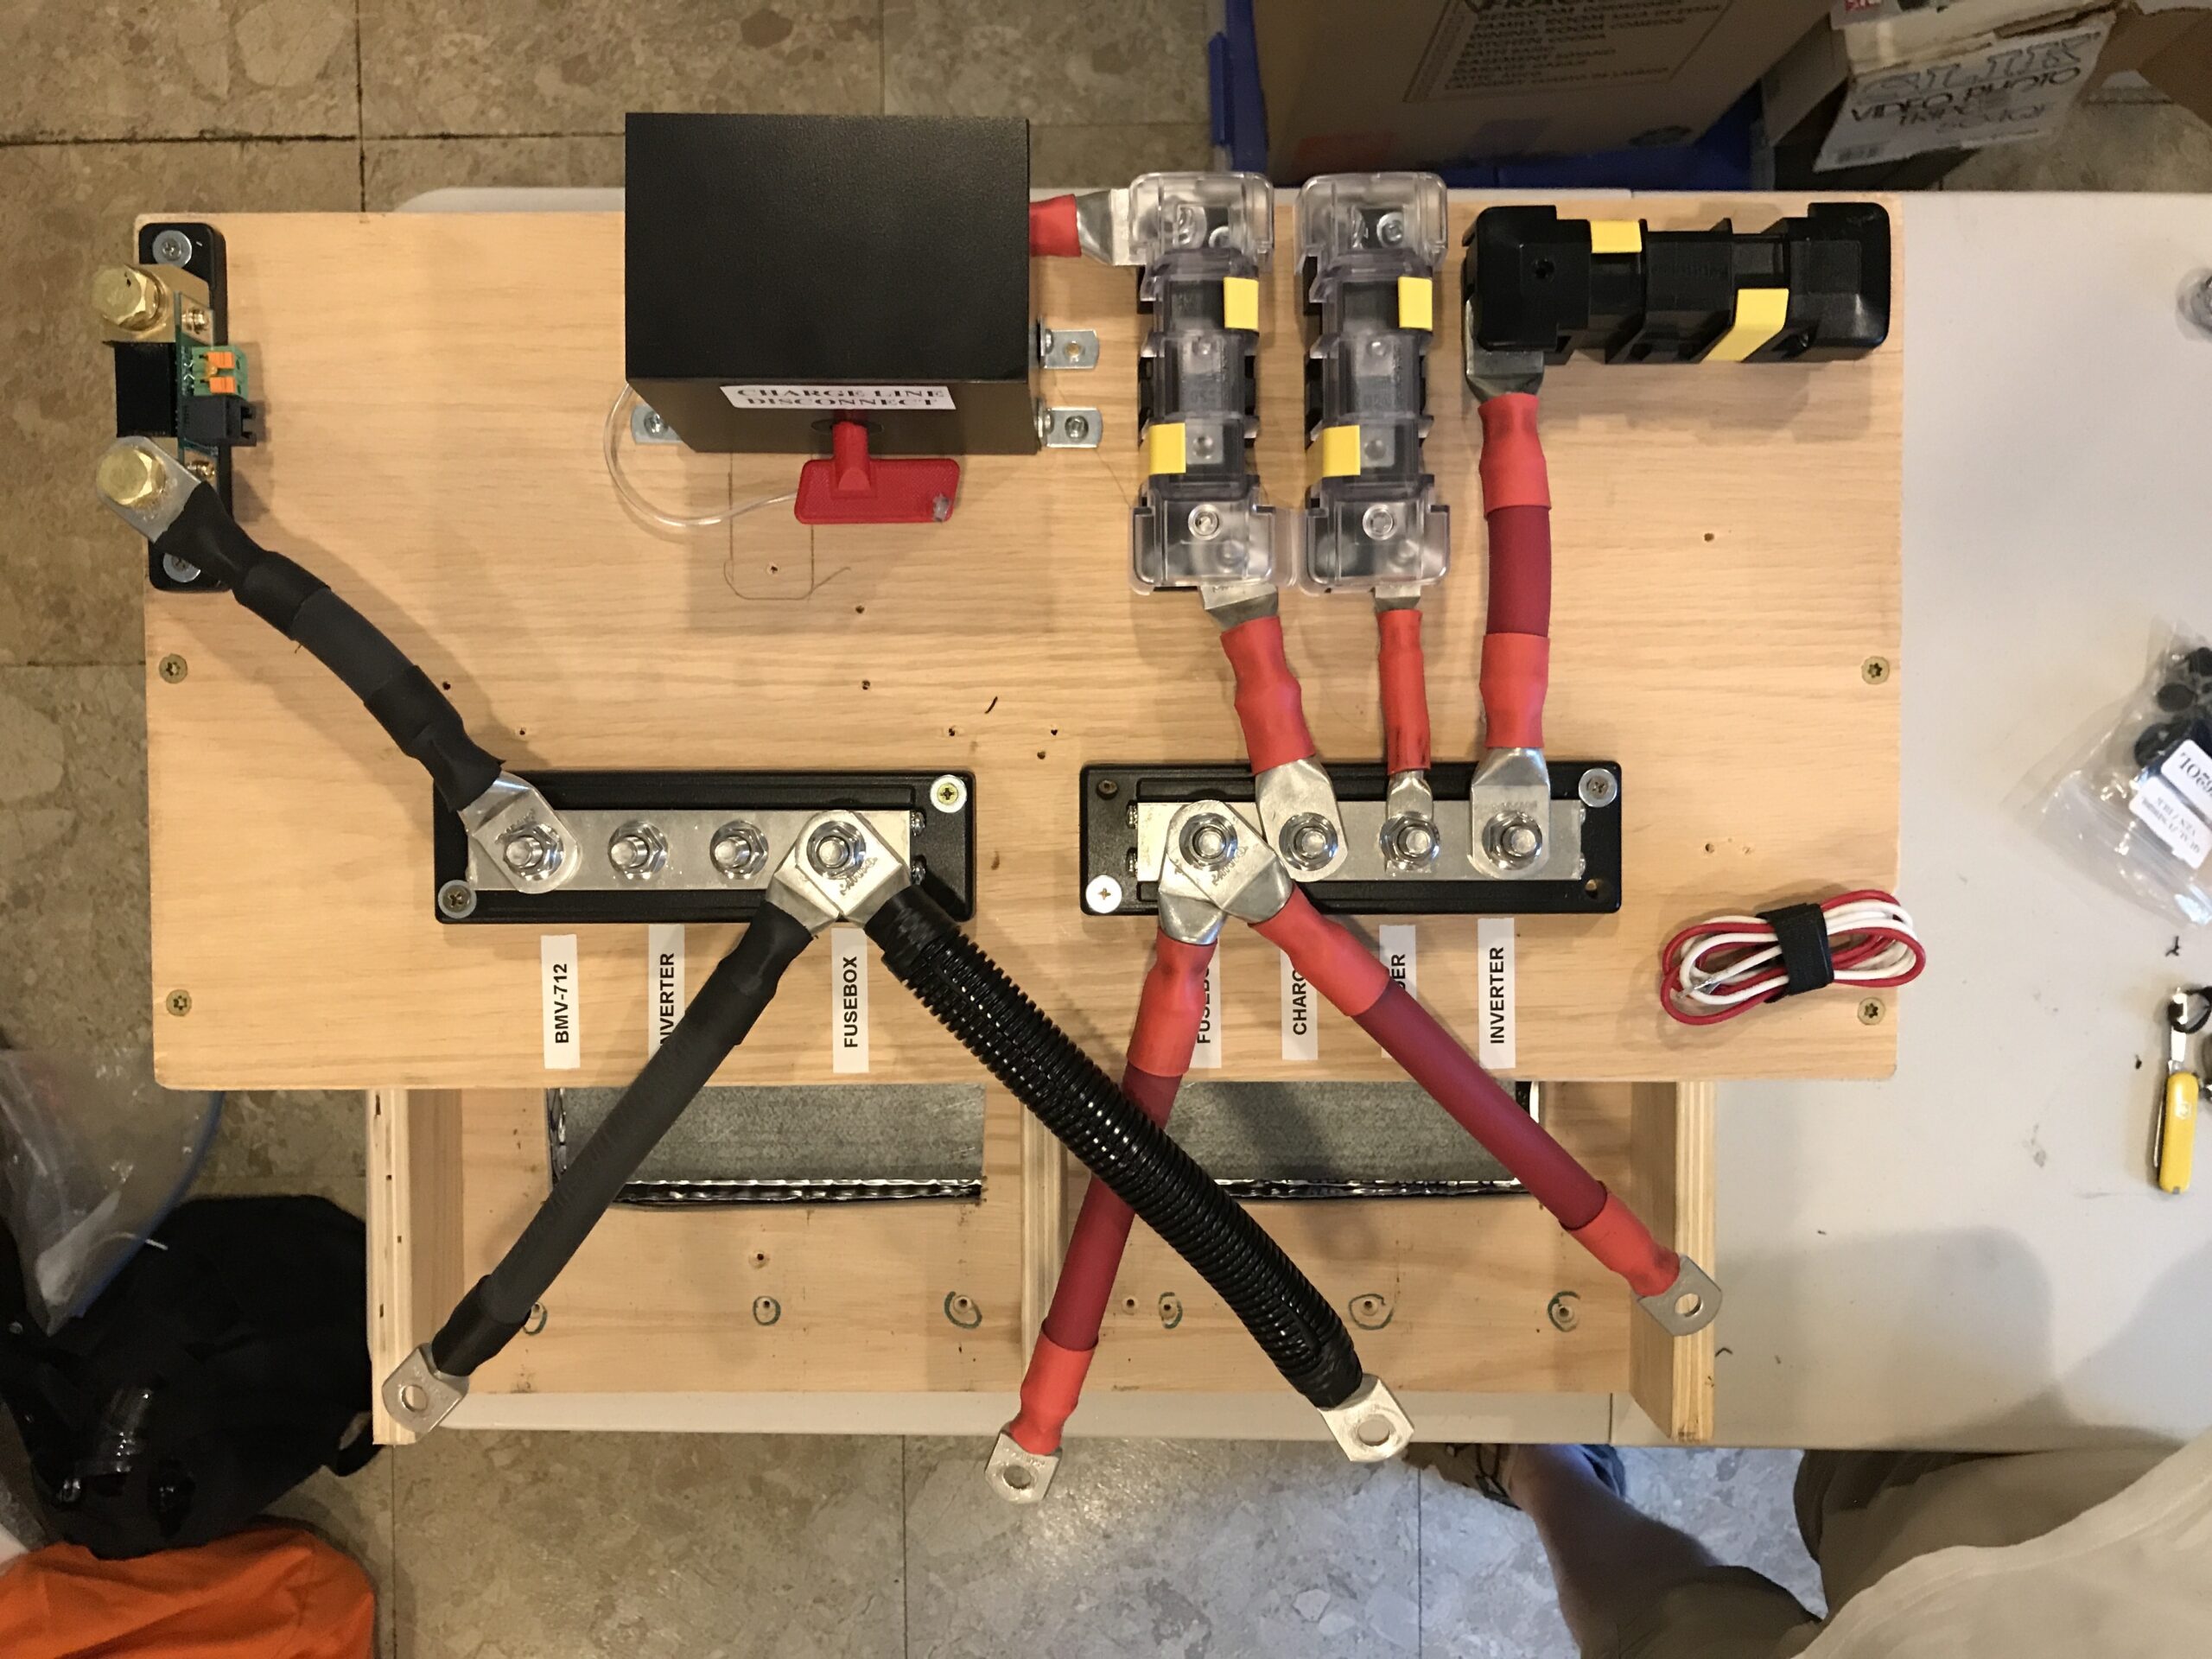
On top of the caddy I designed a circuit board that allowed each battery’s positive and negative cables to be connected to a bus bar with equal length cables. I added a Blue Sea fuse block for each charging source (alternator, generator, inverter/charger and converter). I also added a Victron BMV-712 shunt as the chassis grounding point. The cutter and crimper that I’ve listed below were terrific tools to make new cables and adjust existing cable lengths. The existing cables were either 4/0 AWG or 2 AWG.
I removed the 200Ah battery pack and housing and installed my caddy in its place. The caddy was secured to the floor and the panel beneath the sofa with high tensile strength wood screws at attachment points similar to the original housing.
I connected the positive leads for each charging and discharge source to their respective fuse terminals and connected the two existing negative chassis grounds cables to the Victron shunt.
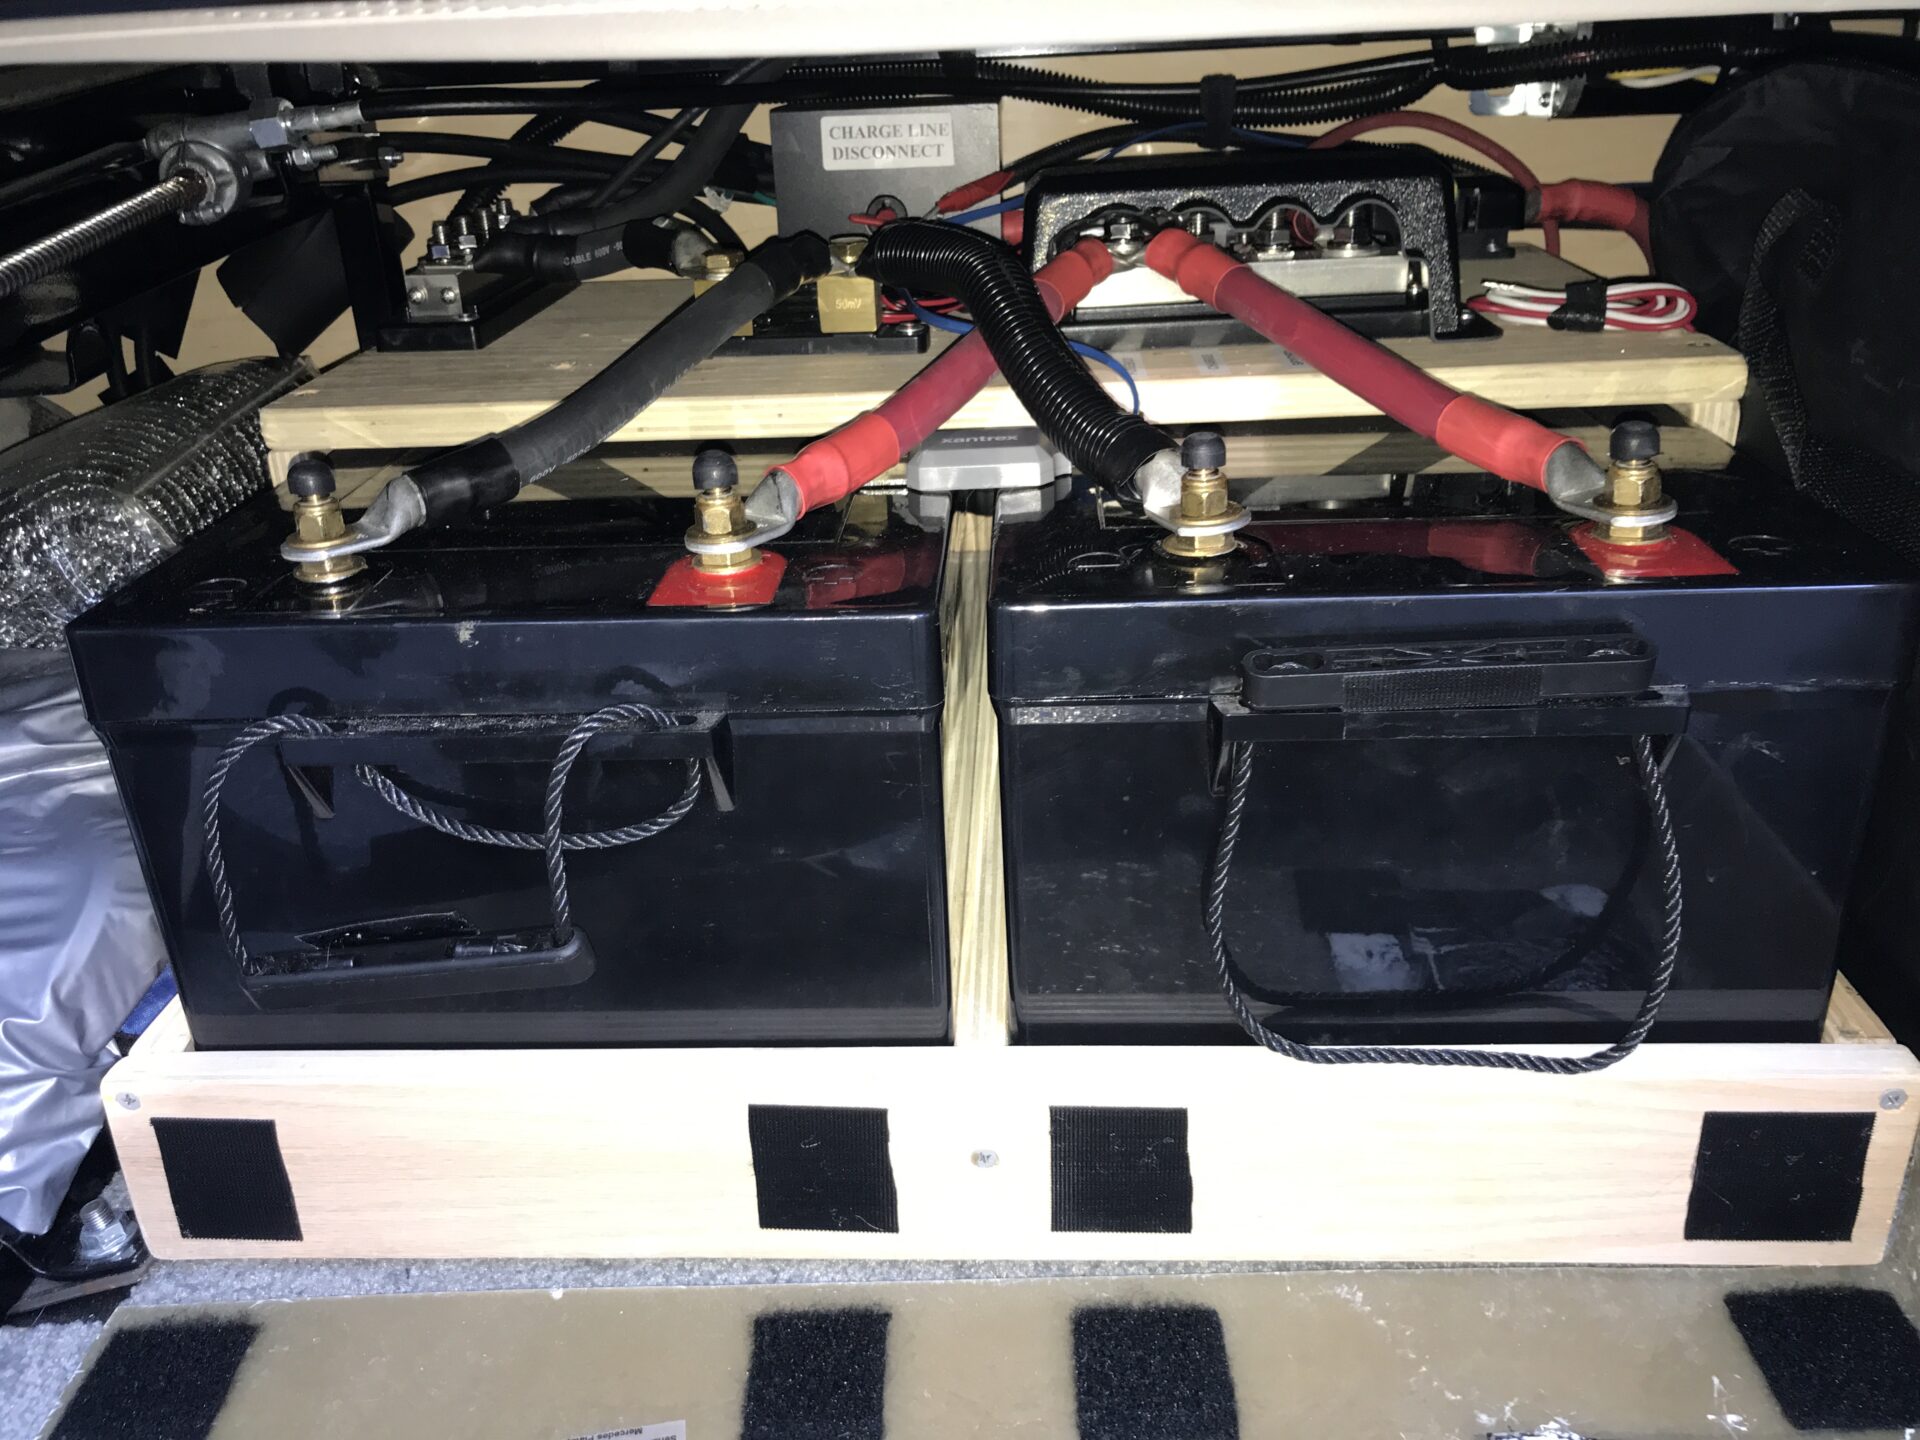
New Caddy with Two 300Ah Batteries Installed in Trunk
New Installation with Covers in Place
I decided to place the Victron BMV-712 display in the same location as the inverter control panel. To accomplish this I had to remove the microwave and the drawer below it The cable was then routed through the vent pipe cover behind the sink, along the floor under the drawer and passenger side ottoman and then in to the trunk.
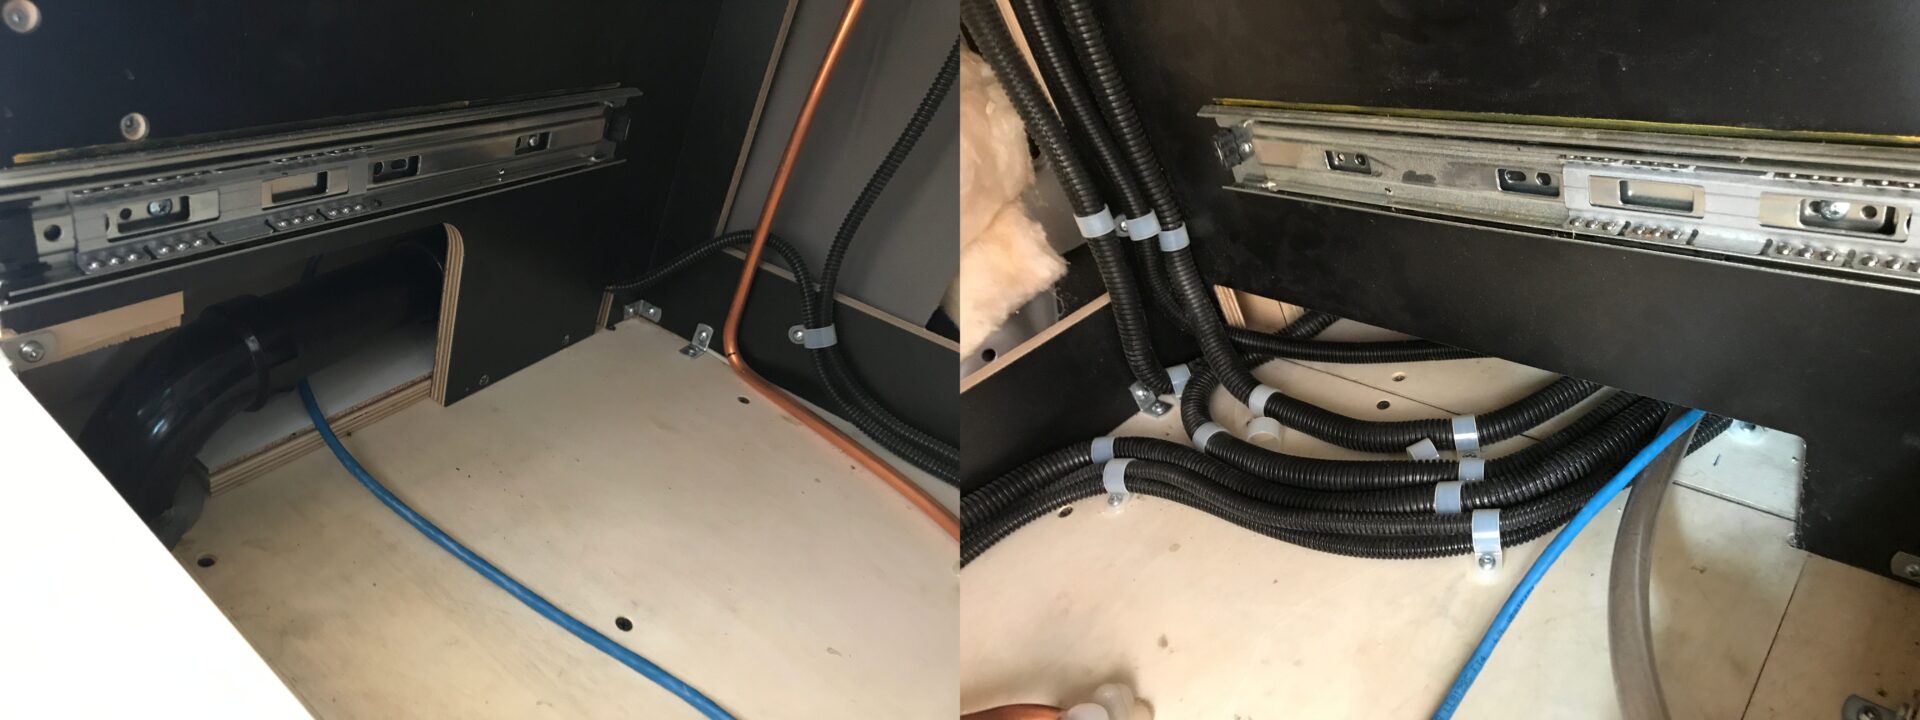
The 2017 Lexor TS has a raised floor in the back that makes running cables between the two ottomans and the trunk area extremely easy.
I turned everything back on and we now had the ability to run the A/C for 5 to 6 hours on battery power.
After using the system for a while I decided that upgrading the alternator to allow faster charging would add some nice flexibility. The stock 220Ah alternator was no slouch but I decided to install the 270Ah alternator from Nations. The additional output allowed us to decrease the charging time for the 600Ah bank from 5.5 to 3.5 hours of driving time.
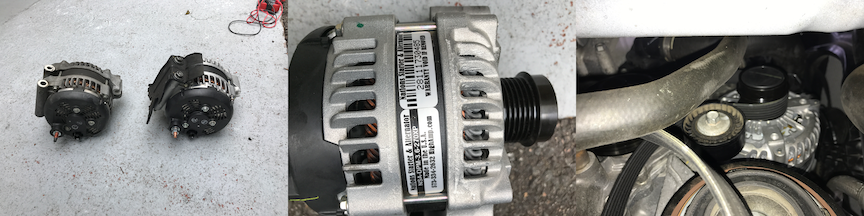
Installation of New 270A Alternator
Removing the old alternator and installing the new one was very straight forward with some common tools that I had on hand. The instructions provided by Nations were clear and easy to follow.
We also added a High Idle Kit to allow the alternator to safely provide more output when needed. It was simple to install and added some nice flexibility to the setup.
These improvements along with the monitoring capabilities of our Cappi Cam allowed us to ensure that Cappi was safe and sound if we had to leave her alone in our little home for a few minutes. We also found that they allowed us to comfortably stay in locations where the generator was a no go.
Watching Cappi on Cappi Cam While We’re Away for a Few Moments
We liked the new capability so much that we later decided to take the system up a notch by installing a 48V 12.1 kWh House System to provide faster charging and more capacity.
Here are some of the items that I used for the project.
- Ratchet Cable Cutters
- Hydraulic Cable Terminal Crimper
- 4/0 Gauge Marine Grade Wire Lugs
- 2 Gauge Marine Grade Wire Lugs
- Blue Sea Systems 600A-1000A PowerBars
- Blue Sea Fuse Block MIDI
- Victron Energy BMV-712
- Xantrex Freedom SW3012
- Xantrex 809-0921 Xanbus System Control Panel
Thanks for the inspiration! Your 48v system looks fantastic but it out of scope for me for a while, but a 12v upgrade, that I can do!
Could you possibly include more detailed photos of your battery caddy and wiring? Maybe just link the existing thumbnail-quality images to bigger ones? Thanks
Hi Mark,
I’ve added some links to the the two photos that show the caddy that will open up some higher res images. I hope they’ll have what you are trying to see. Please let me know if there’s anything else I can do to help.
Bob
Bob,
I would like to do this to our 2020 Lexor for the same reason, run the a/c for an hour or so while the dog is in the rig.
If I just switch over the wiring so that the original a/c would run off the original 200ah batteries, is there any reason the generator auto-start would not kick on to recharge the batteries while the a/c was running once they hit the set discharge level if we are gone longer than planned?
Hi Kirk,
Making the change will not affect the operation of the generator’s auto start function. It is triggered by a voltage sensor on the Spyder board that will still respond to the same programming.
Bob
[…] 12V 600Ah House System […]
[…] 12V 600Ah House System […]
[…] removed the generator on our 2017 Lexor TS back in 2018 after installing our 12V 600Ah house electric system upgrade. I decided to use the existing generator brackets to mount a second waste hose tube and a cargo […]
[…] noticed an increased output of about 85 amps each from both our 270A 12V and 160A 58V alternators at 1600 RPM. The temperature sensors that I installed on the […]
[…] had removed the generator on our 2017 Lexor TS back in 2018 after installing our 12V 600Ah house electric system upgrade. I decided to use the existing generator brackets to mount a second waste hose tube and a cargo […]