Using Node-Red to control our MaxxAir Fan and Houghton A/C
This article describes how I used an IR Blaster with Node-Red to add control of our Houghton A/C and MaxxAir fan to our MyErvin automation system. Both items use an Infrared (IR) remote so I decided to use that interface to take control.
A few years ago I had dabbled with using Tasmota devices to take control of some items in our vehicle but abandoned that approach when I discovered the capabilities of MyErvin and the Spyder board. That past experience still proved to be useful as it led me down a path to find the perfect solution for this project. That solution was the Athom IR blaster which I purchased from the following source.
https://www.aliexpress.com/item/1005005772315510.html
Initial Setup
The Atom IR blaster came pre-flashed with Tasmota’s firmware. The steps to set it up were as follows.
Join the Athom’s WiFi network. It will show up in the format (‘tasmota_xxxx’).
Open your browser and navigate to any URL to be redirected to the Tasmota menu.
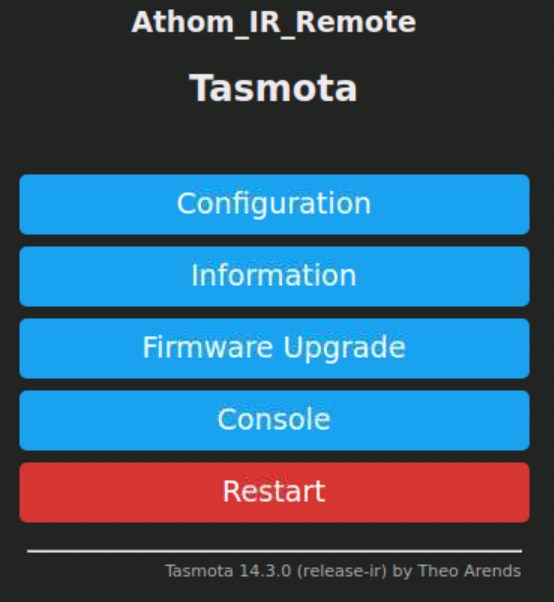
Atom IR Main Menu
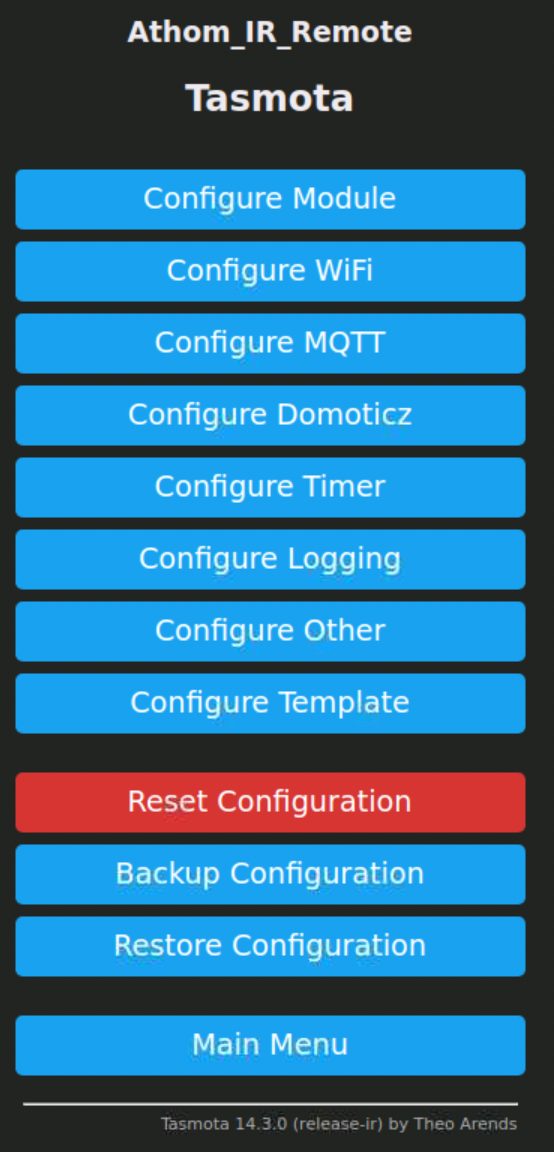
Atom IR Configuration Menu
Select ‘Configure WiFi’ and enter the SSID and password for your own network.
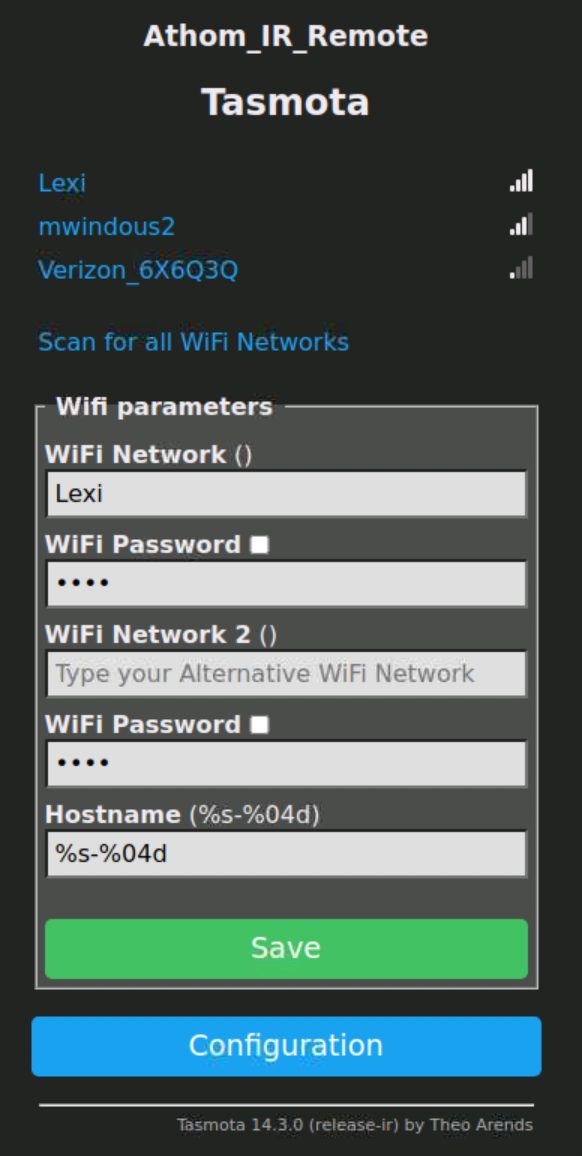
Athom IR WiFi Setup Menu
Save the changes and restart the Athom
Reconnect to your own WiFi network.
Find the Athom’s IP address in your router and browse to that address (ex. http://192.168.44.5)
Select ‘Configure MQTT’ and enter the information for your MQTT broker (in my case it was a MyErvin Raspberry Pi machine).
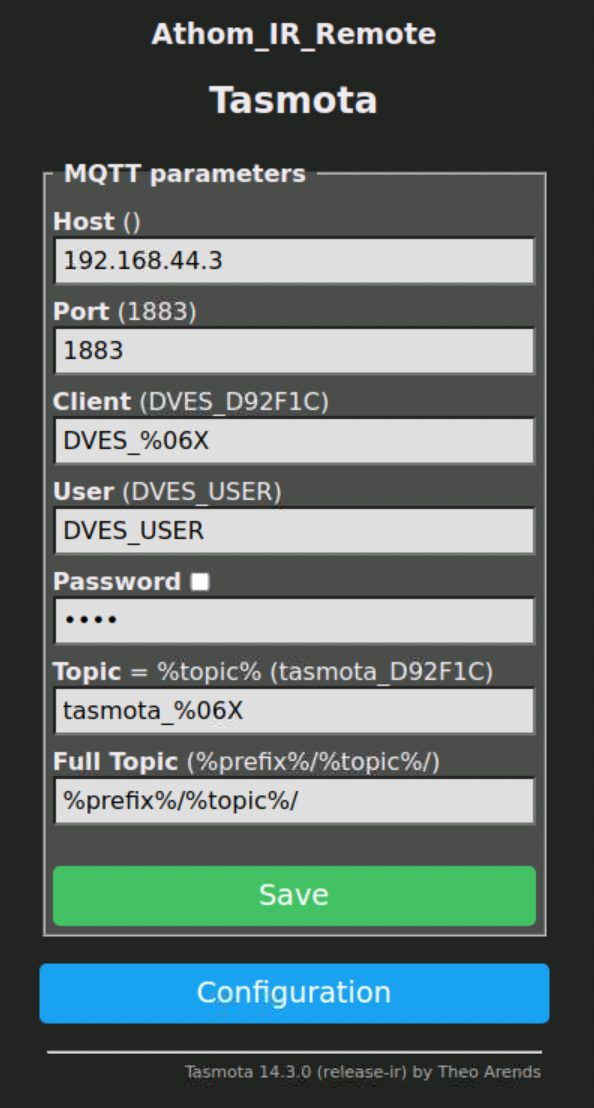
Athom IR MQTT Setup Menu
Save the changes and restart the Athom
Finding the IR Codes
Click ‘Console’ in the Athom’s menu and enter the command SetOption58 1 (there is a space between 58 and 1).
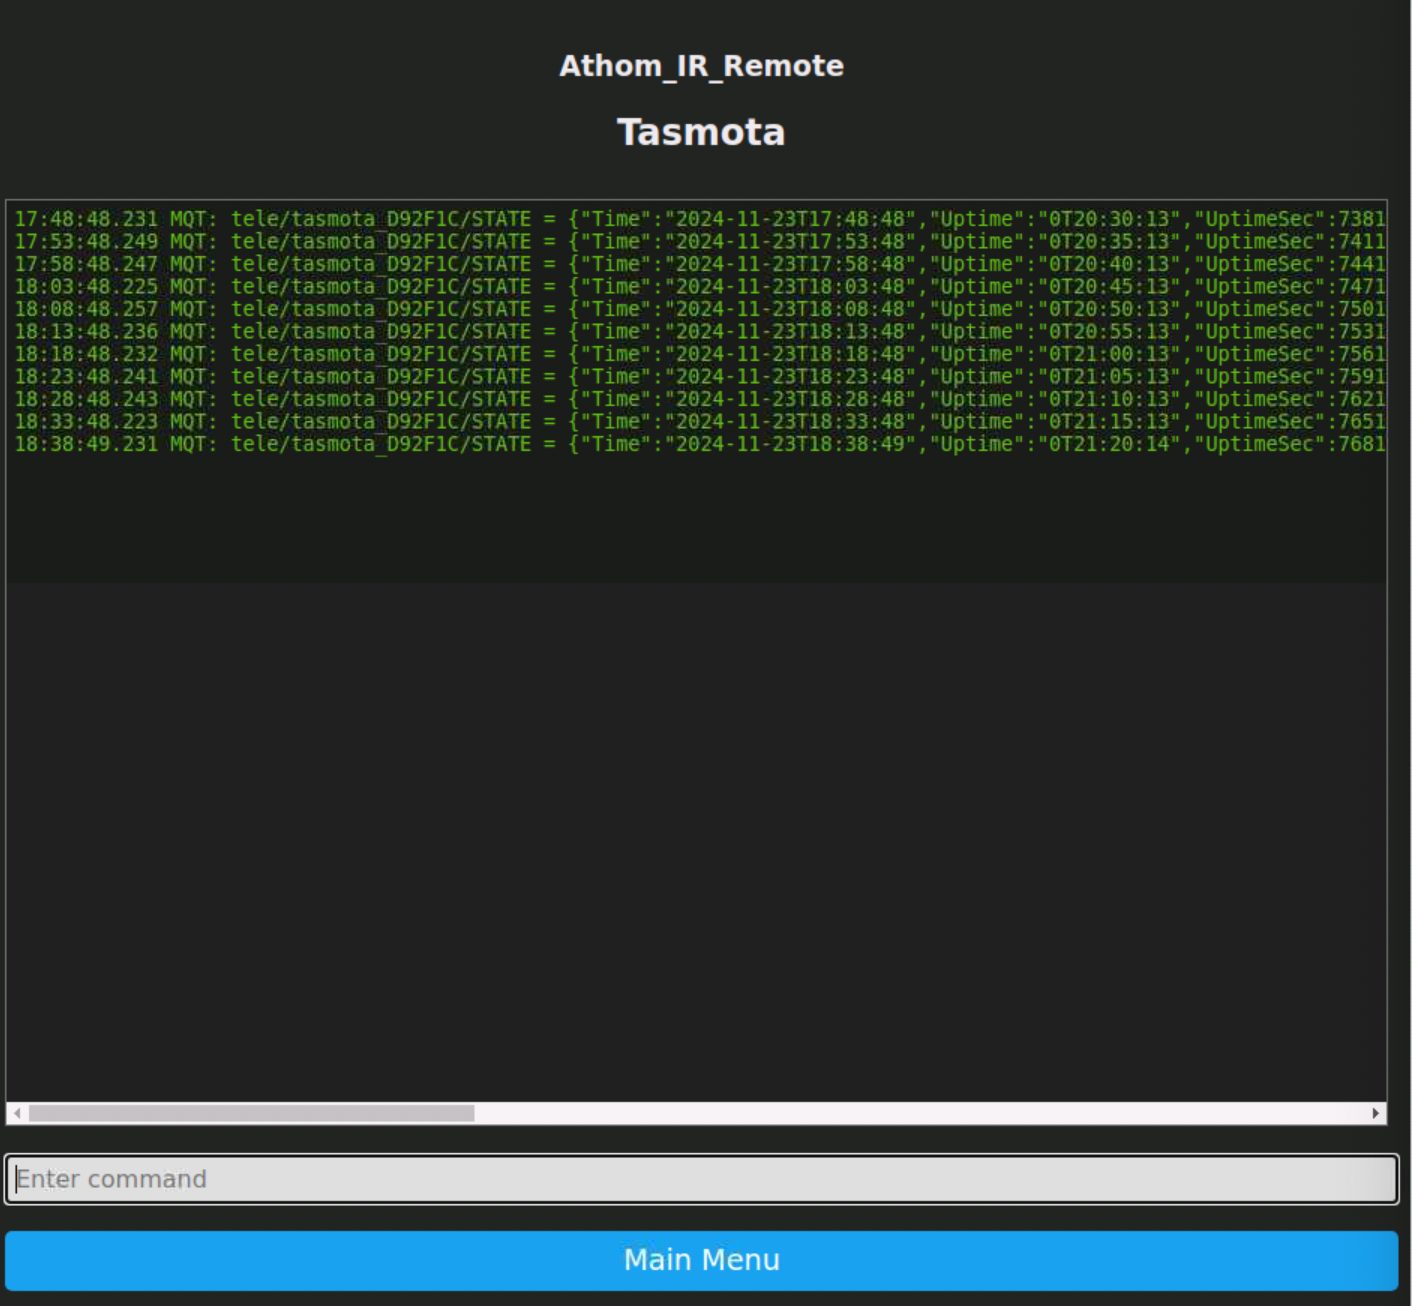
Atom IR Console Screen
Point your remote control at the Athom and click the key you want to capture. You will see a new line appear in the Console’s pane.
You can then copy the data from the console.
Because a number of the commands were “UKNOWN” to Tasmota I chose to use the RAW codes. In each line of data you will see an item named RawData: that is followed by something that looks like the following.
“+4590-2705+365-390+370-920+340fG-395CfGdEdCdEdEfGdEdEdEfGdEdEfGdEdEdEdEdE-415GdEdCfG-325+430dCfGdCdEdEdCdC-330KdEfGdChCdChCdCd+345iCf+320iEh+360hCdGiCfGhG-420G-945GdGpGiChGiG-940NqNqNqNqN-20610A-6740+9345-4930EdGpGpGpGpGpGpGpGpGpGpGpGpGpGpGpGpGpGpGfEdGpGpGpGpGpGpGpGpGiMiMiMiMiMiEdEdEdEdEdEdMiGiGpGpGpGpGpGpGfGpGpGpGpGfGpGpGpGpGpGpGfG-925+335wX-20620+4580”
I created a spreadsheet with two columns. I then recorded the name of the key in the first column and then copied/pasted the data inside the parenthesis in the second column. Clicking the link below will allow you to download a copy of those spreadsheets.
You may test your code by entering it in the command line of the console in the format below.
irsend 0,+4590-2705+365-390+370-920+340fG-395CfGdEdCdEdEfGdEdEdEfGdEdEfGdEdEdEdEdE-415GdEdCfG-325+430dCfGdCdEdEdCdC-330KdEfGdChCdChCdCd+345iCf+320iEh+360hCdGiCfGhG-420G-945GdGpGiChGiG-940NqNqNqNqN-20610A-6740+9345-4930EdGpGpGpGpGpGpGpGpGpGpGpGpGpGpGpGpGpGpGfEdGpGpGpGpGpGpGpGpGiMiMiMiMiMiEdEdEdEdEdEdMiGiGpGpGpGpGpGpGfGpGpGpGpGfGpGpGpGpGpGpGfG-925+335wX-20620+4580
You should see the output of the command in the console and the device should respond just as if you pressed the key on the remote.
Once you have populated your table you can begin to build your interface in Node-Red.
Using the IR Codes in Node-Red
I used the following basic structure to get started and will be refining it as time goes on. There are still a few basic controls to add for fan speed and temperature control. Unfortunately the temperature button is not a simple up/down command. Each temperature is its own command. I have a good idea on how to proceed but for now I’ll just pick a few temperatures and set up a control to select them.
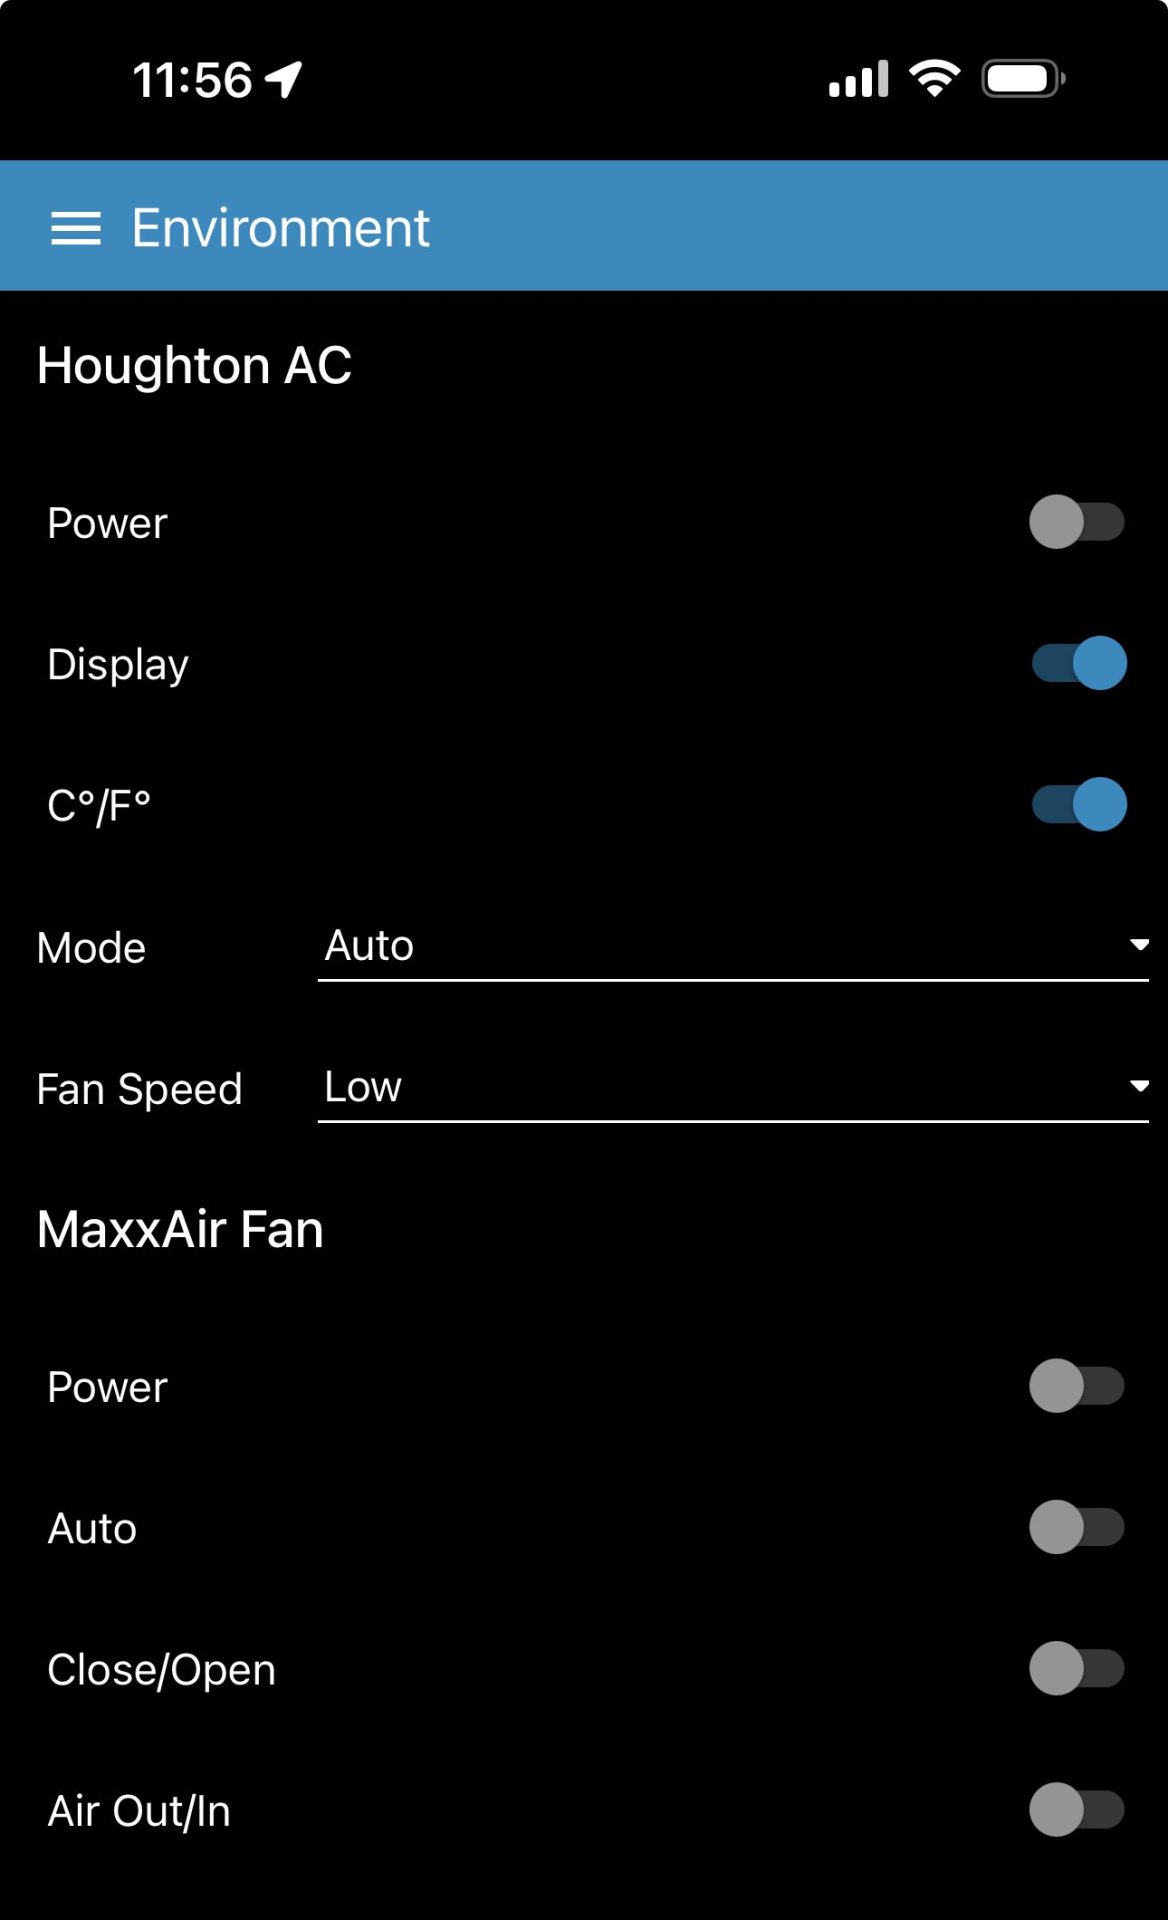
Screenshot of the Dashboard
The link below will download a ZIP file of the Node-Red flow that’s behind the dashboard above:
The images below show a representation of the flow and an example of the settings in one of the dashboard nodes and an MQTT out node.
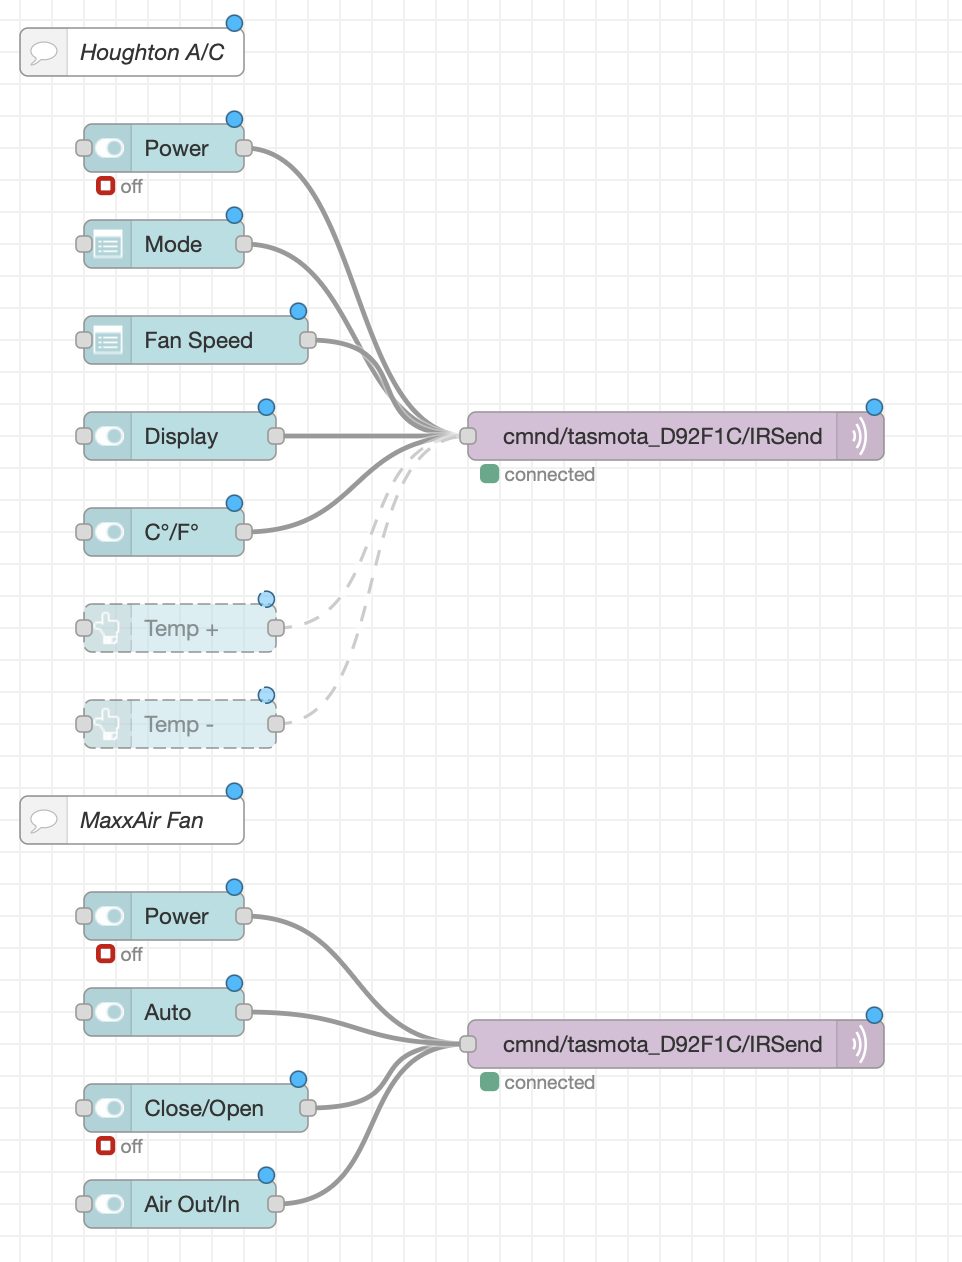
Node-Red Flow Representation
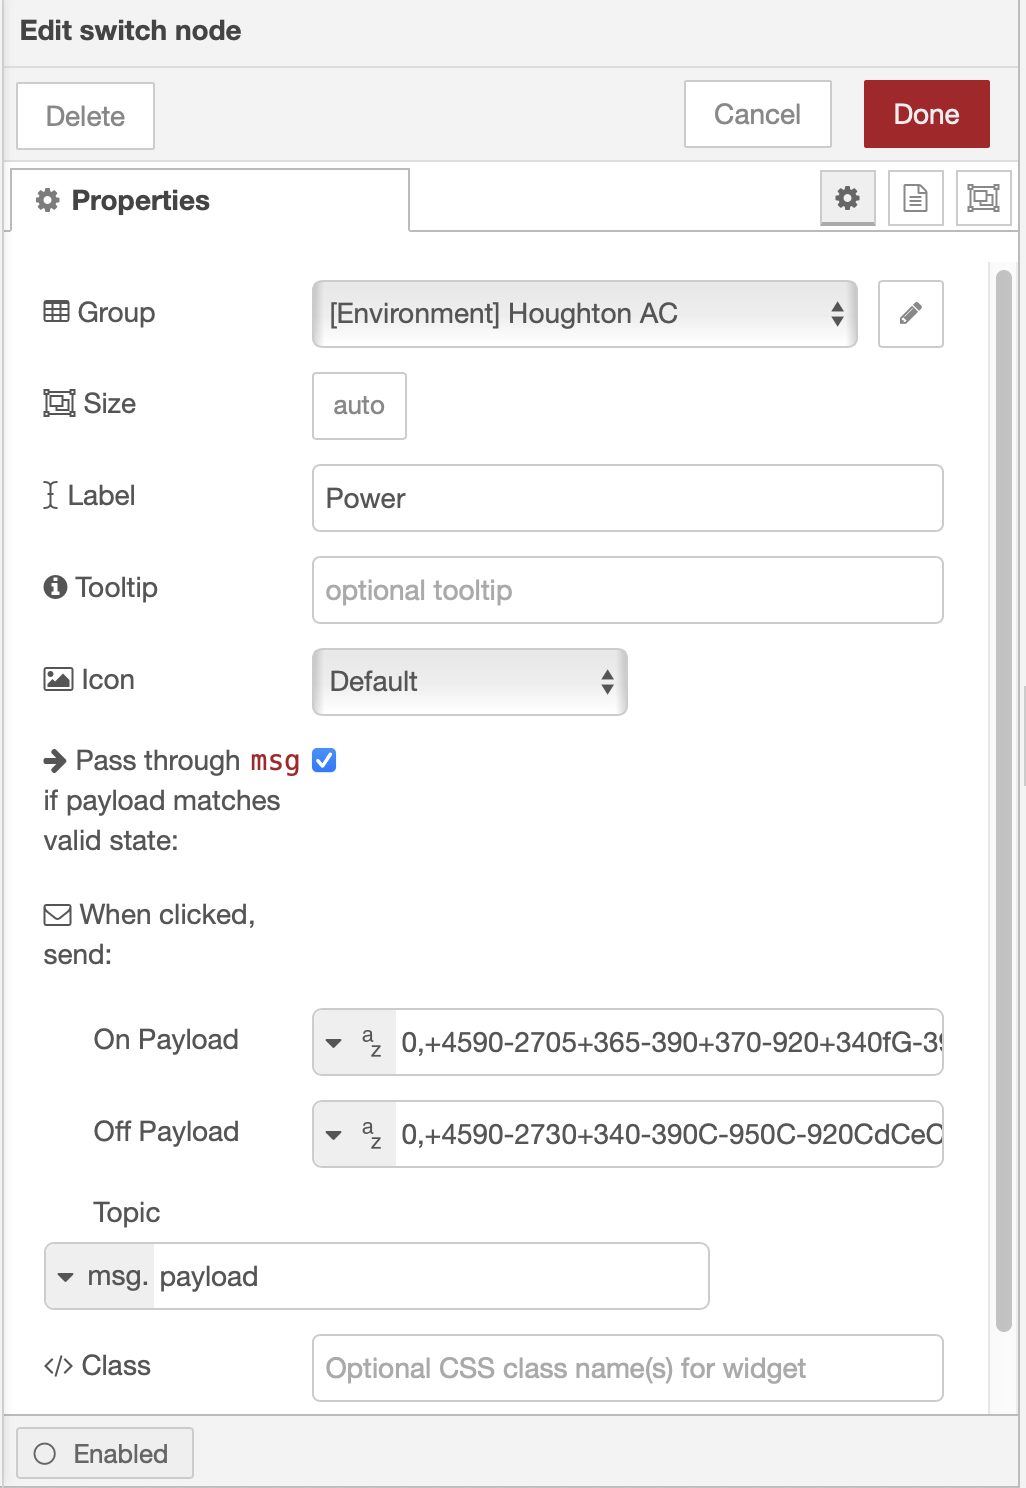
Dashboard Node Settings
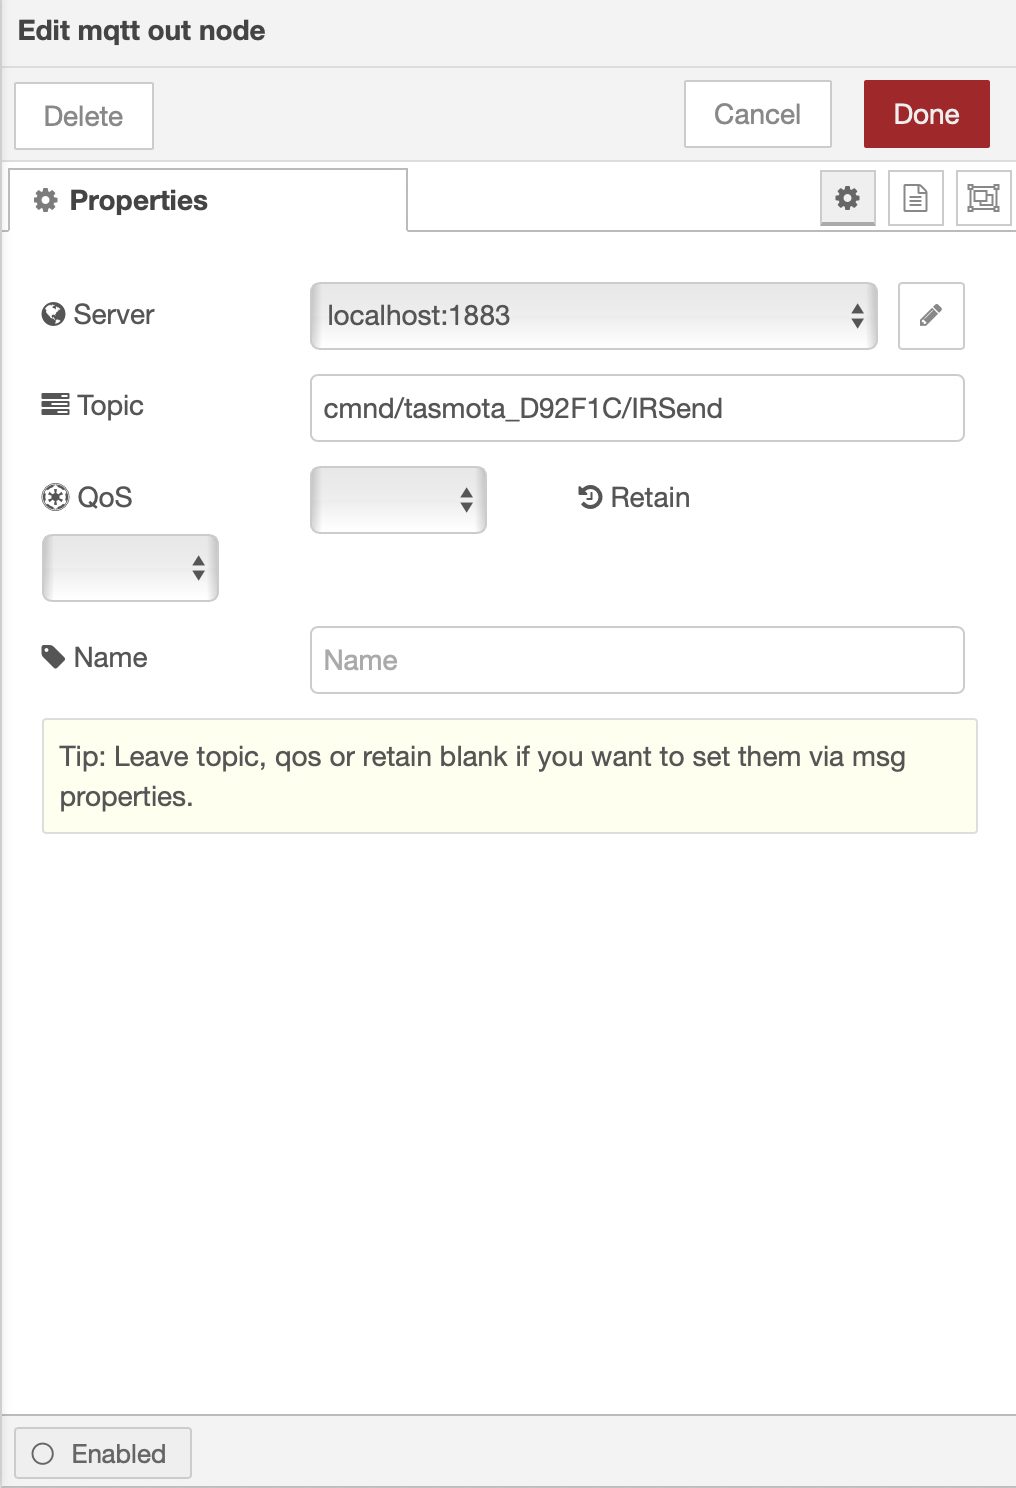
MQTT Out Node Settings
The last step was to find a mounting location that had a line of sight to the controlled devices. In my case I used some 3M Command Velcro strips to mount it on the panel above the refrigerator. The device’s USB cord was easy to phish from the opening at the top of the refrigerator to the GFCI outlet in the overhead cabinet next to the refrigerator. I used a small 1.8A USB charger that’s plugged in that same outlet to provide power.
Now I can tuck two remotes away in a drawer and use the convenience of MyErvin to control the climate in the van. I’ll update this article as I refine the controls and add new automation routines for both devices.
Bob – this looks great! I just replaced my AC with a Gree, and though it has RVC support, it was very flaky. Maybe an approach like your will set it straight – and allow me to control the TV as well!
PS: Glad to see new fun projects!
Thank you Scott! I’ll look forward to hearing more about that Gree A/C.