Staying Connected
A stable and reliable Internet connection is an important requirement for us. We both often work while on the road. We also travel with our beagle Cappi and need to be in control of her environment when she has to stay behind.
After a fair amount of research I decided to install a WiFi Ranger setup. The system includes two routers. One router is mounted inside the van and provides cellular access and an internal wireless network. The other router is mounted on the roof and acts as a relay to other wireless networks. The devices that are connected to the internal network are unaware of whether the WiFi Ranger has decided to use a nearby WiFi network or use cellular.
I found a good deal for a used WifiRanger Elite Pro kit on eBay. The kit included the Elite Go2 internal router and the Elite Pro external router with a 9 dBi antenna. I also purchased a used Verizon Novatel 7930 MiFi hotspot and an external 5 dBi MiMo cellular antenna.
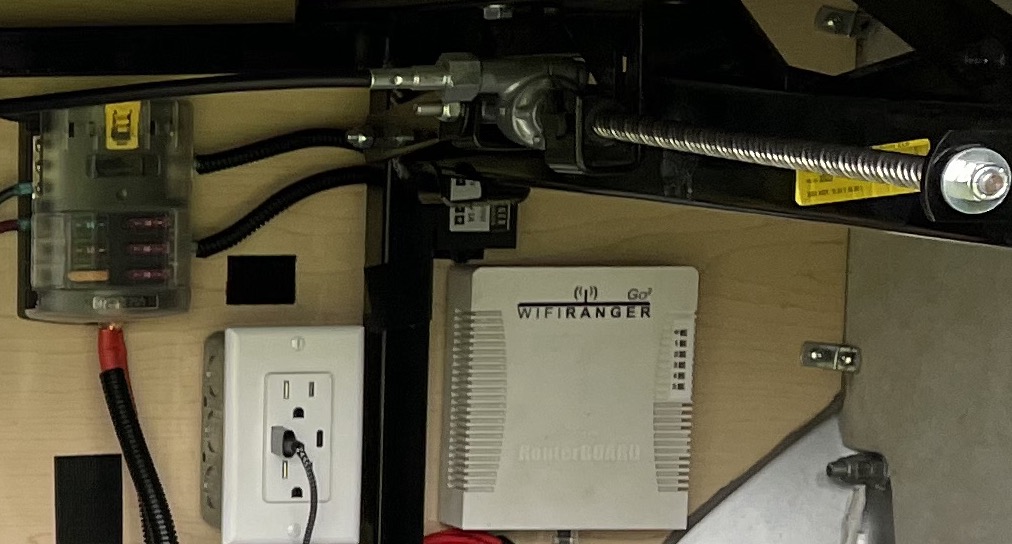
I decided to mount the internal router and MiFi hotspot on the passenger side in the trunk to provide easy access to power and a path to the pre-existing hole for the awning power cord on the right rear of the roof.

First I removed the passenger side fascia panel inside the rear overhead cabinet and the passenger side rear pillar cover to gain easy access to the path for the antenna cables.

Then I removed the caulk that had been used to seal the hole for the awning power wire.

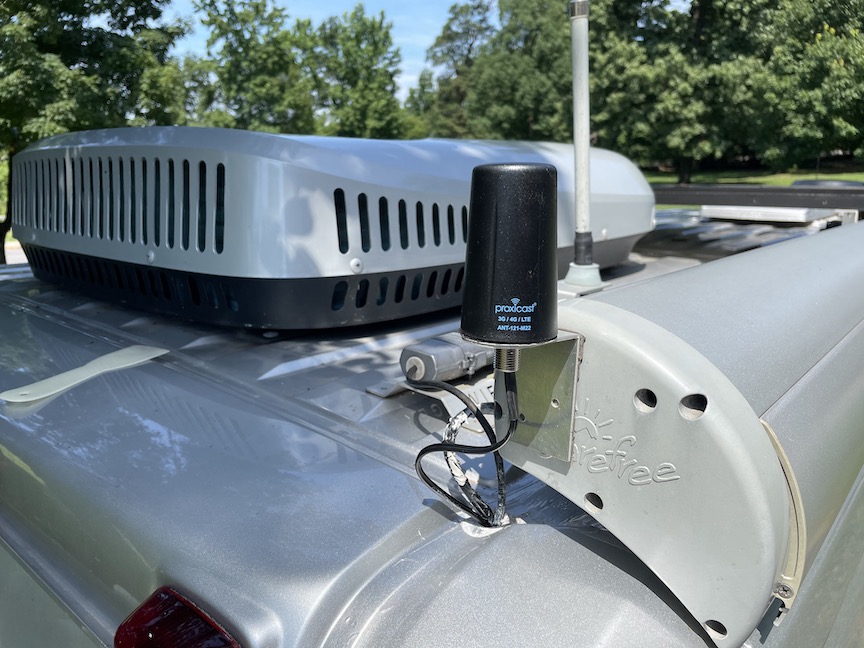
Next I mounted the external router and WiFi antenna with VHB tape to the right rear passenger side roof. I mounted the MiMo cellular antenna on the rear of the awning with VHB tape.
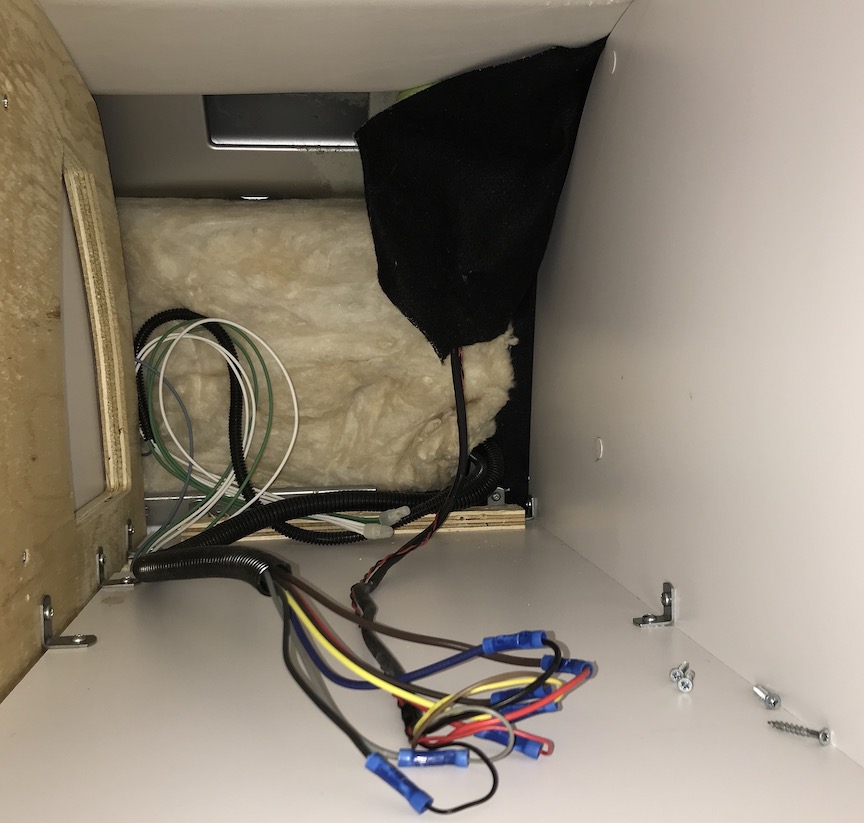
I then fed the antenna cables through the hole, down the rear pillar cavity and into the trunk to connect them to their respective devices. Once I was satisfied with the cable runs I sealed the hole with GE silicone 2.”

The MiFi hotspot is connected to the internal router with a USB cable and is set to “tether” mode. The external router/antenna is connected to the POE port on the internal router. The internal router required 24V power which was provided by a 12VDC TO 24VDC step up converter connected to the house battery.
The four additional Ethernet ports on the router have also come in handy to provide a more reliable Ethernet connectivity for a “Nanny Cam”, the Victron Cerbo GX that controls our 48V house electrical system and for the Raspberry Pi that controls our Coachproxy automation system.
The setup has worked very well for us. We leave the system on at all times to provide a link to Victron’s VRM page and to have external access to the camera and Coachproxy system. When we are within range our devices just see our wireless network and join. It has definitely made life on the road a little easier.
Here are some of the items that I used on the project.
Vandal Resitant 4G-LTE MiMo Antenna
Antenna Adapter TS9 Connector to SMA Female
12ft Weatherproof Ethernet Cable
12VDC to 24VDC Step Up Converter
The antenna kit linked below looks useful. It includes a mounting bracket and TS-9 adapters.
tinyurl.com/y5w3694b
Hi Larry,
That does look like a nice option. When I installed this setup in 2017 I did not like that the 10ft cable was integrated in to the antenna. Any future upgrade will require me to cut and terminate the existing cable or run it again. At some point I’ll swing over to a 5G hotspot and antenna but I’m hanging on to the current setup to take advantage of the legacy architecture that is slowly being replaced out in some rural areas. The newer hotspots have deleted compatability with it.
Bob
[…] Staying Connected […]