Our “Wine Cellar”
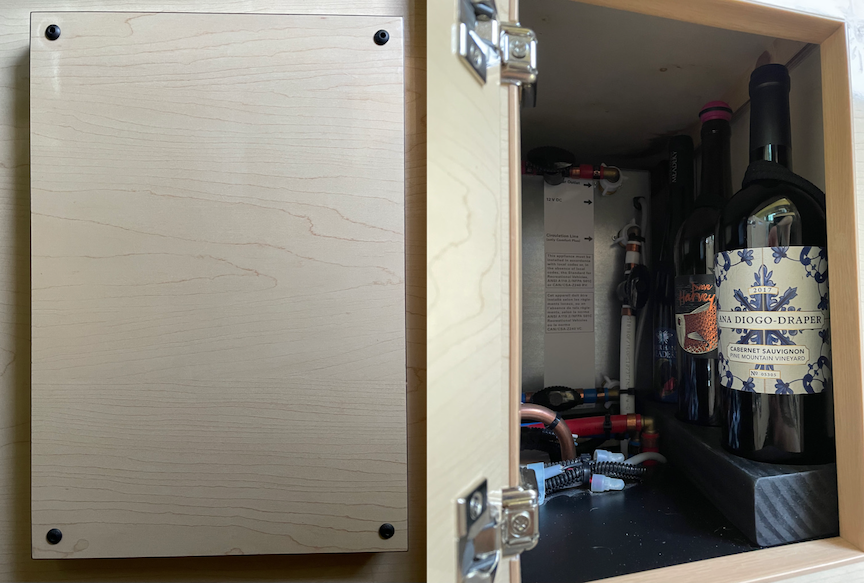
A couple of weeks ago I put hinges on the utility door to gain easier access. Today I got a chance to put some of the new space to use.
One of our favorite activities during the Spring is to follow the Virginia Governor’s Cup Gold Medal Trail. We divide the trail in to regions and overnight at Harvest Hosts in the area. The trips usually last three or four days. When the winner is not available for tasting we’ll usually buy a bottle, drink a couple of small glasses and move on to the next winery. As a result, we usually end up with a number of vacuum corked bottles that have to find temporary vertical storage.
I got out my ruler and found that the utility cabinet had just enough room to hold three bottles. The challenge was how to give them good stability and still provide easy access.
The solution that I came up with was to use a 3.5″ hole saw to cut three holes in a piece of 2″ x 10″ that I had left over from building some ramps. The available space for the base piece was 12″ x 4- 1/4″. I marked off those dimensions on the board and then marked the hole centers at 2- 1/8″ on the short side and at 2-1/16″, 6″ and 9-15/16″ along the long side. I used a 1/8″ drill bit to drill a pilot hole at each spot and then used the hole saw to cut out the holes. A good technique is to cut about halfway through the board from one side and then to flip the board over and finish from the other side so that the cut meets in the middle. It lets you use a shallower hole saw and results in a “cleaner” hole. After finishing the holes I cut the 12″ x 4-1/4″ piece out of the 2″ x 10″ board and smoothed off the cut areas with some sand paper. I then drilled two 3/16″ holes that were centered in the “triangular” areas between between the holes and the side that would face the wall.
I took the piece back to the cabinet and it fit as intended. I then used the 3/16″ holes in the piece as a template drilled two 1/16″ pilot holes in the floor. The right angle drill attachment listed below really helps when working in a small space like this.
Now that I had a solution for the the base of the bottles I had to determine how to hold them in place. I accomplished this by mounting a 12″ x 3″ piece of 1/2″ plywood on the wall behind the bottles. I drilled 1/16″ centered holes in the bottom and top of the piece at 2-1/16″, 6″ and 9-15/16″. I finished off both pieces with some water-based black stain. I screwed a 2″ stainless steel eye hook into each hole and looped a burly hair band through each 1/2″ bottom eye. The top ones may come in handy for a second loop at some point but the bottles are so stable that I don’t think they are necessary. I then drilled centered 3/16″ holes in the piece at 3″, 6″ and 9″. I held the piece so that the bottom was 4.5″ from the floor, used the 3/16″ holes in the piece as a template and drilled 1/16″ pilot holes in the wall. I mounted the panel with three stainless steel 1″ wood screws.
At that point I removed the base piece and cleaned off the floor and wall panel with denatured alcohol. I then reinserted it and used two 2-1/4″ stainless steel wood screws to secure it. I cut three 3.5″ circular pieces out of some 1/4″ adhesive-backed neoprene and placed one in each hole. I also cut a 12″ x 3″ piece of the same material and adhered it to panel on the wall.
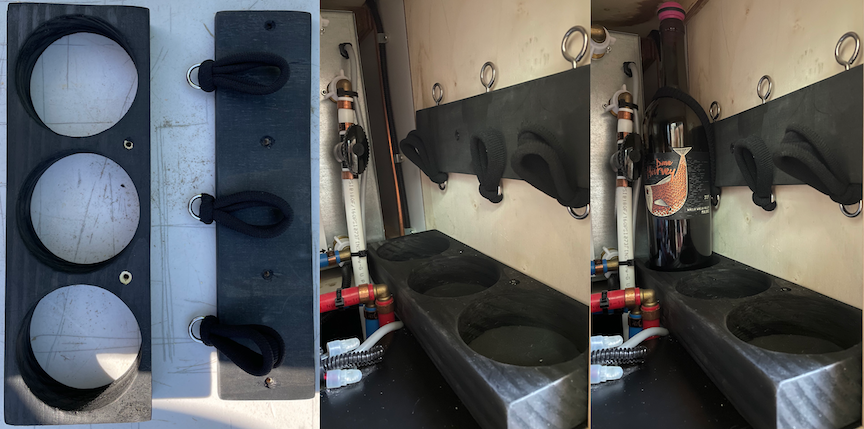
The burly hair bands and neoprene do an excellent job of keeping the bottles quietly in place and it’s also easy to insert and remove them. The space doesn’t seem to get too hot or cold when the van is in use and the wine seems happy with its new home.
I also found the room to store six glasses. We’re looking forward to sharing the contents of our cellar along the way. Cheers!
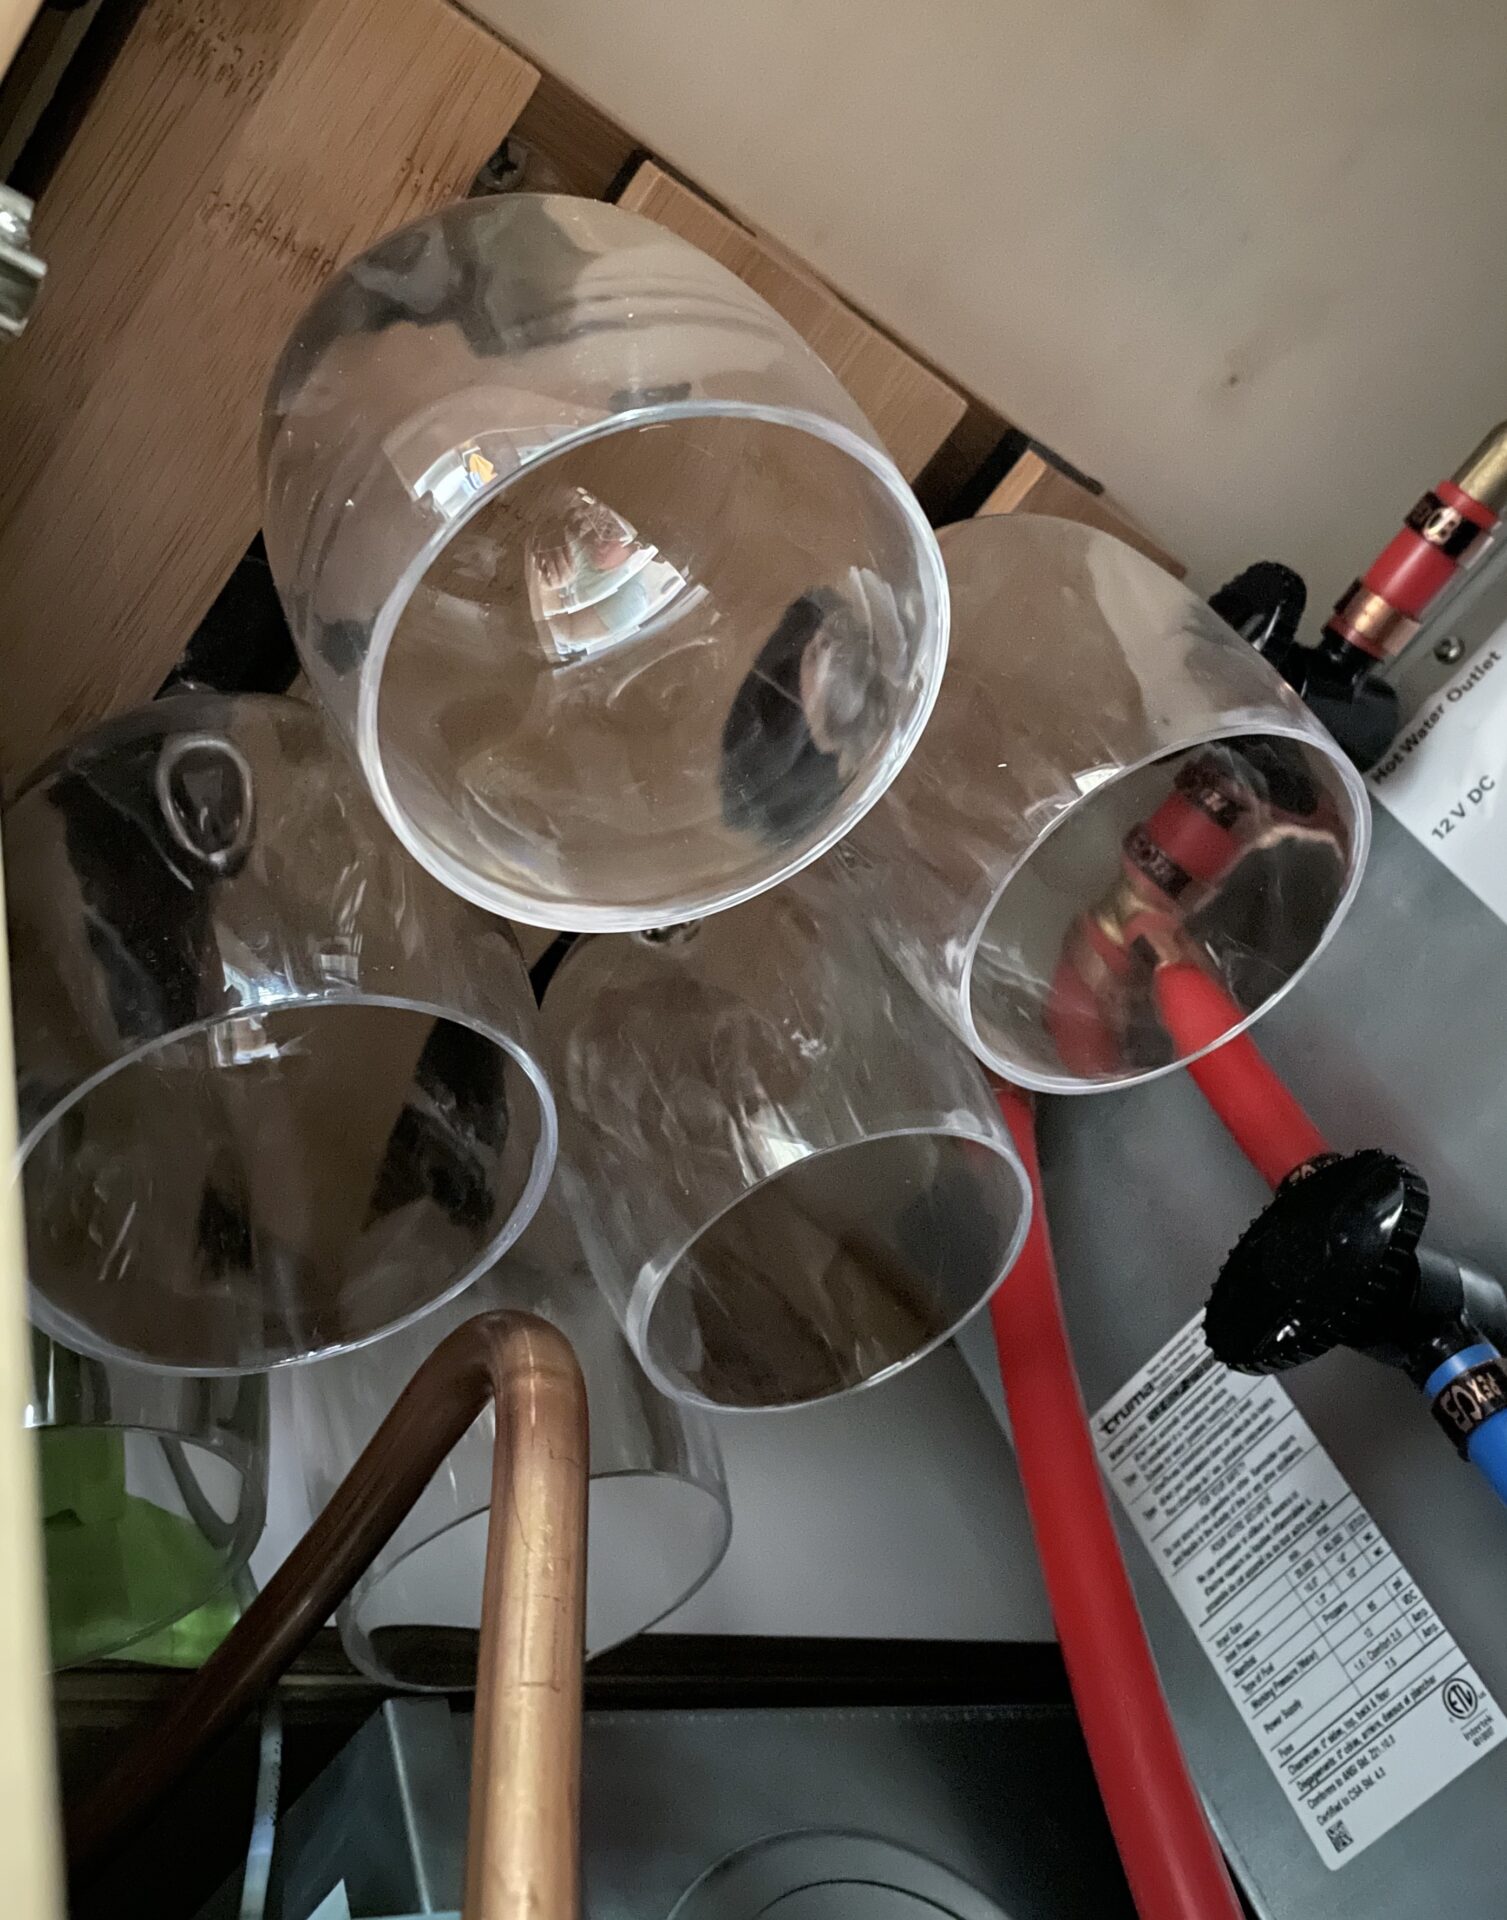
Wine Glass Rack
Here’s are some of the items I used on the project…
This is another great project! Looking forward to adding this to our space too.
Thank you Jocelyn! Please let me know if you need any help when you get started.
[…] Our “Wine Cellar” […]