Our Sofa Bed Drive Shield
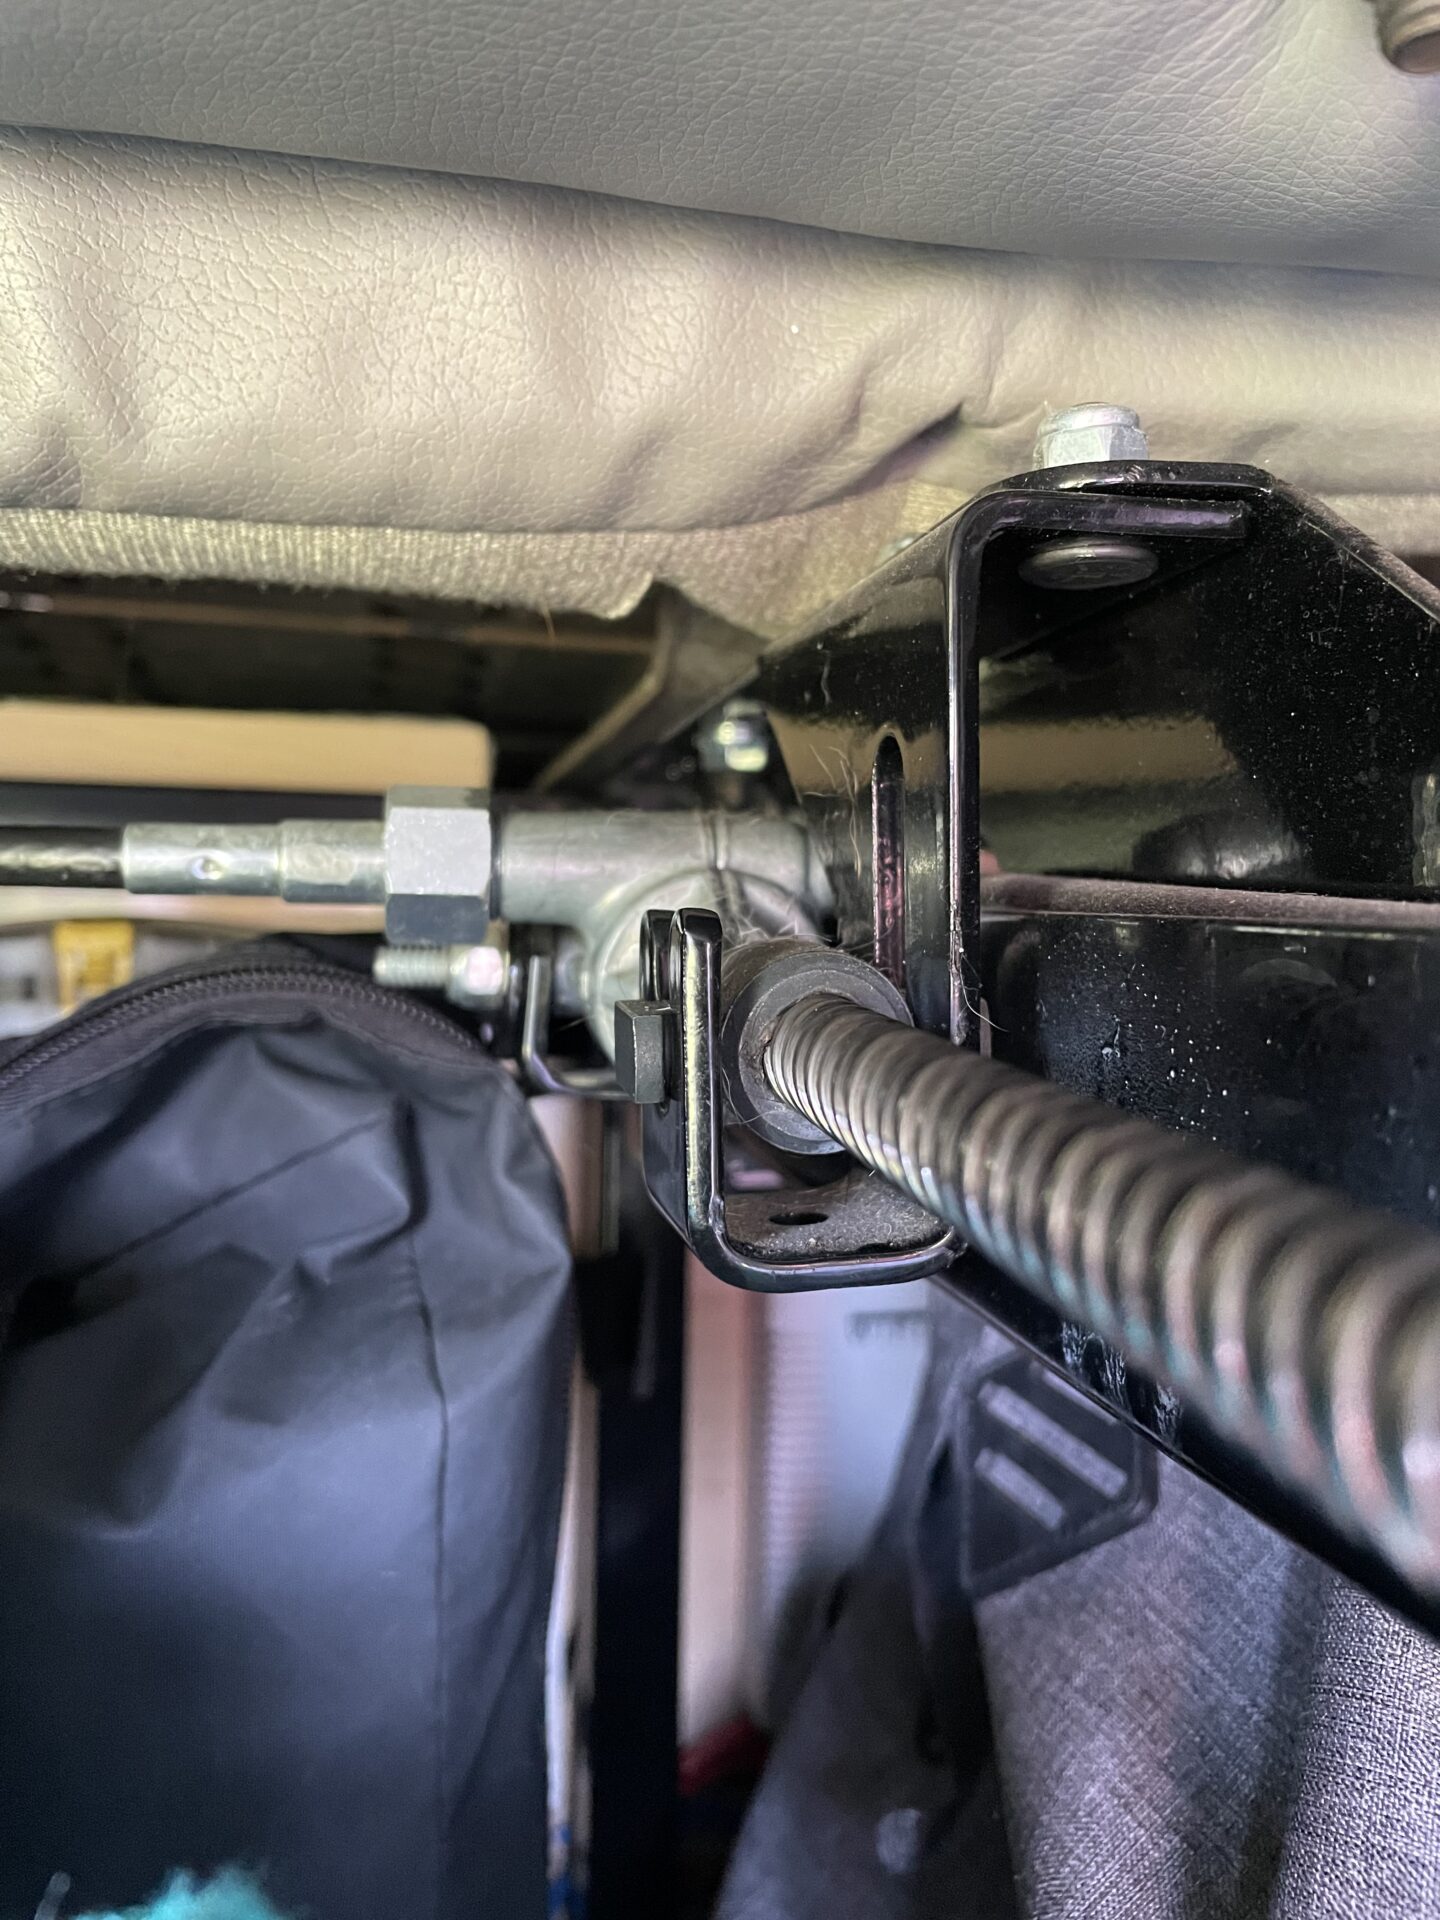
Exposed Drive Mechanism
The power sofa bed on our 2017 Pleasure-Way Lexor TS was designed with an exposed drive mechanism. On a few occasions we had items get caught in the screw as the sofa was being extended or retracted. We were lucky enough to avoid any significant damage but it seemed like it was just a matter of time.
I was walking through Lowes one morning and saw something that looked like it might solve the problem. The result of my idea is described below.
The cover is easy to remove when it’s time to perform maintenance on the drive and it does a great job of isolating it from items in the trunk.
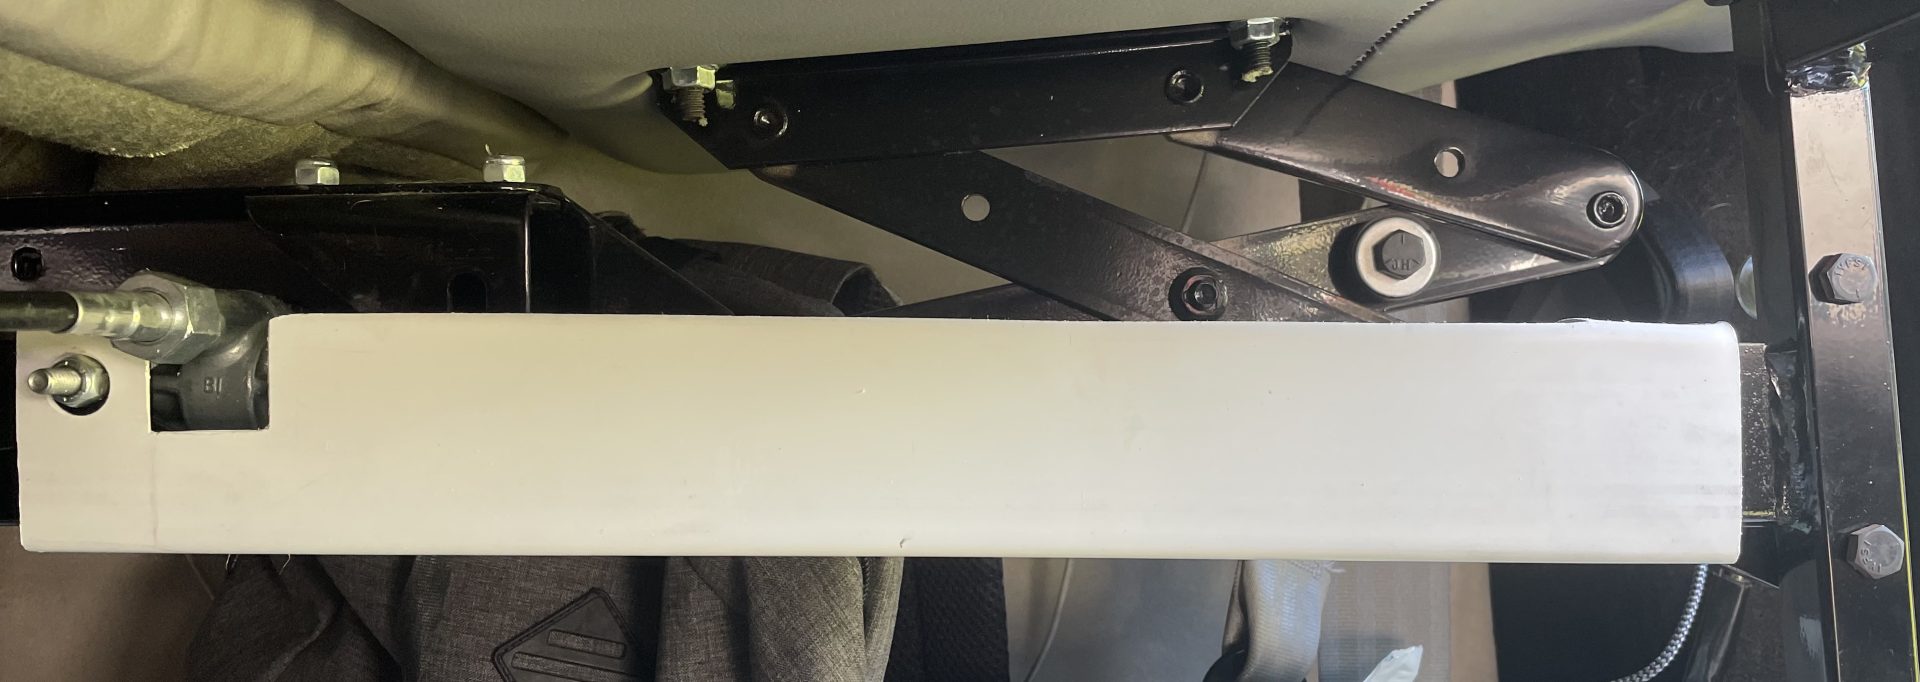
Cover in place.
The items used to make it are listed below.
Hot Knife for Vinyl and Plastic
The video below demonstrates how I made a cover to solve the problem. The video is divided in to three sections. The first section (4:50) shows how to design the shield. The second section (1:15) is sped up and shows how to cut the design out of the downspout with a hot knife. The final section (:30) shows how to install it.
I’m going to give this a try but first I need to extract those measurements from your video and make a cardboard version to check the dimensions. I’m hopeful that PW uses the same sofa unit in all/most of their vans
Hi Mark,
Please let me know if there’s anything I can do to clarify the process. The material is so inexpensive that you can afford to try again if it needs adjustment.
Bob
Hi Bob. Wow, that vinyl downspout is the perfect material for this job! I completed my set using a wood burning set, as you did (and now I have one of those, which is great). I simplified the design a little… less material cut out and no grabby flaps, and it feels really solid. I keep wanting to try it again using a saw where I can, for cleaner edges, and to include an “end cap” that is just an extra bit let on the length of the stock, and then bent over to close (and square up) the end. Completely unnecessary, but I know I can do it so…. Anyway, even my first roughly made set it going to do the job, so thanks for making this public. I noticed you didn’t post this to the FB PW group yet (unless I missed it); I’ll add my extracted dimensions and a photo or two there if/when you post it.
I had the same reaction to the fit of the downspout material. I’m now on my second set and saw room for further improvement as soon I finished it. It sounds like you’ve found some neat ways to improve on the design. Please post a comment with your information and I’ll incorporate it in to the post and add your name in as a co-author. I’m researching ways to open the site so that folks can share at will. It would really be fun to collaborate with folks on the content. I started this site to be able to share ideas with some permanence so that I didn’t have to keep repeating myself on Facebook. I never intended it to be “mine”.