Our Bathroom Faucet Fix
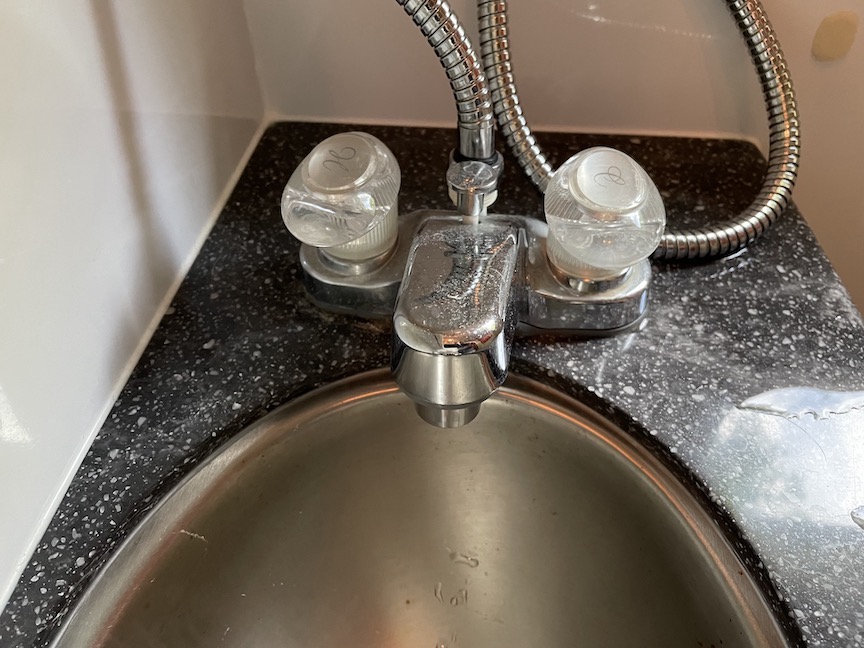
The bathroom faucet on our 2017 Lexor TS worked but there was room for improvement. It was a standard plastic RV diverter faucet that allowed very little clearance from the edge and bottom of the sink. It also had separate handles for hot and cold water.
The search for a replacement was harder than I thought it would be. A brass diverter faucet with a single handle didn’t exist. I finally came across the fixture below on an obscure European boutique plumbing site and realized that its design would provide the flexibility to cobble together exactly what I envisioned. I then found a better value on the same item at AliExpress.
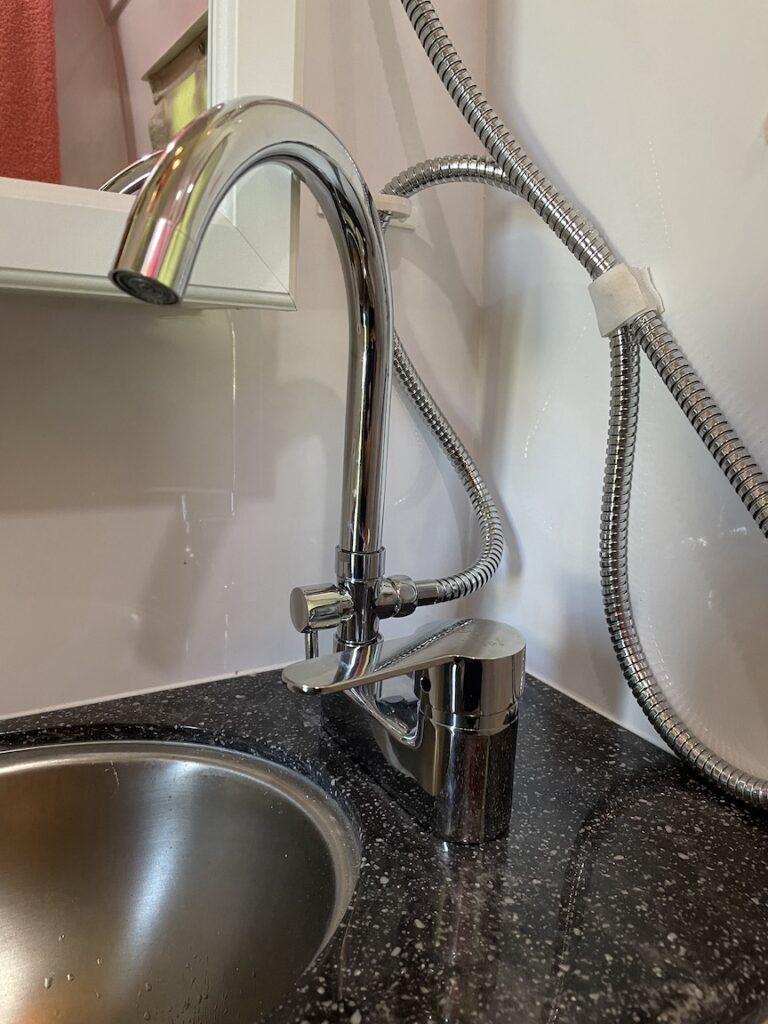
We had previously replaced our bathroom cabinet with a larger one that left about nine inches of clearance between its base and the countertop. As you can see above the spout that came with the fixture was not ideal for the space.
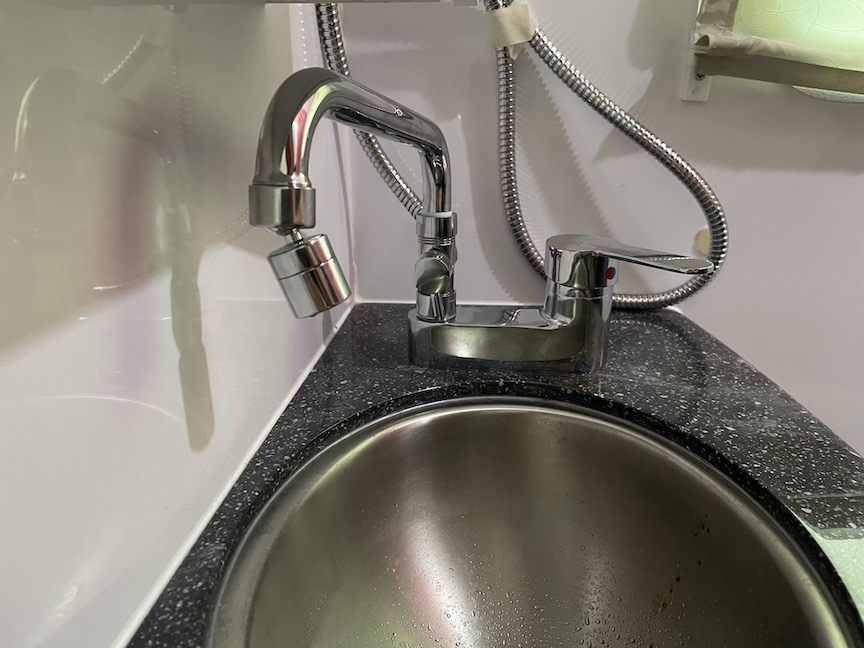
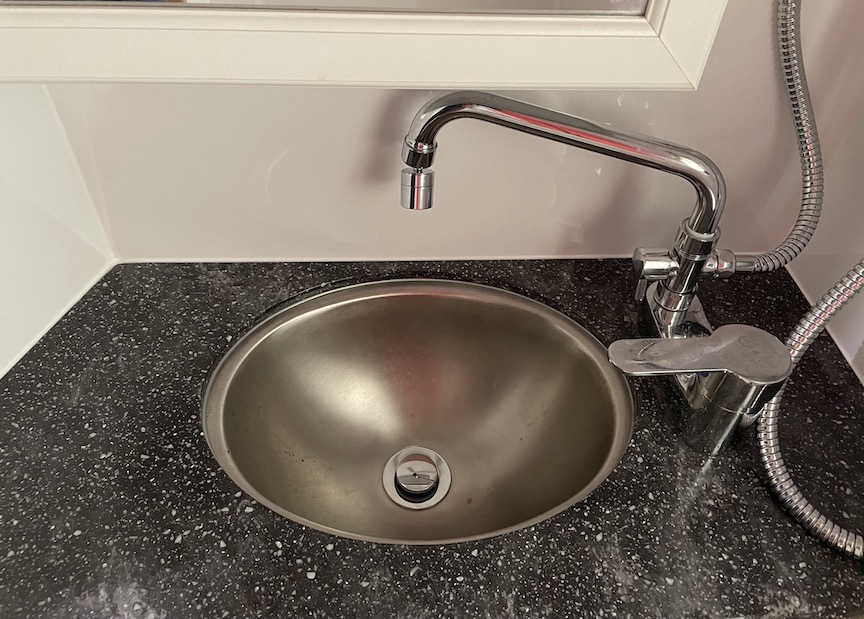
I removed the fixture’s original spout and replaced it with a 6″ utility sink spout that could move freely in the space and also reach the rear center of the sink. I then added a swivel aerator to finish it off.
We rarely used to use the bathroom sink for anything other than testing the shower water before pulling the diverter. With the new faucet we are now using it all the time. The kitchen sink has a little less congestion and our little Class B feels like it has a bit more room.
While I was working on the faucet I also took the time to fix a few other items.
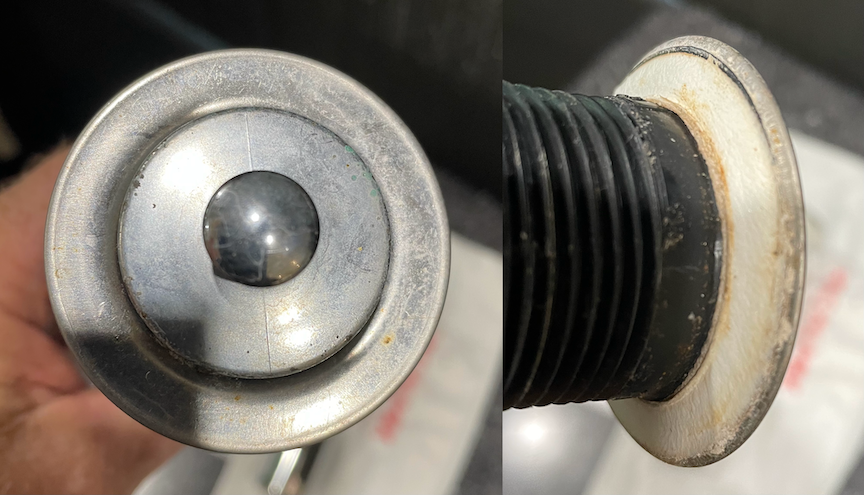
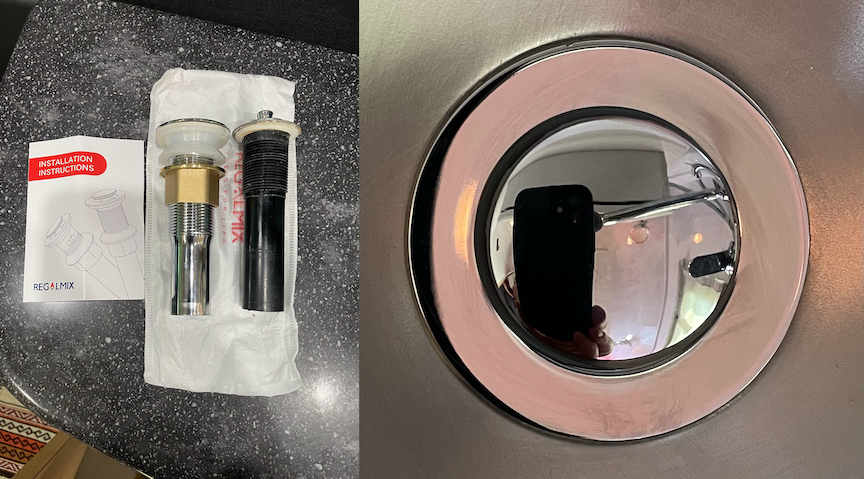
The chrome plated plastic drain had definitely seen better days. I replaced the drain with a new chrome plated metal unit that has a much better basket and stopper mechanism. Replacing the drain was very simple as all of the components were hand tightened. The new drain included a couple of gaskets but I decided to use plumber’s putty to get a flusher fit and a better seal.
I also fixed two other items under the sink that would make noise every once in a while.
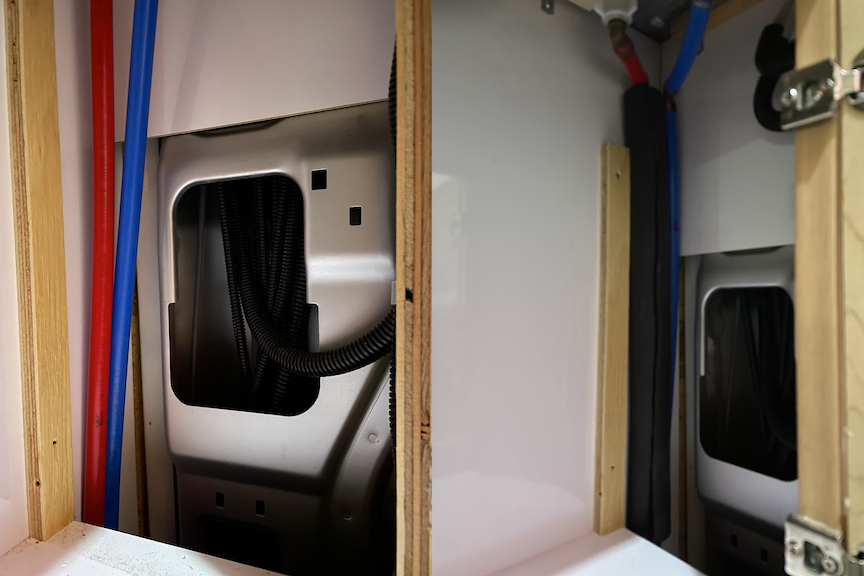
In the image below you can see the before and after shots of the plumbing lines. The hot water line was prone to swinging around and thumping against the wall so I wrapped it with some pipe insulation to provide a buffer.
In the video below you can hear how the stock vent cap rattled like a maraca. I replaced it with a higher quality model.
Here are some of the items that I used on the project:
Are you confident the Alli faucet contains no lead? Thanks!
We apparently think alike! The vendor assured me that it met the NSF standard of no more than .25 lead content. The fact that I initially found it for sale in Europe also gave me some confidence. We’re not using it for drinking water but I may still run a morning sample in for a test to verify. I’ve been meaning to to that for our home too.
Hi Bob,
Thanks for the info! My wife likes that faucet, so definitely post if you take a sample in for measurement. Keep up the excellent mods!
How do you find the mixer on this faucet, is it easy to get the flow and temperature you want? Also can the faucet be mounted up with the mixer front, like you have, for any of the options listed on Aliexpress? Thanks
Hi Jill,
The mixer works very well. You need to choose the fixture as it is shown. The mixer handle can not be turned around (I tried!) Hope that makes sense!
Bob
Thanks Bob! Exactly what I needed to know.
Thanks for this info. The water nymph is exactly what we needed… for our bathroom at home.
You’re welcome Mark!
Hey Bob, Have the same rig as you. You put in shutoffs for the outside shower water supply I believe. Where did you put them? pictures?
thanks
Hi Morris, The valves are located in the space behind the panel on the right under the kitchen sink cabinet. The task required that a new dedicated blue PEX line to the toilet originate before those valves and I gave it its own valve too. Access to the plumbing involved is easy once you have removed the panel referenced above and the “Shower” and “Utility” panels from the outside of the vehicle. While you’re in there it’s also a great time to insulate the area. The Truma Comfort Plus’ recirculation loop runs through the area so if you insulate around the red and blue lines it will also add some nice cold weather protection. I hope to find the time to put an article up soon. Bob
Great. Thank you,