Managing Rust
Every few months I inspect the chassis to make sure that all is well.
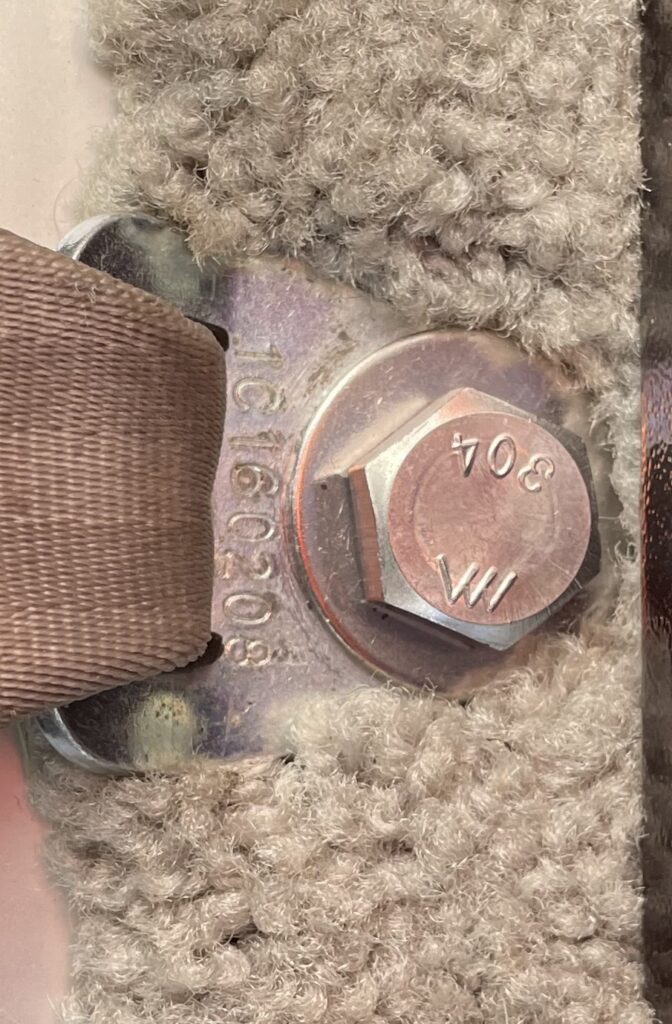
During my most recent inspection I noticed a little bit of rust developing on one of the seatbelt washers in the trunk. When I looked beneath the trunk the bottom of the bolt had some rust too.
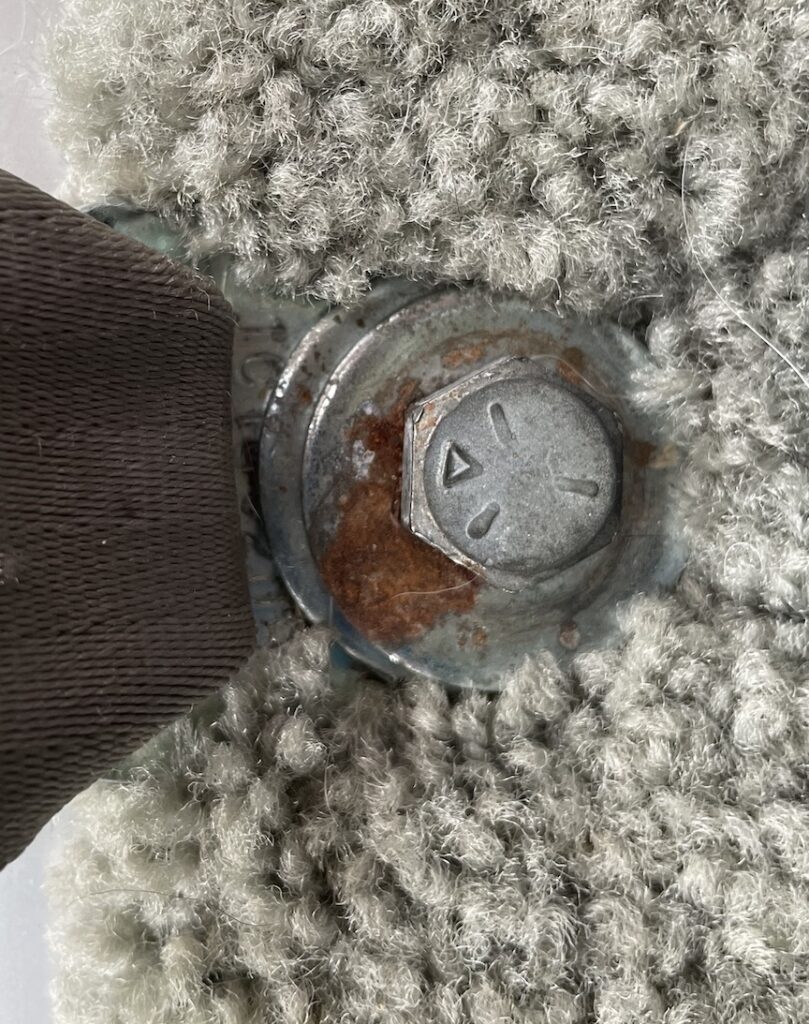
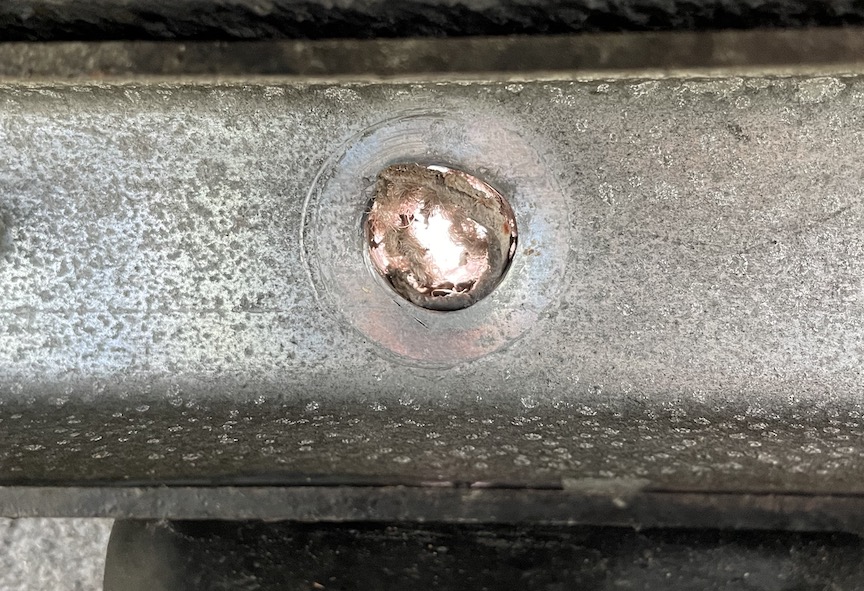
I ordered the following parts and replaced the old hardware today.
1/2-13 x 2-1/2″ 304 Stainless Steel Hex Head Cap Screw Bolts
1/2-13 316 Stainless Steel Nylon Insert Lock Nuts
1/2″-1-1/4″ OD 304 Stainless Washer
POR-15 45009 Gloss Black Super Starter Kit
Loctite 504469 Silver-Grade Anti-Seize Stick
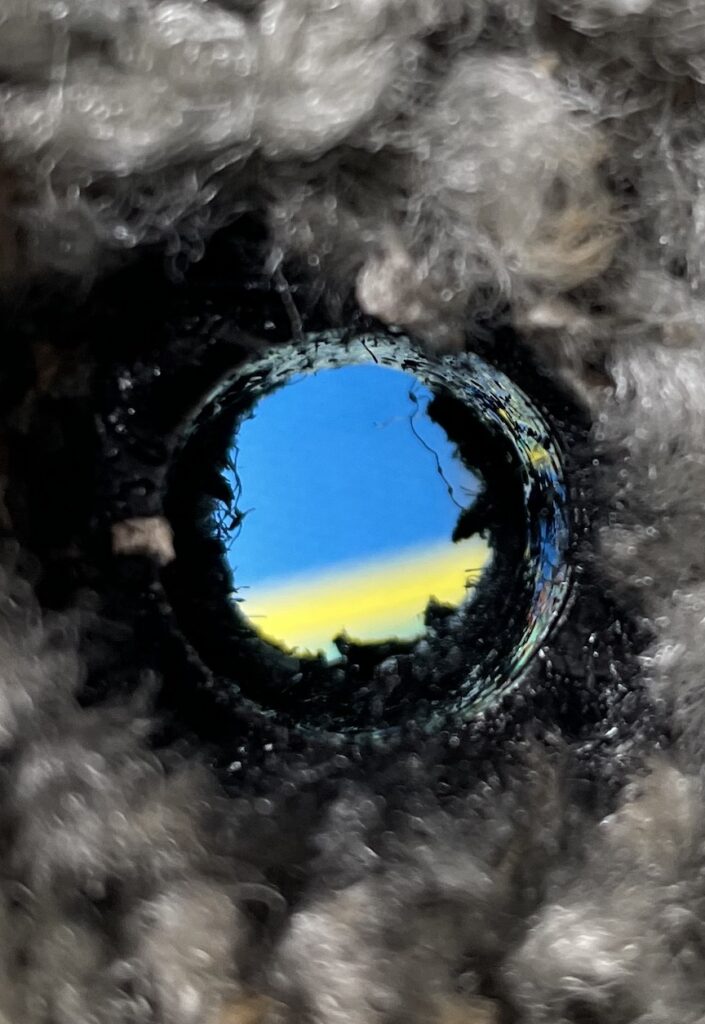
After removing the old hardware I cleaned the hole with POR 15 cleaner and painted it with POR 15. I also did the same to the edges of the brace under the floor which had started to show signs of rust.
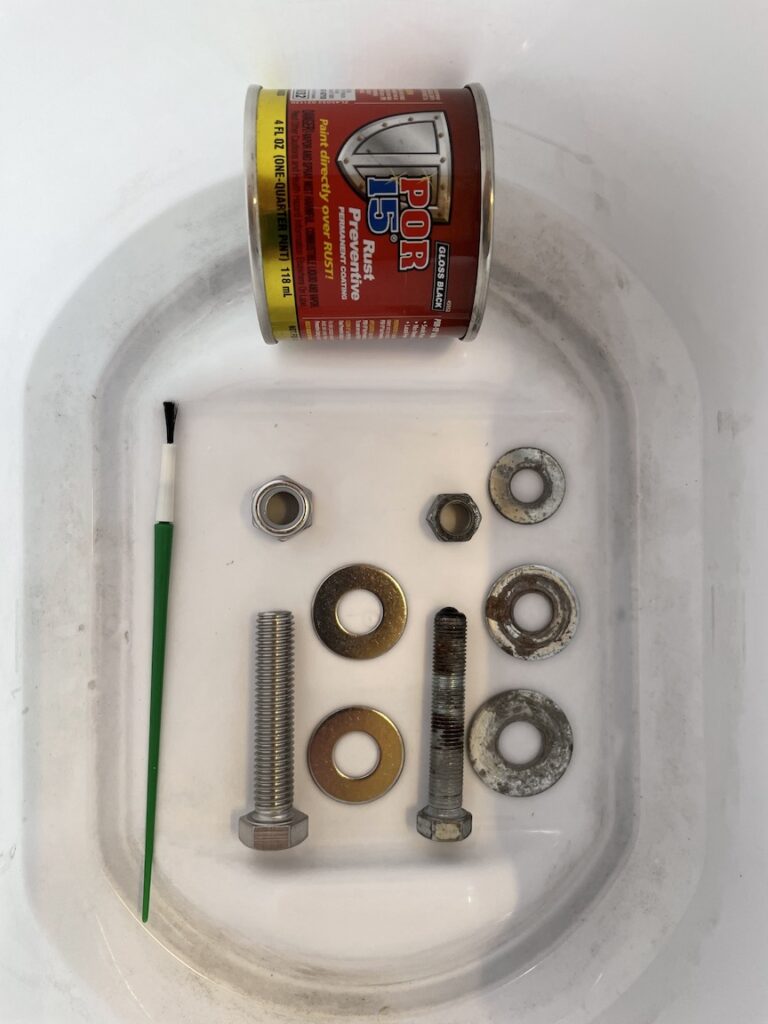
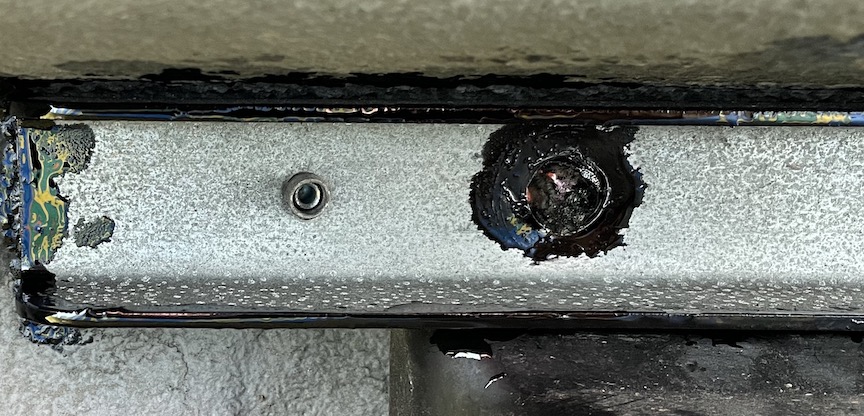
When working with stainless steel bolts and nuts it’s important to use an anti-seize lubricant and/or different grades of stainless to avoid having the parts seize. I ordered the bolts and washers in 304 grade and the nuts in 316 grade. I also applied lubricant.
The new hardware was easy to install and looks much better.
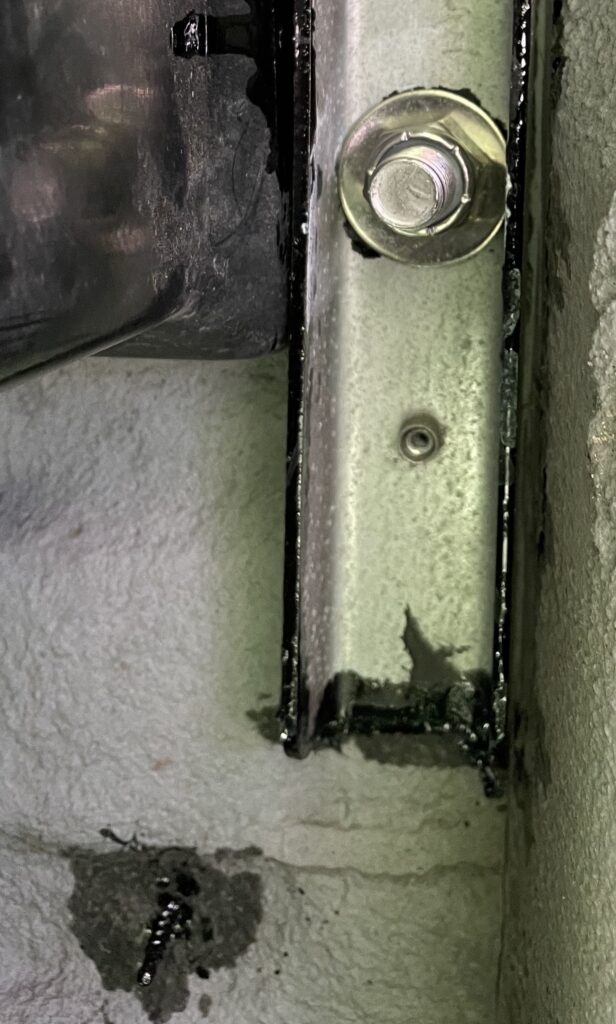
To date I’ve used stainless steel parts to replace the bolts that hold the sofa frame to the floor, the bolts that hold the hitch to the frame and a number of other screws and fasteners. I’ve also touched up a number of other fixed items with POR 15. In the image above you can see one of the self-tapping screws that’s been treated at the bottom of the image. One day I hope to look at the vehicle and see nothing to do. Until then I’ll keep chipping away at it!