Building a Solar Panel Rack
I had just finished installing our new 48V house system and we were leaving in two days for a month long trip to Canada. The two original and now incompatible 12V solar panels were still on the roof and had nothing to do. I had purchased an extra Panasonic 330W 60V panel when I set up the 48V test system in our shed. I decided it was time to put it to work.
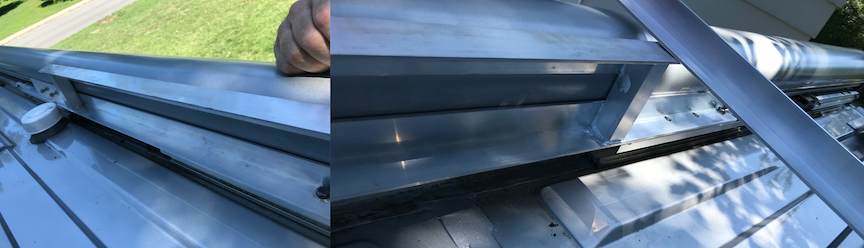
I had one big problem to overcome. There wasn’t enough space on the roof to mount it. After staring at it for a while I realized that my only option was to go up. I decided to build my own mini rack out of off the shelf aluminum stock from Lowes. I cut the pieces to size on a tabletop compound saw and used 1/4″ aluminum pop rivets for the initial assembly. I then used aluminum brazing rods and a MAP torch to weld the joints together to provide further strength. This was the first time I had used this welding technique. My first few joints didn’t look great but were solid and they started to look better as I went along.
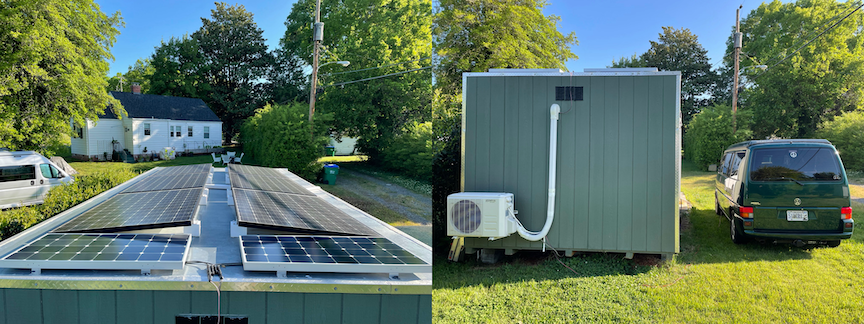
In the image below you can see the new rack wrapping around the old panels. I left them in place during the build as a ready reference point. I set the height to 1/4″ above the awning housing to allow the new panel enough horizontal space.
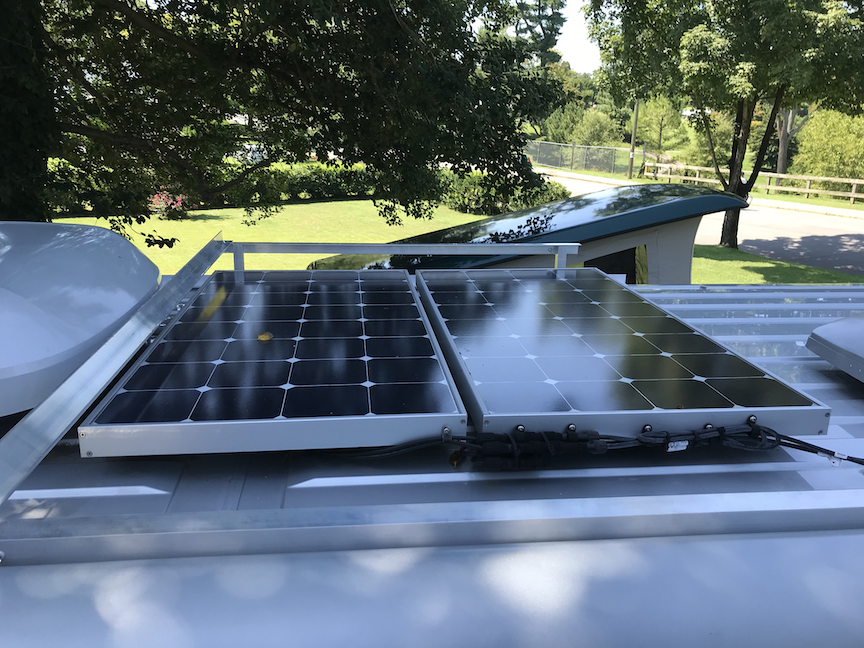
The installation did not require any new holes in the roof. I attached some Vantech Rack Adapters to the stock Promaster rack mount posts on the driver’s side and then attached the rack to them. On the passenger side I attached the base of the rack to some existing mount points on the awning base.
I removed the existing panels and patched the existing holes with Clear GE Silicone II. The two old panels are now on the roof of our “solar shed” and are keeping the 2 100Ah LiFeP04 house batteries in our 2003 VW Camper in good shape.
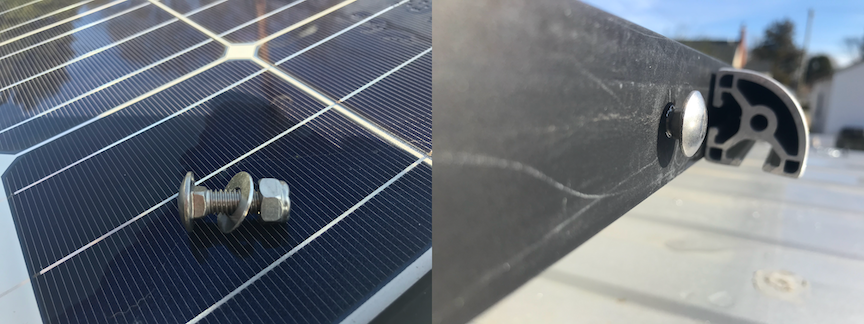
I attached the panel to the rack with stainless steel bolts and lock washers and connected the cable to the existing harness. I replaced the inline fuse with a 58V 10A unit and replaced the Victron 100/20-12V solar controller with a Victron MPPT 100/20-48V model.
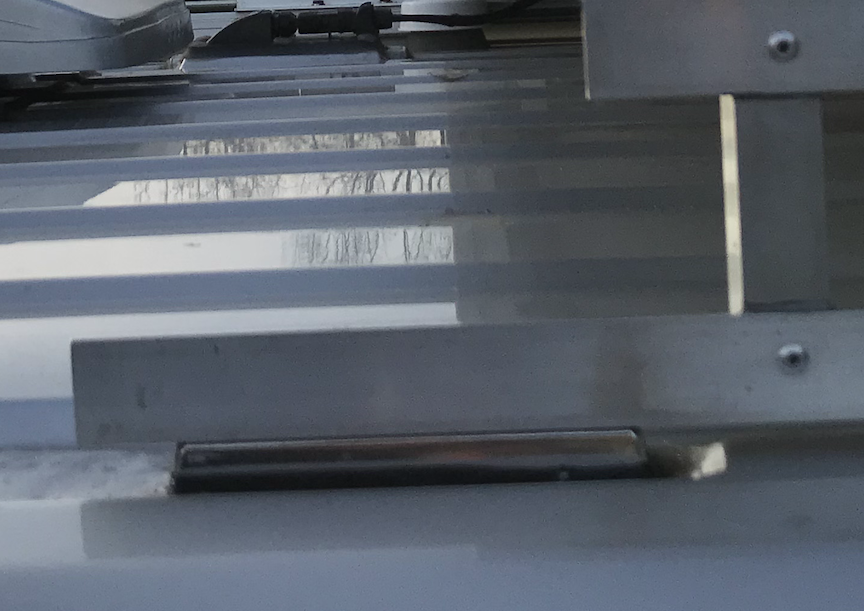
I finished off the installation by installing a piece of 80/20 aluminum quarter round across the front of the panel. I used stainless steel 5/8″ carriage bolts to attach it.
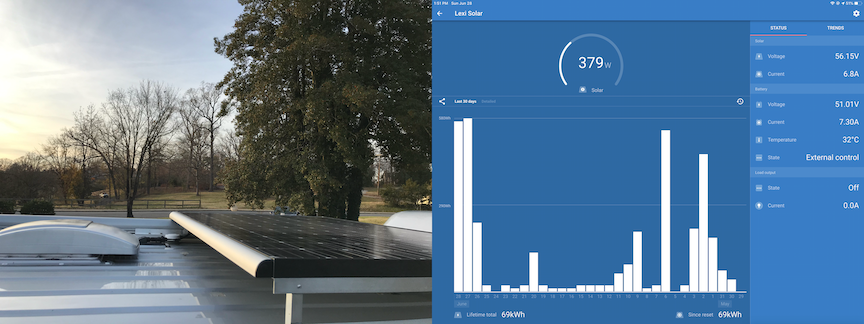
We were pleased with how the installation turned out. The frame was solid. The extra space underneath it made it much easier to inspect and clean the roof and the panel was performing a bit better than its specifications. On to Canada!
Here are some of the items that I used on the project…..
3 Vantech Promaster Rack Adapters
Victron 100/20-48 Solar Controller
[…] Little Roof, Big Solar Panel […]