48V 12.1 kWh House System
We thought our 12V 600Ah house system was terrific. While attending Advanced RV’s (ARV) Annual Meeting in April of 2018 my eyes were opened to something that might be better. ARV had just started installing a system from a company named Volta that was based on a 48V framework. The main advantages were that the all of the components could be smaller and that the charging speed could be much faster. I got out my scratchpad and started to backward engineer what I had seen.
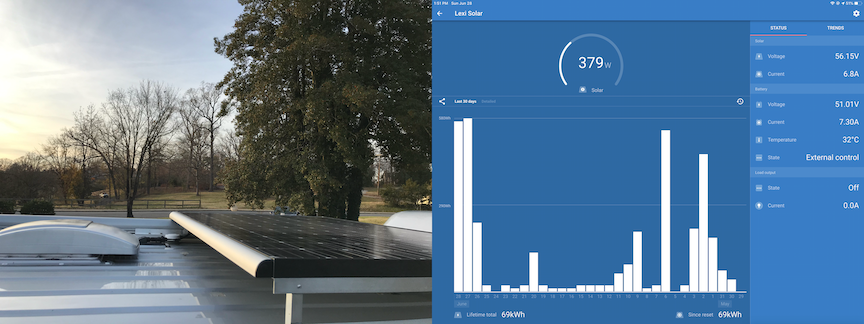
I decided to set up a 48V solar system in my shed to test out the concept. I ordered 7 Panasonic 70V 330W solar panels. I mounted 6 on the shed roof and kept one in reserve for the new mobile setup. You can find out more detail about the mobile installation of that panel by clicking on the image below.
I also ordered and installed a Victron Quattro 48/5000/70-100/100, a Victron Smart Solar MPPT 150/60Controller, a Victron CCGX and a Victron 48VDC to 12VDC 30A converter. I decided to purchase a custom-sized steel case designed to fit our trunk area and built a 14s6p battery with 84 individual prismatic cells.
It became quickly evident that the internal Battery Management System (BMS) found in the typical “drop in” LiFeP04 battery wasn’t going to cut it. The new system would include a dedicated 58V alternator that had to be controlled by the BMS. The alternator had to shut down before the battery stopped accepting a charge or you’d end up with excess current in the system that might damage other components.
After a fair amount of research I settled on a Batrium Watchmon BMS. The BMS allows me to monitor each of the 14 parallel packs in the battery and provides external control through relays and CAN-bus. The CAN-bus capability allows the BMS to communicate with the Victron Cerbo GX that controls all of my charging sources (alternator, inverter/charger and solar). The relay controls on the BMS are also used to control Solid State Relays that turn the alternator on and off and separate the battery from the circuit if needed.
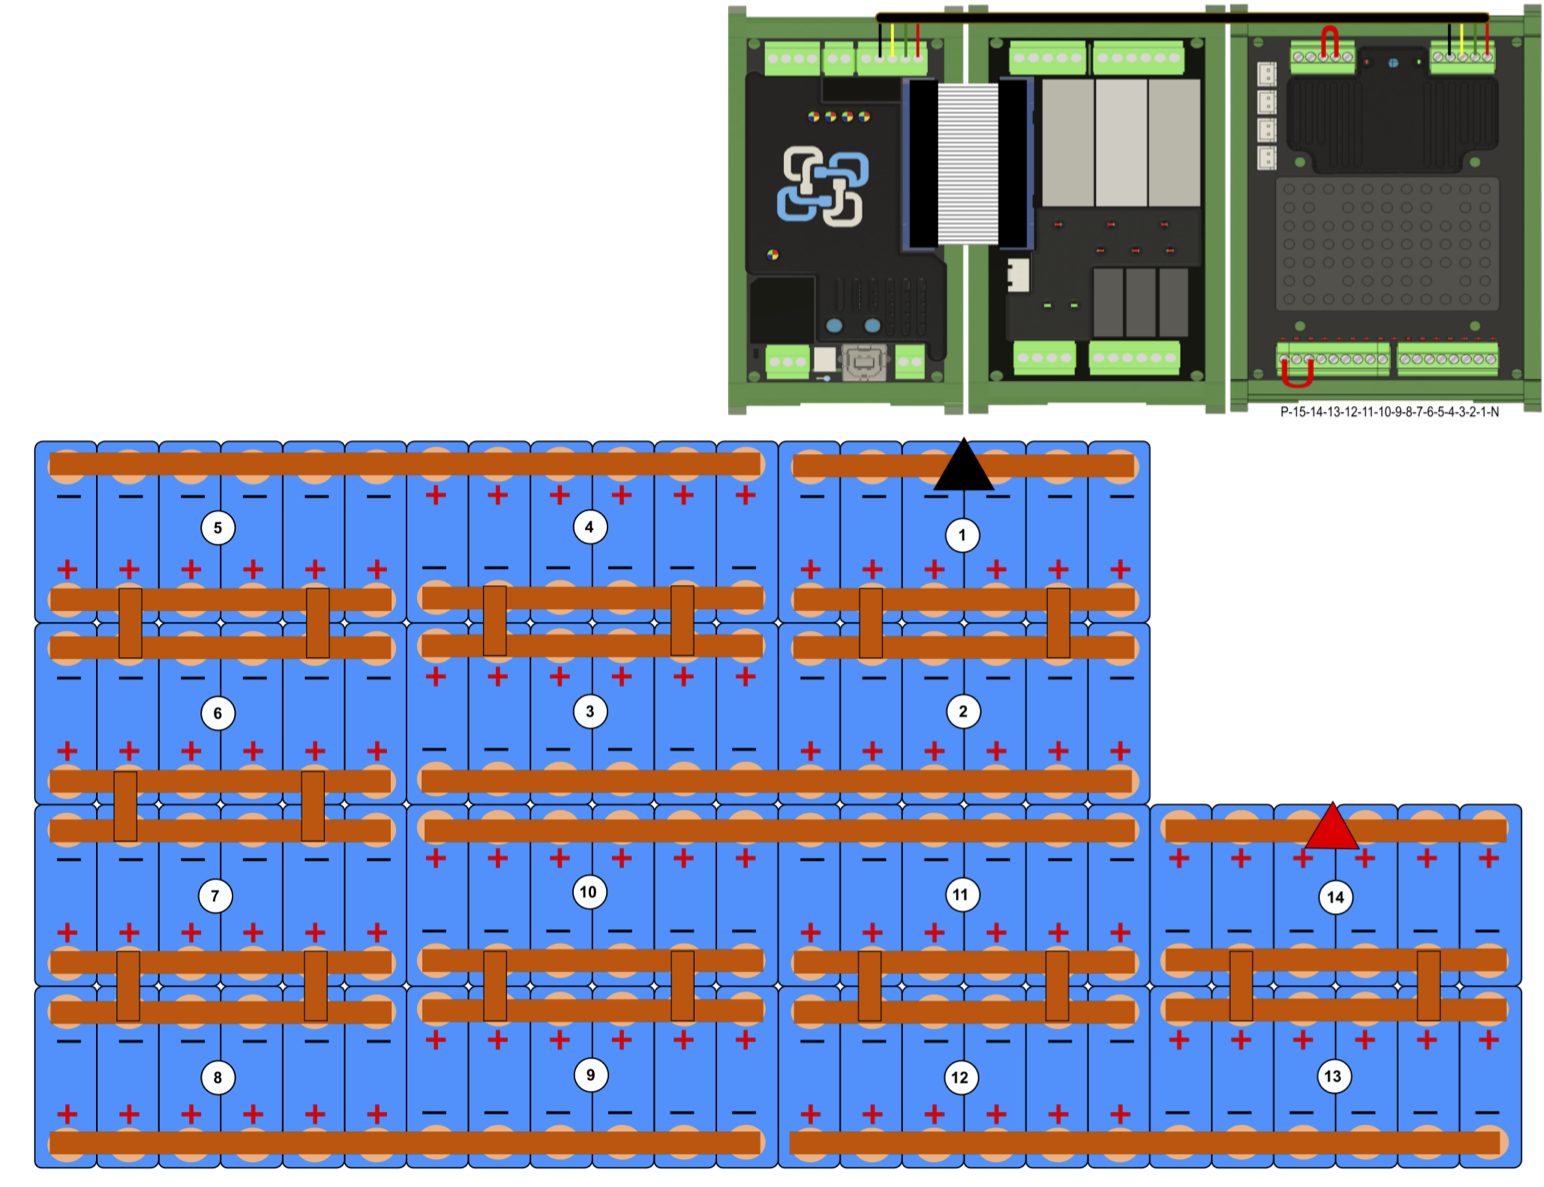
Batrium BMS and Battery Pack
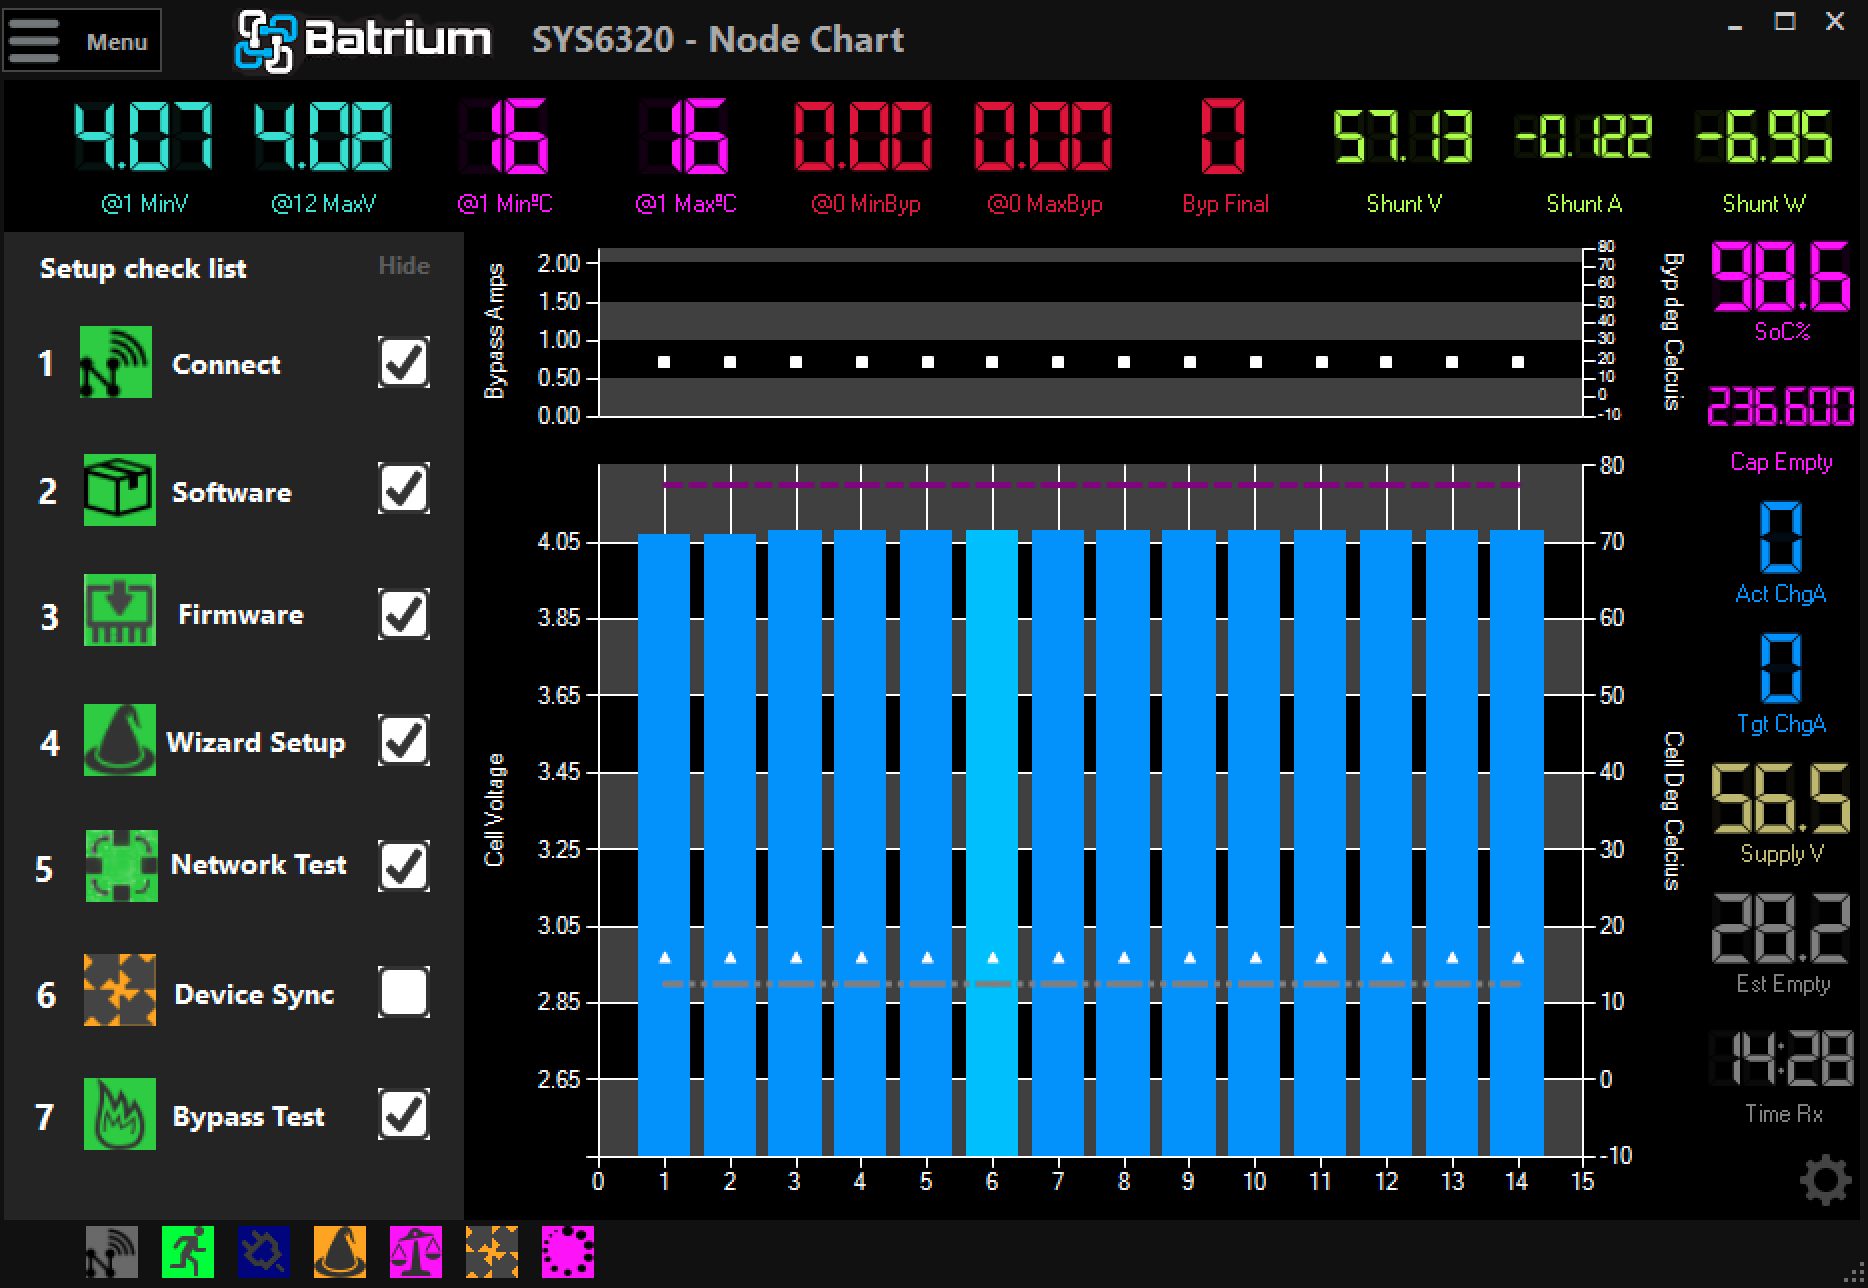
Once the battery was complete I connected it to the new circuit board that I had constructed and brought the system to life on a workbench in the shed. Everything performed as expected. The one component that was missing was the alternator. I emulated its presence with 4 100Ah 12V LiFeP04 batteries wired in series.
After about a month of testing I decided it was a go and got started on the installation. The battery, BMS and converter were pulled from the shed setup for use in the new system. I used the simulated alternator (four 12V LiFeP04 drop-ins wired in series) to replace the custom battery for the shed’s solar setup. It was now time to turn my attention to the RV.
I ordered a Victron Quattro 48/3000/35-50/50, a Victron Smart Solar MPPT 100/20-48 Controller and a Victron Cerbo GX to replace the items that had remained in the shed.
I purchased a 58V 160A alternator from American Power. The order consisted of the alternator, an external regulator and a mounting kit. The kit came complete with the mounting bracket, belts, hoses and other items necessary to provide a new home for the alternator. My prior research also indicated that an impact wrench and a special tool from Dodge/RAM would make the job easier so I placed those on order too.
After the parts arrived I drove up on to some ramps that I had made from some 2 x 10 lumber and got started. After about three hours of banged knuckles and creative vocabulary the new alternator was in place.

The next step was to remove the inverter and battery pack from my previous 12V 600Ah installation.
I then removed the Surepower isolator and replaced it with a Blue Sea Terminal Post. I made a 2/0 AWG cable and connected one end of it to the positive terminal on the alternator and the other to the new terminal post. I reused the two existing 2 AWG cables that ran from the engine bay to the trunk and also connected them to the new terminal.

I then installed the inverter/charger and solar controller. They fit right in and used the existing cables.
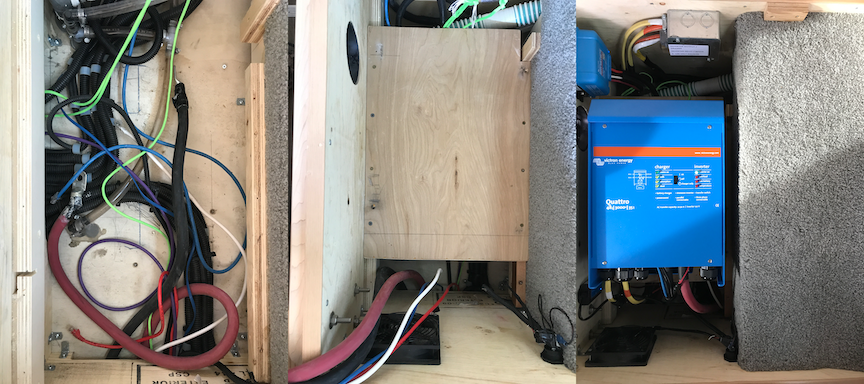
I then installed the new circuit board. It was set up with a 48V side on the left and a 12V side on the right. A Victron 48VDC to 12VDC 30A converter sits between them. On the 48V side I used a Blue Sea 3 Location Terminal Fuse Box and connected the Alternator, Inverter and Solar Controller. On the 12V side I connected the output to a Blue Sea Blade Fuse Box and connected the Spyder board and other 12V accessories to fused terminals on the box.
I connected the battery to the new board and turned on the disconnect switch.
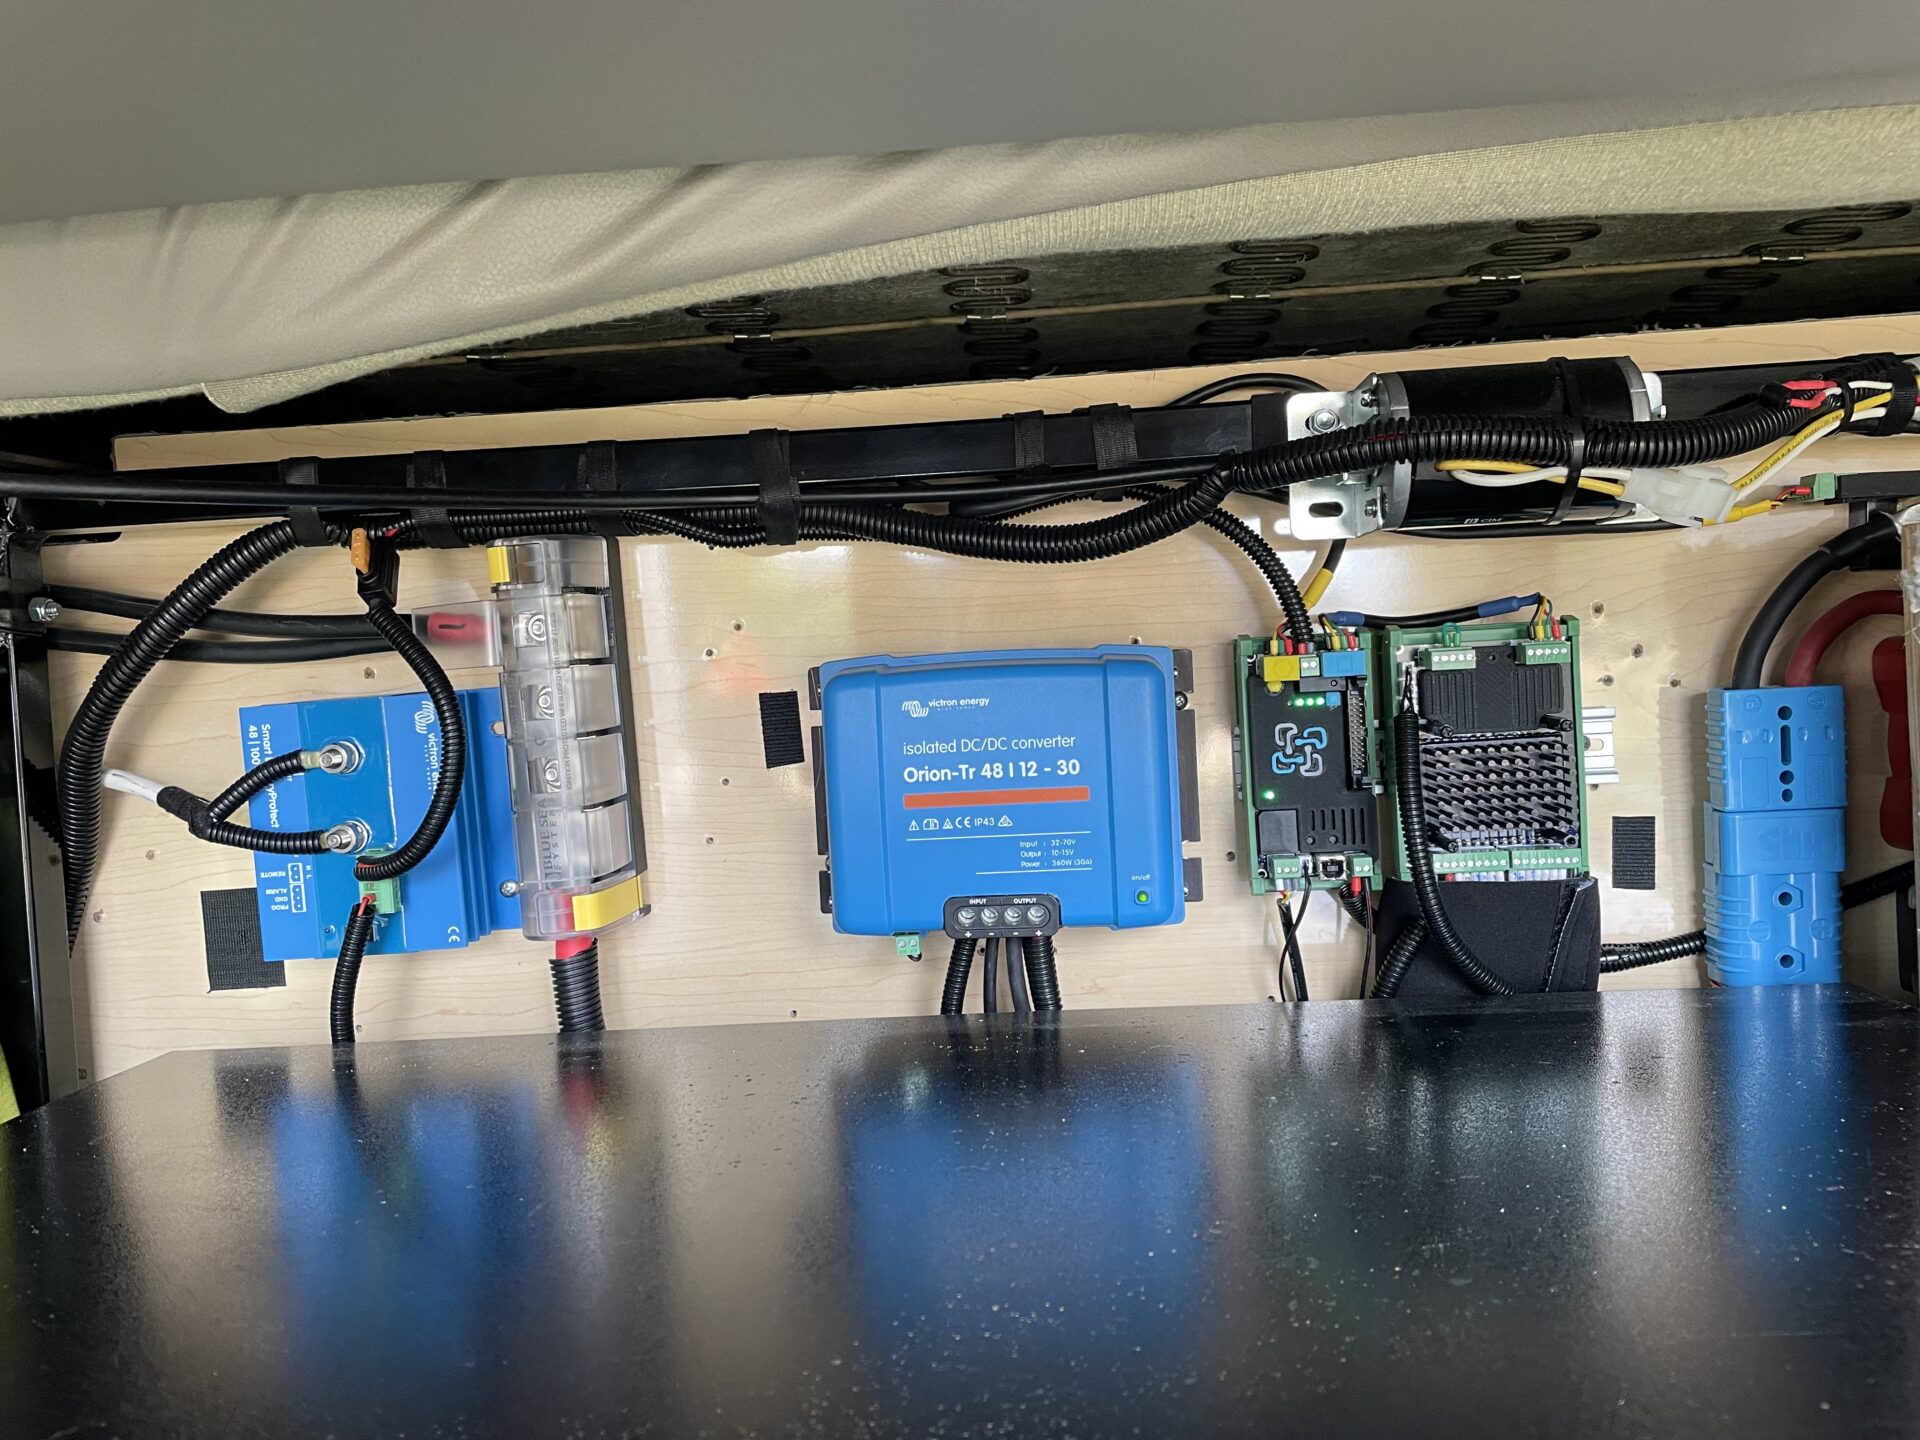
The system has worked flawlessly.for several years now and has allowed us to stay in comfort wherever we choose to be. We are able to run our Belair “Quiet” A/C for about 12 hours and are able to recharge the pack with about a 90 minutes drive.
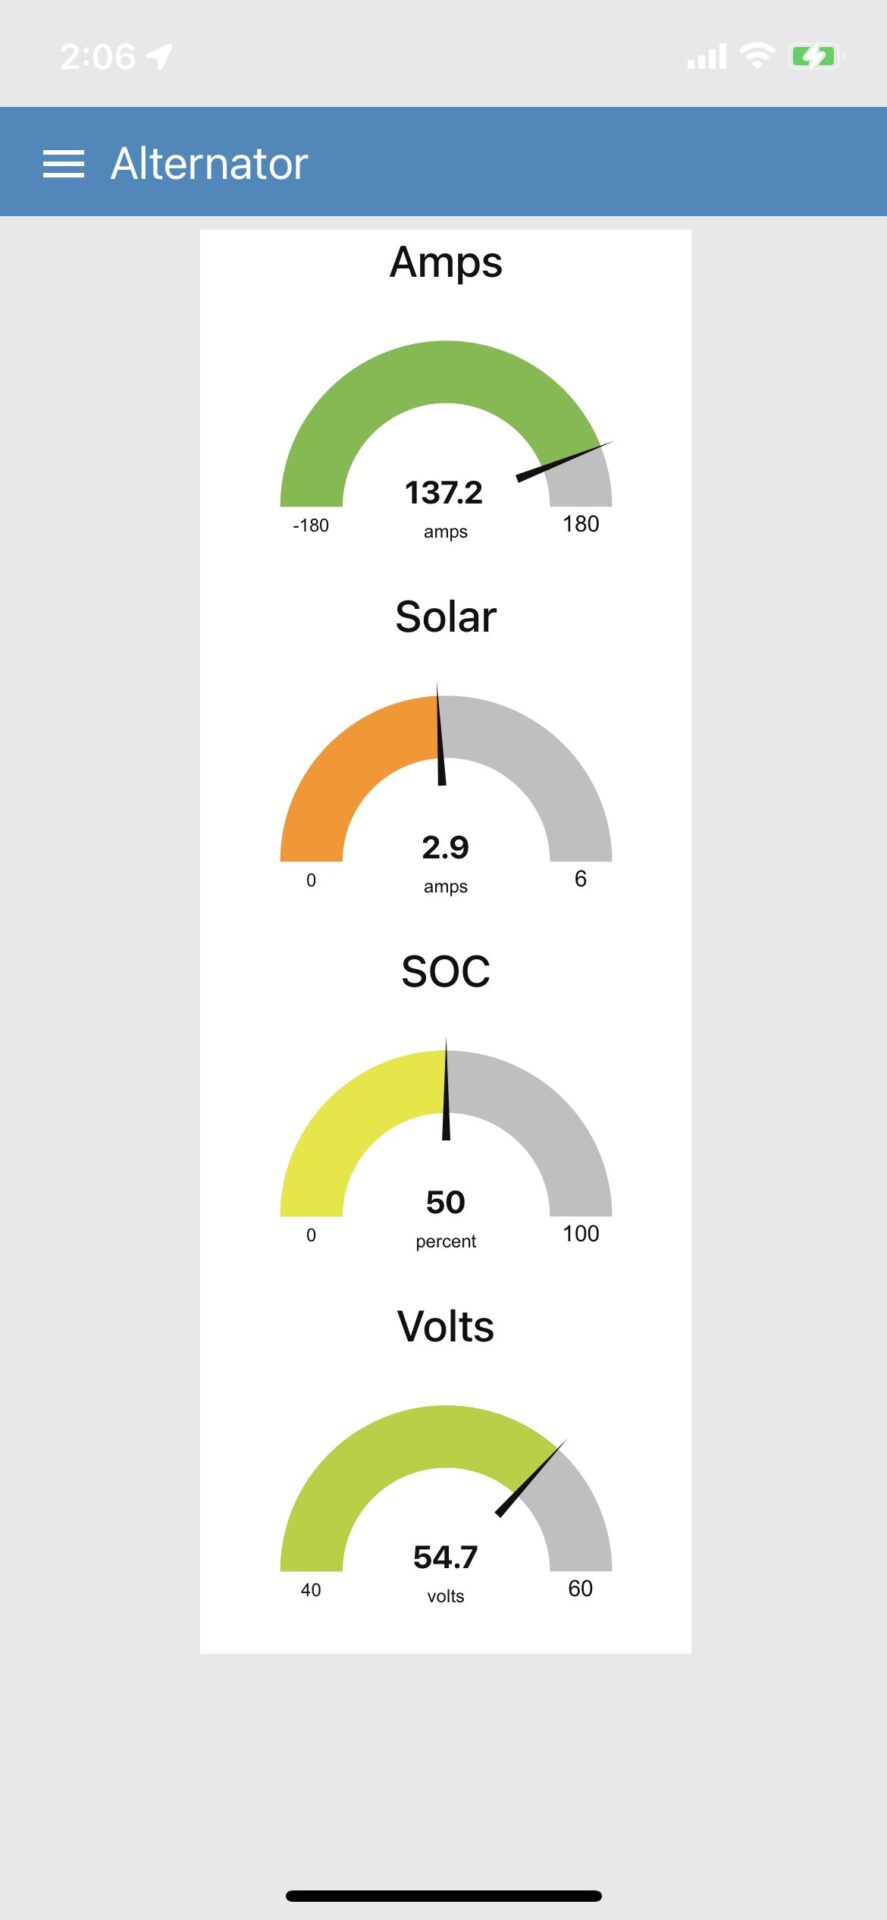
System Gauges on iPhone
Here’s a link to download a PDF with a diagram of the system. It’s still a little rough but should give you a good idea of what’s going on.
Here are some of the items that I used on this project.
Crankshaft Pulley Holding Tool
Victron Quattro 48/3000/35-50/50
Victron Smart Solar MPPT 100/20 – 48
Victron Smart Battery Protect 48V-100A
Blue Sea Systems 3/8 Power Post
Blue Sea Systems 600A-1000A PowerBars
Blue Sea Systems ST Blade ATO/ATC Fuse Block
Blue Sea 5196 Terminal Fuse Block for 3 Circuits
[…] 48V 12.1 kWh House System […]
[…] 48V 12.1 kWh House System […]
[…] 48V 12.1 kWh House System […]
[…] 48V 12.1 kWh House System […]
[…] 48V 12.1 kWh House System […]
[…] 48V 12.1 kWh House System […]
[…] The original “Converter” outlet was renamed to “Trunk” and moved to the Inverter side of the AC breaker panel to provide more flexibility. The outlet was free to repurpose since we had removed the original 120V AC to 12V DC converter when we upgraded the house system to 48V. […]
[…] installed our 48V system in 2019. It has worked reliably and has allowed us to silently camp in comfort in a variety of […]